20-Minute Patriotic Land of the Free Decor
This post contains affiliate links. I may earn commission from qualifying purchases at no additional cost to you. I will never recommend a product I don’t use or trust.
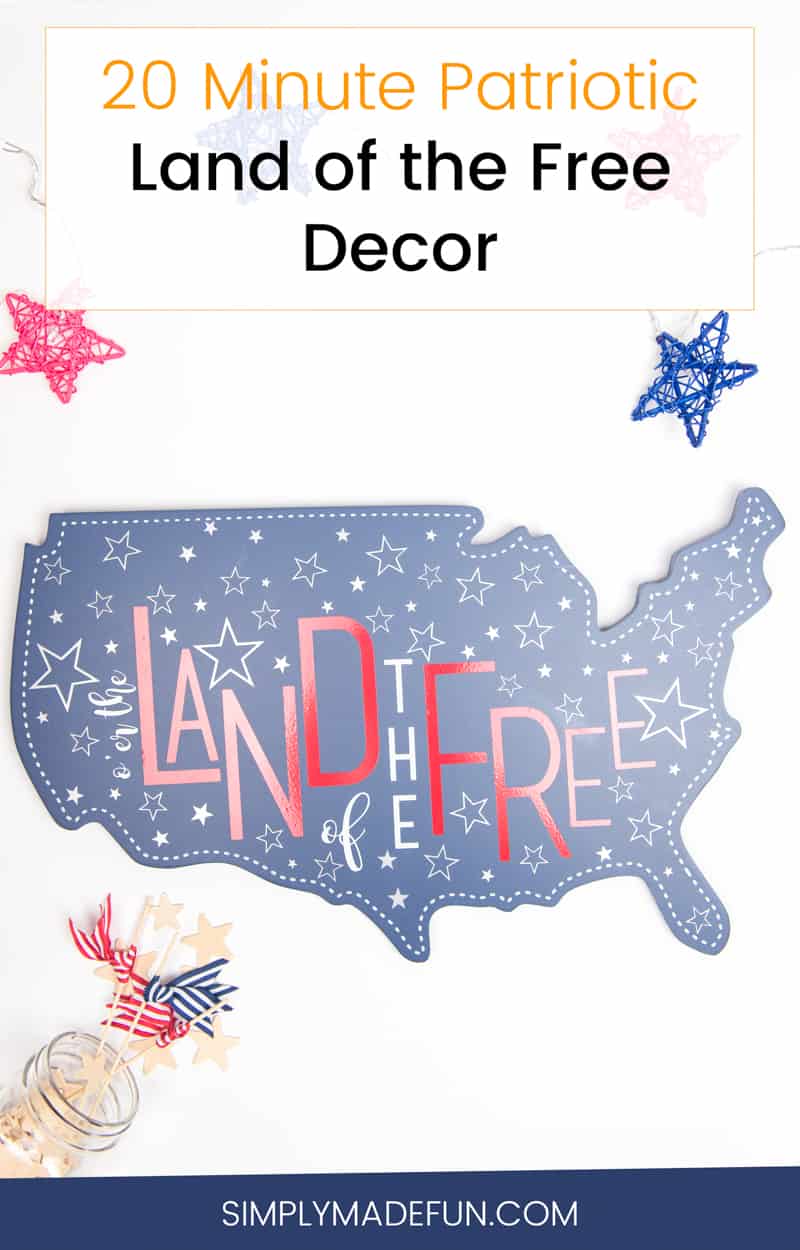
Get rid of your scrap vinyl and make this Patriotic Land of the Free decor in 20 minutes or less! (and grab the FREE SVG file while you’re at it.)
You know those dreams and ideals you have as a new mom? The ones where you think you know it all and your child will never act out or need to be bribed with food or toys? HA.HA. I was that person. I never thought my blog would be affected or that I wouldn’t have time to sit around and craft while he played quietly on the floor beside me. And then he was born and we had therapy 3 days a week, doctors appointments more often than most, and surgeries and hospital stays that required Chris and I to see more of his hospital room than our home. So all those crazy ideals I had when I was pregnant got thrown out the window. Because nothing teaches you how little you know than throwing a baby into the mix.
I think I’ve finally realized that in order to be successful at this whole crafting thing I need to keep it simple. Ridiculously so. So the plan is to start coming up with ideas that I can knock out in 20 minutes or less. Because when you’re running to and from therapy three days a week, time is precious my friends!
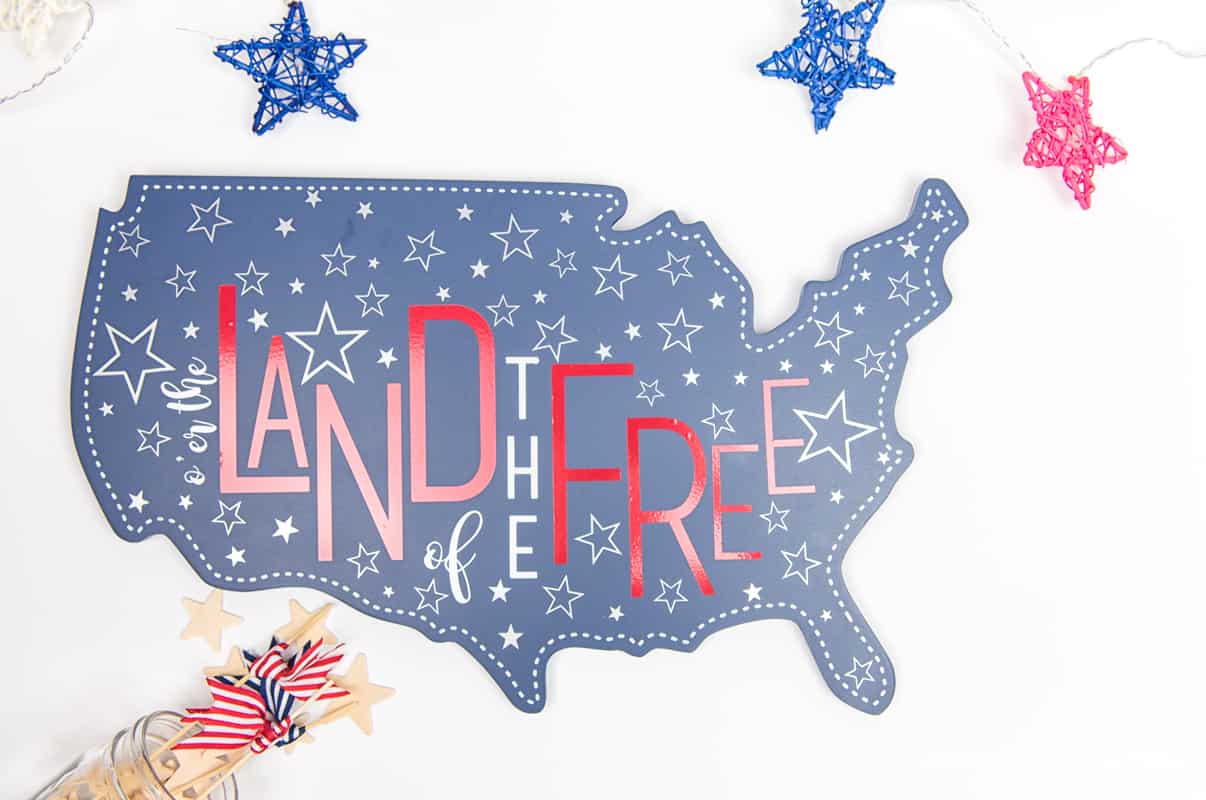
A few weeks ago I found a chalkboard USA map that I had bought last year but did nothing with. Who else is the queen at stashing craft supplies places and then stumbles upon them a year later? ?? I brought it out and sat it on my couch, then stared at it for about a week until I figured out that it would look cute with vinyl all over it. Ya know, vinyl is my first crafting love so of course I use it on everything.
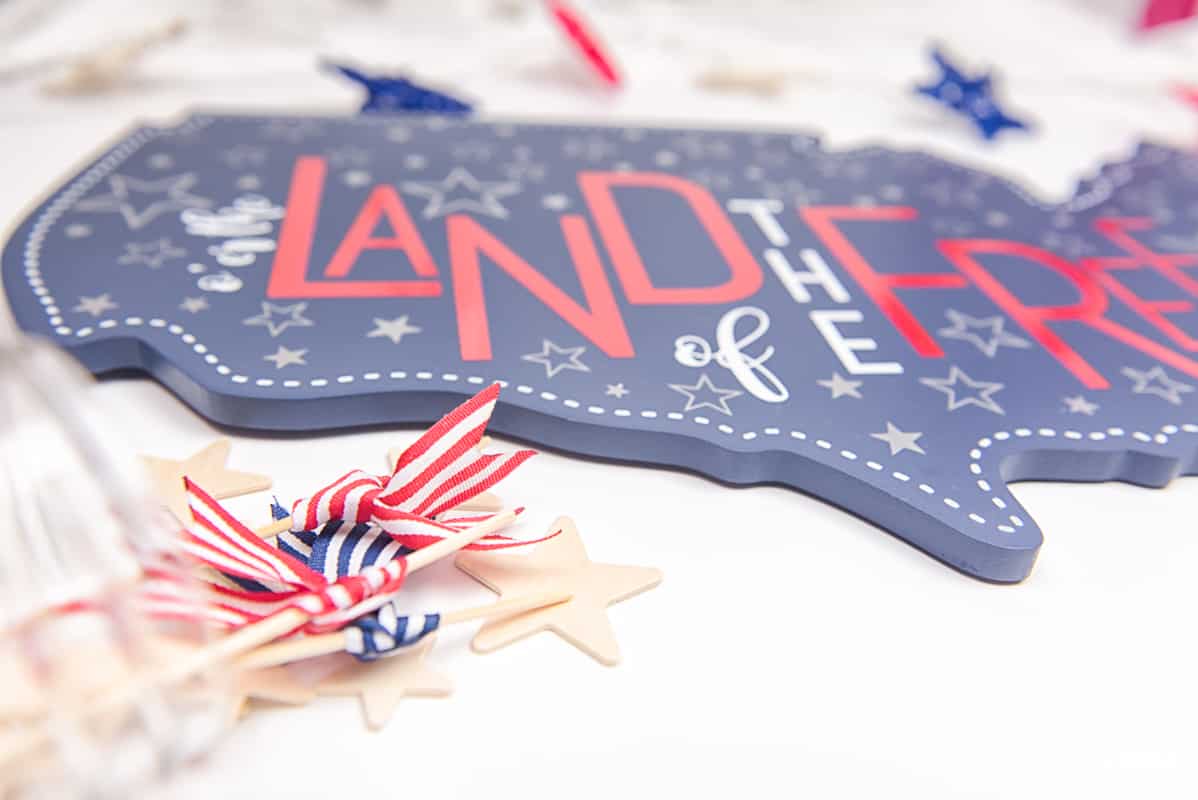
So I pulled up my Silhouette software and started designing what I wanted on it. And came up with the cutest Land of the Free decor file to share with y’all. I’m SUPER proud of how it came out and am even more excited that you can download it and make your own. Cool, right? I mean, who doesn’t love free stuff?!
Download your Land of the Free Decor SVG file!
Make this Land of the Free Decor with my FREE SVG File!
Materials
- USA chalkboard (found at JoAnn Fabrics last year)
- Silhouette Cameo
- Different colored vinyl (I love Expressions Vinyl 651 for this!)
- Ribbon (to hang it with)
Step-by-step instructions to make your own land of the free decor!
1. Cut our your file using your Silhouette Cameo. Get your FREE SVG file here.
(this file is 16×9 and I’m using a 12×24 in cut mat. Resize accordingly!)
This is funny now (at the time it wasn’t) but PLEASE please check the file size BEOFRE you cut it. I had resized mine in the Silhouette software for whatever reason days before I cut it and didn’t realize it until I went to lay my vinyl down on the map. ? The text was supposed to take up the majority of the map and well….that didn’t happen. It worked out fine, but man was I bummed when I realized what I had done!
2. Wipe off your surface to prepare it for the vinyl (I just used water and a cloth).
3. Lay the vinyl, carefully, color by color! Remember, once you lay down the vinyl you cannot get it back up (if you’re using permanent vinyl)!
This step was the part that took me the longest just because of how careful I was being!
4. This is optional, but you could get a pretty, decorative ribbon and attach it to the back of the map to hang up. My map has a jute string on the back and I liked the rustic style of it so I kept it. But a beautiful ribbon would look nice too!
Download your Land of the Free Decor SVG file!
PRO TIP: If you have the Silhouette Designer Software this makes the project a little bit easier. You’re cutting out multiple colors with this file and with the software you can pick and choose which color to cut in the advanced cutting section. If you don’t have the designer edition then it’s a little more complicated. You can still do it, but it just takes a little more work.
I’ll admit that I made a ton of mistakes when I was attempting this project. A TON. If you go carefully then this project will only take 20 minutes. But, if you don’t double check things before you cut them it could take a lot longer. Don’t be like me and waste your valuable down time!


This is so cute! Thanks for sharing.
Thank you Joy!
I love how this turned out! And I am all about those 20 minute crafts!
Thanks Emily! haha You know I’m all about maximizing my time…these toddler’s of ours are a handful! 😉