DIY Matching Family Christmas Shirts
This post contains affiliate links. I may earn commission from qualifying purchases at no additional cost to you. I will never recommend a product I don’t use or trust.
Everyone needs matching family Christmas shirts for the holidays! Grab your Silhouette machine and some heat transfer vinyl to get crafting.
Raise your hand if you’re obsessed with matching anything for the holiday’s. ??♀️
Chris and I (and now our child) get matching pajamas every single year to wear on Christmas Eve. It’s one of my favorite things to buy because I’m all about having new pajamas to wear around the house and I love that my collection grows each year! (I’m a pajama pants hoarder….and I love it!)
This year we went a little bit further and got matching Disney Christmas sweaters to wear because I saw them and just had to have them. They’re cozy and warm and I will wear mine everywhere!
Because I can’t just leave the matching there I decided that matching family Christmas shirts had to happen too. Ones that I could make and pass out at our annual Christmas dinner that I host every year.
Each year it’s gotten easier and faster to make my own shirts. I’ve learned little tricks here and there that make the whole process go smoother. Like the fact that you can use pieces of transfer tape to pick up small pieces of vinyl you need to weed (WHAT?!). Or that cutting a small box around your design not only helps you weed faster but it also saves your vinyl from being wasted. ?
It also helps that I’ve upgraded some of my tools too. Because better tools make all the difference!
I honestly can’t rave enough about my Cricut EasyPress. Even though I’m a Silhouette girl through and through I am 100% happy that I invested in a Cricut product. And this is coming from someone who had the really old Cricut Expression 2 machine. Which was terrible and was a huge reason why I switched to Silhouette (and I’ve never looked back!). The EasyPress is the best tool and is my top recommendation if a heat press just isn’t in your budget or you don’t have space for one.
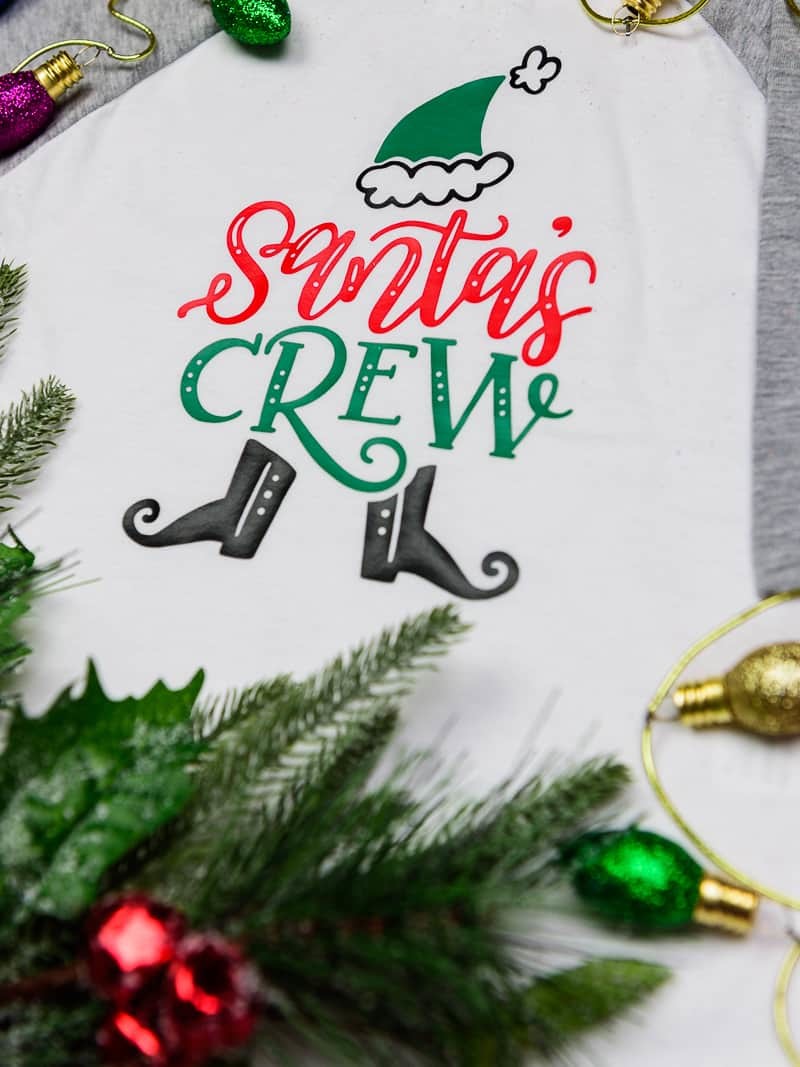
I’ve also learned that Etsy is the place to go for awesome hand-lettered files since I currently don’t make my own. The Smudge Factory is still my top pick for anything hand-lettered but there are also a lot of other great shops to buy from on there! But this Elf file on the family Christmas shirts are from The Smudge Factory so….yea. It’s my go-to you guys. I’ve made this reversible holiday sign and this hand-lettered deer sign with more of her files too. So it’s safe to say I’m an addict.
These matching family Christmas shirts are:
- fun,
- festive, and
- easy to make!
The best part about these shirts is that you can make them for your kids or get the cousins in on the holiday spirit! I think it would be fun to get a family picture with all the kids wearing them. I mean, the kids might not be thrilled to all be matching but the adults sure will get a kick out of it! ?
Or, you know, you could just make them for your little family and call it a day. So many options!
These matching family Christmas shirts really are so simple and so easy to make. They’re the perfect starter craft for those of us just dipping our toes into all the holiday diys!
But…if you are looking for more holiday inspiration I think you should check out these crafts. Just in case you need a little push from this self-proclaimed holiday craft enabler. ?
Okay, let’s Make our own matching family Christmas shirts!
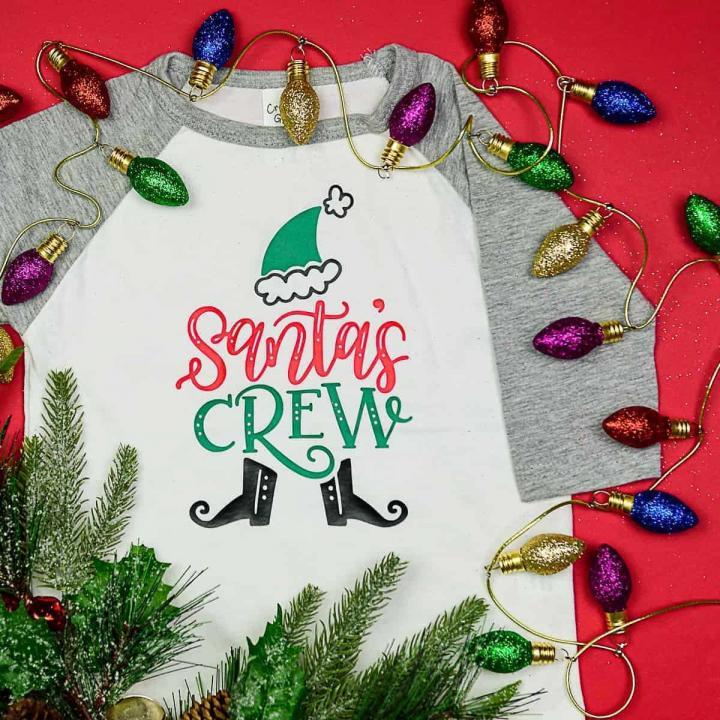
DIY Matching Family Christmas Shirts
Make your own matching family Christmas shirts for the holidays this year with your Silhouette Cameo and heat transfer vinyl!
Materials
- T-Shirts (I buy mine from Hobby Lobby!)
- Heat Transfer Vinyl
- Santa's Crew SVG File
Tools
- Silhouette Cameo
- Silhouette Weeding Tool
- Cricut EasyPress
Instructions
- Load your vinyl into your Silhouette Machine, shiny side down, and hit CUT in your software. (make sure you mirror your image before you cut!).
- Weed your design and then set it off to the side. This design has small pieces inside the letters and in the Elf's boots so I took a scrap piece of transfer tape that I had laying around and used it to weed those pieces. It's much easier and faster to do that than using a weeding tool! I've also started cutting a small box around my design to make it easier to weed. Plus, you don't waste as much vinyl that way!
- Heat up your EasyPress (or whatever tool you use for your heat transfer projects!).
- Fold your shirt in half and then use your easypress to press the crease. This tells you where the center of your shirt is and will help you line up your design. (the green line in the above picture is where my crease was!).
- At this point I like to fold my design in half as well and make a small crease in the transfer tape to show where the middle is. This helps me line up the middle of the design with the crease in my shirt!
- Start pressing each part of your design on your shirt. I started with the black pieces and then layered from there. Follow the directions on your press for how long you should press each piece (my first piece I did the temp at 305 for 30 seconds).
- For the next two layers make sure that none of your transfer tape is touching the already pressed vinyl on your shirt! You may have to cut the transfer tape close to the design to stop that from happening. If you do not cut the transfer tape back it will pull up and wrinkle your already pressed vinyl.
- Once you've pressed all your layers turn your shirt over and press one last time. I've found that heating the back helps the design hold up better in the washer and dryer!
Notes
- Always wash your t-shirts before you put vinyl on them!
- Cutting a small box around my design makes it easier to weed!
- I like to keep my transfer tape scraps from other projects because you can use those small pieces to weed the insides of the letters quickly and easily!
Recommended Products
As an Amazon Associate and member of other affiliate programs, I earn from qualifying purchases.
more holiday crafts!
[pt_view id=”bf63466nhu”]

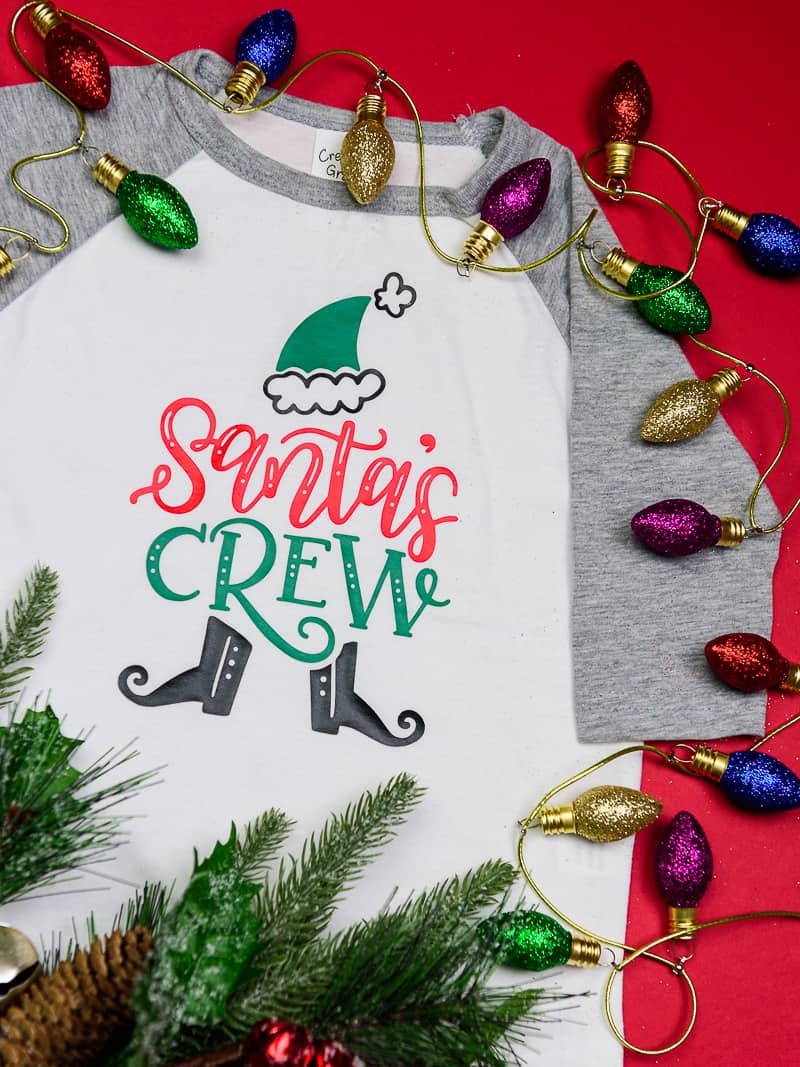
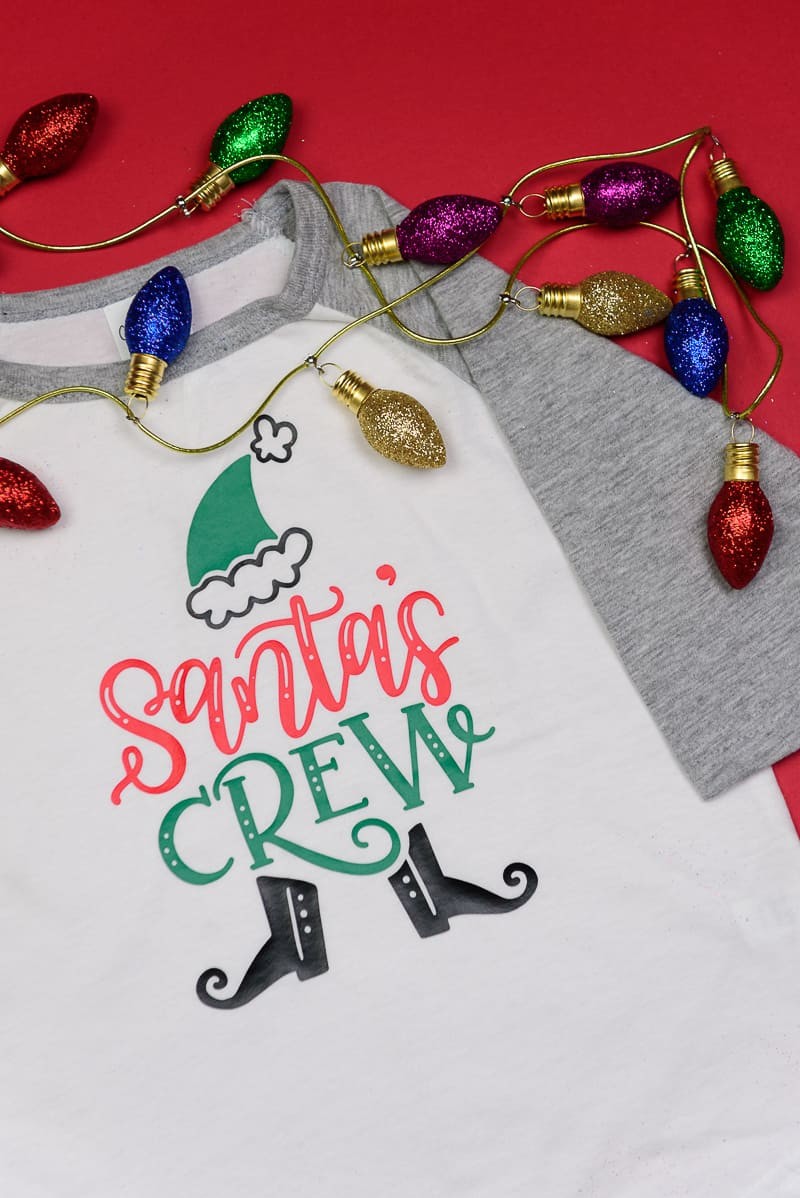


I think I already told you on social media but these are so stinking cute!!
Thank you!! <3 I really love the way they came out!
These are so cute!! You need to wear them at Disney!
I’m definitely packing them! hahaha You know me well. 😉
I love your designs. So cute and funny. I will share it for my friends.
Thank you so much!