Spooky Vibes SVG Cut File
Use this spooky vibes svg on a shirt, wood sign, halloween trick or treat bag, pillow and more!
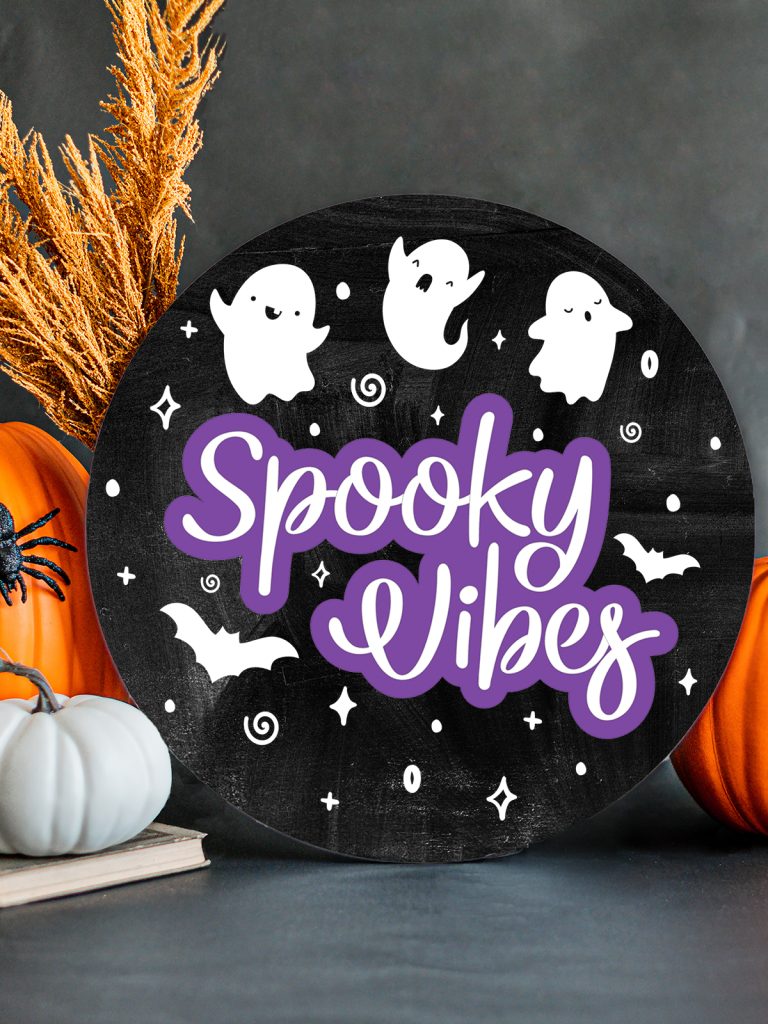
I don’t know about you but I am ready for cute Halloween decor to come out.
I don’t like spooky Halloween stuff so I tend to gravitate towards cutesy ghosts, bats, and pumpkins.
So I decided to make a cutesy Halloween cut file and this Spooky Vibes svg is perfect!
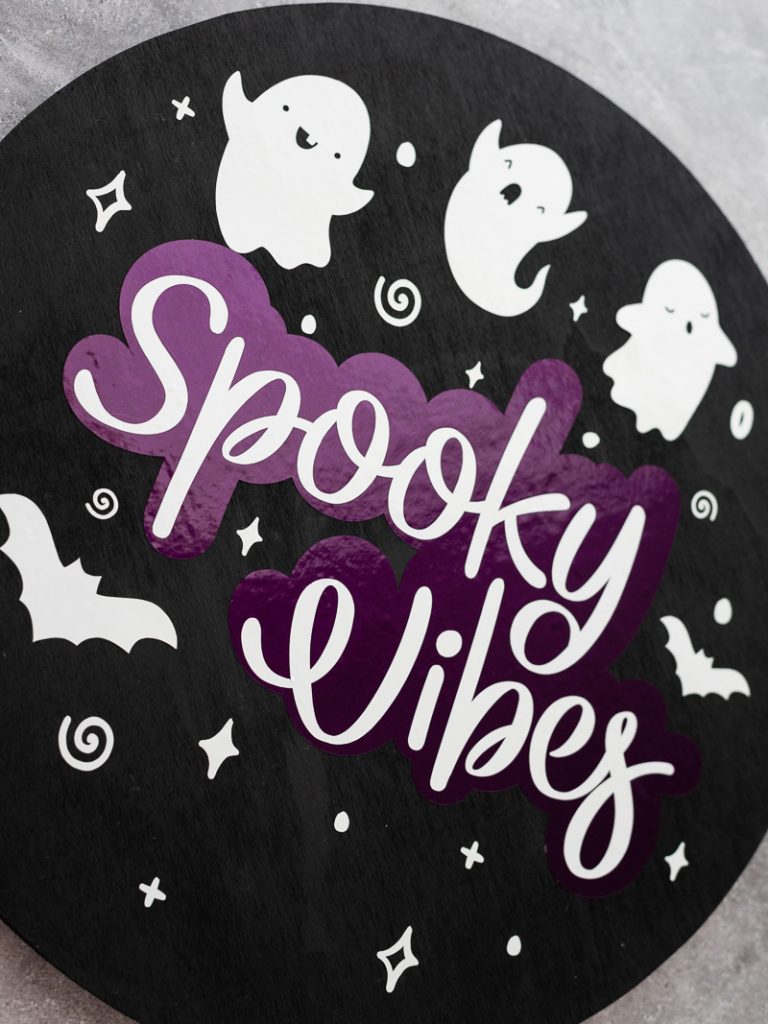
Last year I bought some wood rounds from Hobby Lobby (a pack of three) and used one of the smaller rounds for this project.
I decided to paint it black (because, Halloween vibes!) and used acrylic paint I already had on hand.
You can use any type of paint but my favorite is chalk paint on wood. It just has better coverage and holds up to transfer paper better. Acrylic paint seems to peel more when using adhesive vinyl and transfer paper!
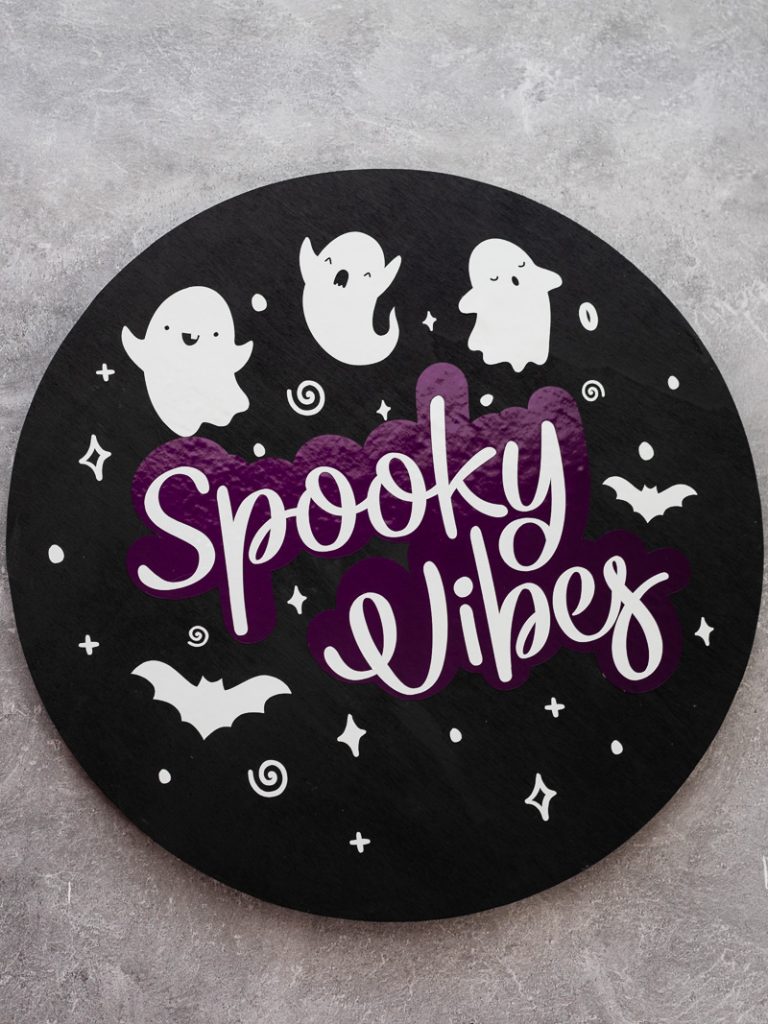
To put the design on the wood round you can do it three ways:
- use adhesive vinyl (this is what I did),
- heat transfer vinyl, or
- stencil vinyl
I decided on adhesive vinyl because it’s faster and I didn’t want to mess around with my heat press or painting a stencil.
If you do decide to use stencil vinyl, this post will teach you how to prep your stencil so the paint doesn’t bleed through!
Materials
To make this spooky vibes svg halloween wood round you’ll need:
- Wood Round from Hobby Lobby,
- Black Chalk Paint,
- Paint Brush,
- Silhouette Cameo,
- Weeding Tools,
- Adhesive Vinyl,
- Transfer Tape,
- Ribbon (optional),
- Free Spooky Vibes SVG Cut File
This post contains affiliate links. I may earn commission from qualifying purchases at no additional cost to you. I will never recommend a product I don’t use or trust.
Common Questions about using adhesive vinyl on wood!
Do you have to prep your wood before painting and putting vinyl on it?
A light sanding never hurt anyone!
Usually the finished wood at craft stores is fine to use as-is, and the wood I used was finished so I didn’t prep it (prepping wood is when you do a light sand on it to smooth out the wood so your vinyl will stick better).
However, if you’re using unfinished wood you must sand it first before anything else! Otherwise your vinyl won’t stick.
You can check out the steps on how to prep your wood for this Easter Bunny sign!
What type of adhesive vinyl can you use on wood?
There are two types of adhesive vinyl: permanent (oracal 651) and removable (oracal 631). Always use permanent vinyl on any type of wood sign.
Permanent vinyl can last up to 6 years if it is well taken care of so this is definitely what you want to use on a wood sign!
What type of transfer tape do you use with adhesive vinyl?
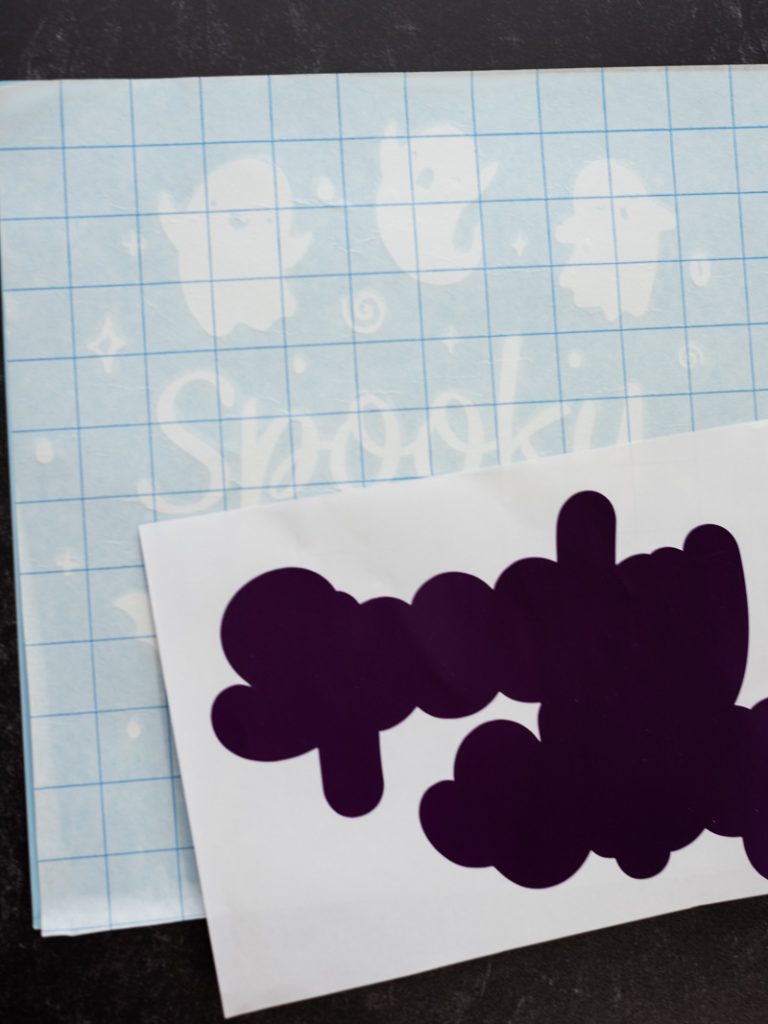
For this project I used gridlined transfer tape but I wouldn’t recommend it.
I would use the clear transfer tape like this instead, because if you’re layering vinyl on top of each other it’s easier to see and line up correctly!
I had a heck of a time trying to see where to line up the words ‘spooky vibes’ on the purple vinyl with the gridlined transfer tape!
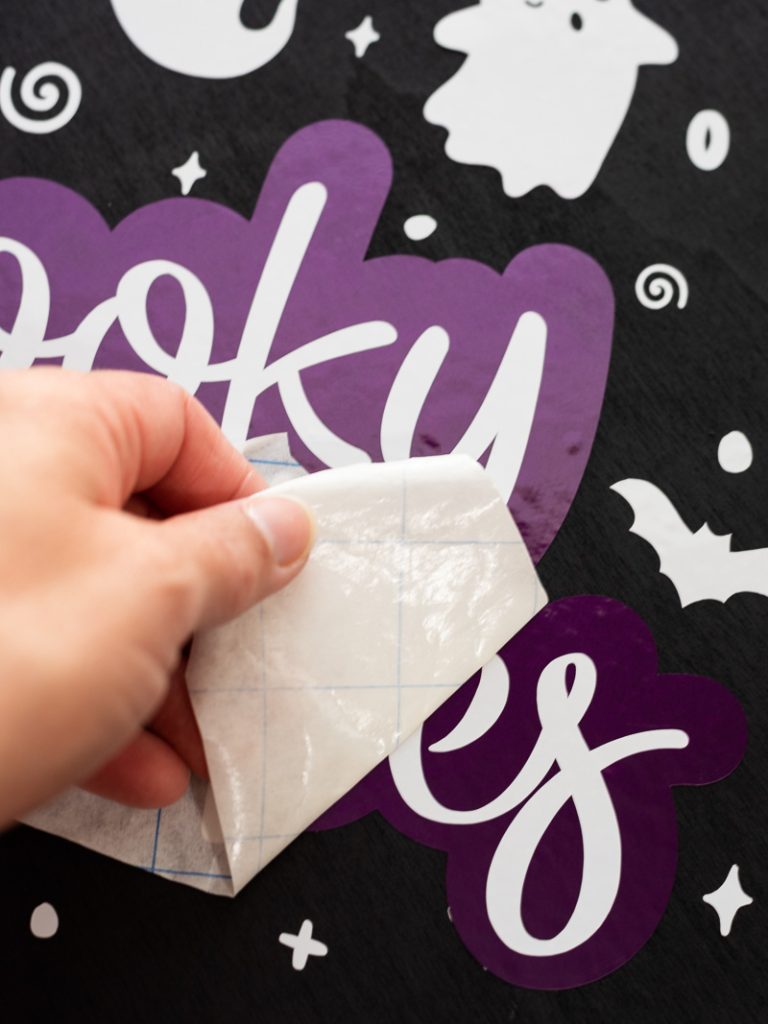
Can transfer tape pull up the paint on your wood piece?
I have only found a problem with this if I am using a pre-finished Hobby Lobby sign.
If you’re painting your own you shouldn’t have this issue, at least, I never have!
If you’re worried, you can unstick your transfer tape a bit by putting it on a cotton t-shirt. It’ll still be sticky but it won’t be too sticky to where it’ll pull off paint.
I suggest taking a small piece of transfer tape and putting it on the wood first. Rub it down like you’re putting vinyl on the wood. If you pull it up and the tape doesn’t come with it you should be safe to transfer the entire vinyl design to your wood piece!
Do you need to seal the wood after putting the vinyl on it?
I never do.
Sometimes the sealant can cause the vinyl to yellow (especially if you’re using white vinyl) after a time so it’s not worth it to me.
Unless you’re putting your sign outside where it’ll be exposed to the elements you do not need to seal it.
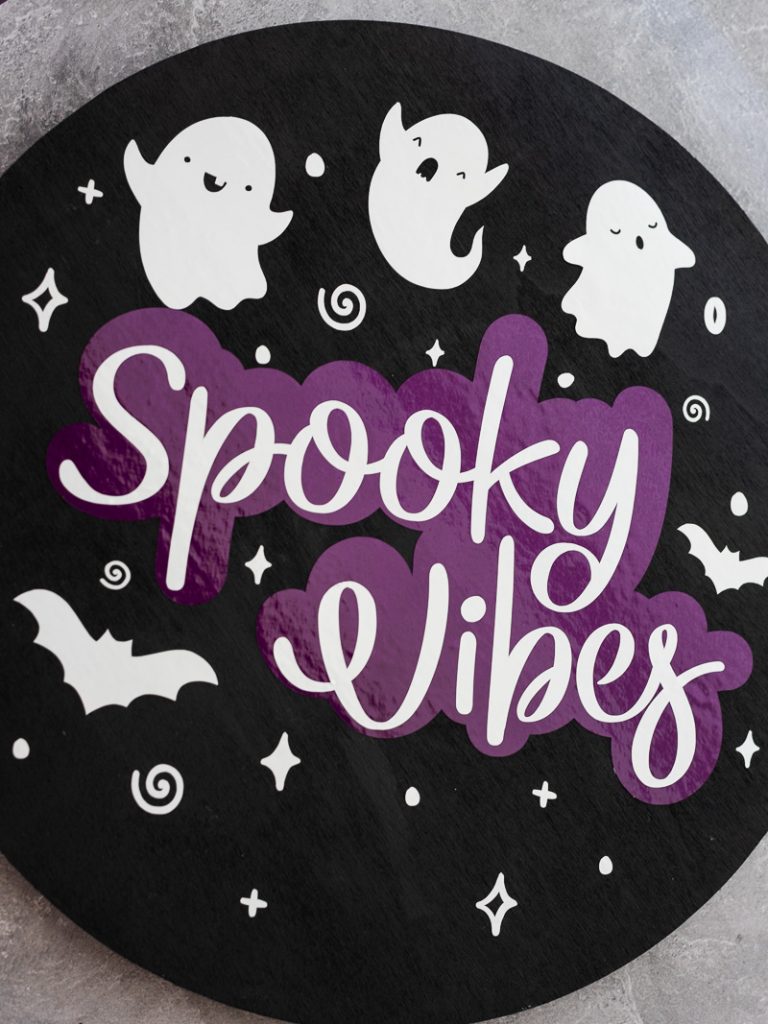
FAQ’S ABOUT THIS SPOOKY VIBES SVG CUT FILE
How can I download this free svg cut file?
If you are an email subscriber you have access to all of our free svg’s through The Craft Room! Every email we send has the password to get into our free resource library and you can grab the file any time you want (it’s lifetime access!).
If you are not an email subscriber, you can sign up here and get access to all of our past, current and future svg’s!
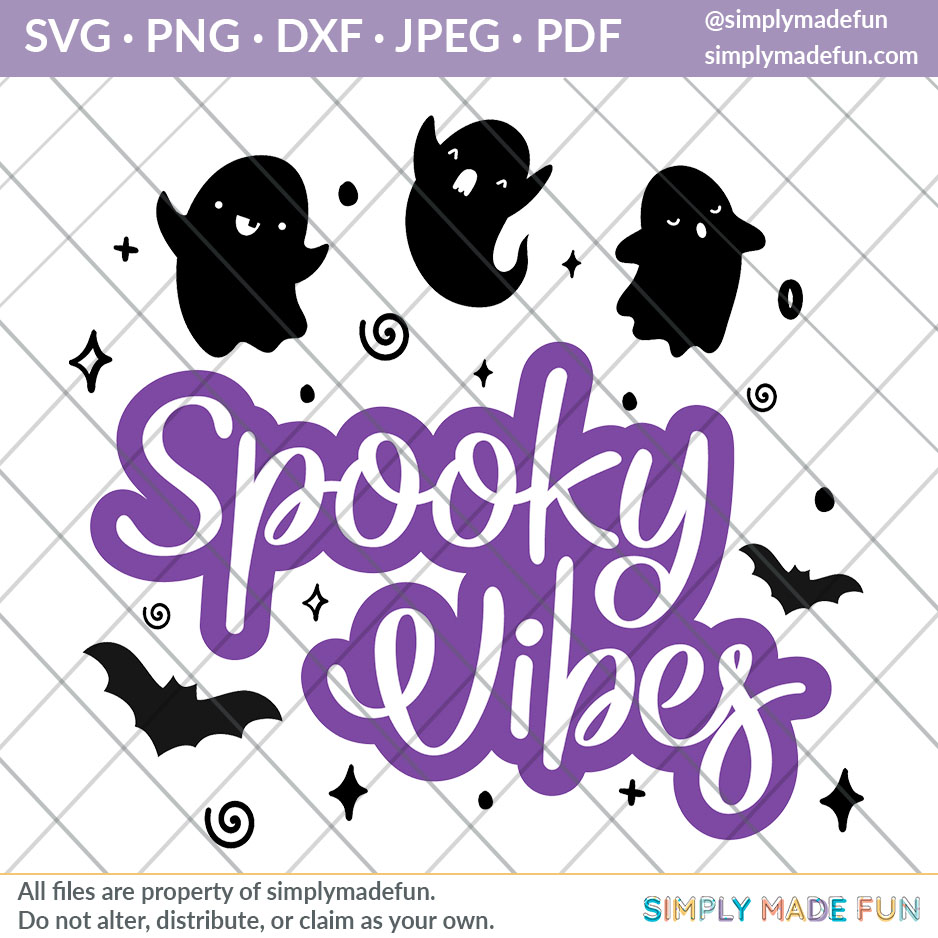
What types of cut files are included?
We offer this cut file as an:
- svg,
- png,
- dxf,
- pdf and
- jpeg
You can use our cut files with any software that opens these types of files!

OUR FAVORITE HALLOWEEN CRAFTS TO MAKE!
- Layered Ghost Earrings (free file included!)
- Paper Spider Webs (free file included!)
- Monsters Inc Family Costumes
- Spooktacular Halloween Gift Tags (updated free file included!)
- Nightmare Before Christmas Trick or Treat Bag
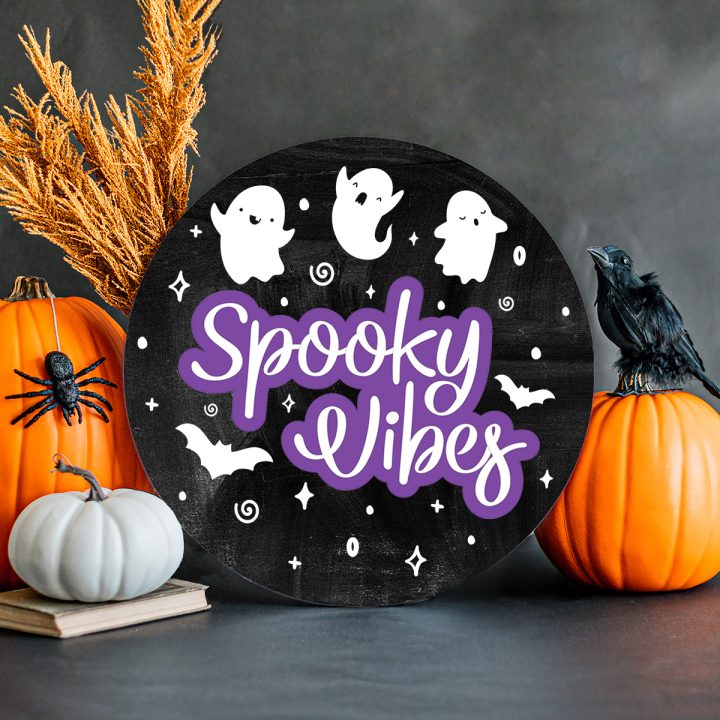
Spooky Vibes Halloween Wood Sign
Use this free spooky vibes svg for all your Halloween craft projects! Put it on a shirt, wood sign, pillow and more for cute Halloween decor!
Materials
- Wood Round from Hobby Lobby
- Black Chalk Paint
- Paint Brush
- Adhesive Vinyl
- Transfer Tape
- Ribbon (optional)
- Free Spooky Vibes SVG Cut File
Instructions
- Paint your wood round your desired color (we used black). Set it aside and let it dry.
- While it's drying cut out your svg with your Silhouette Cameo.
- Weed your design then cut a piece of transfer tape that's the same size as your design.
- Lay the transfer tape on top of the vinyl design and use a scraper tool to rub the transfer tape onto the vinyl.
- Pick up the vinyl design off the paper backing.
- Check to see if your wood round is dry, if it is then go to the next step. If it's not, wait a little longer before proceeding!
- Place the vinyl design on your wood round and peel up the transfer tape!
Recommended Products
As an Amazon Associate and member of other affiliate programs, I earn from qualifying purchases.


