Santa Claus Christmas Glass Block
When it was just Chris and I, we really didn’t make a huge deal out of the Christmas holiday. I’m not saying we didn’t buy each other gifts, because we did. But we are the type of people who like to buy stuff as it comes out so when Christmas rolls around there usually isn’t a whole lot we can ask for.
But now, with a new member of the family, I’m looking forward to celebrating Christmas the way I remember it growing up. Lots of excitement, lots of sugar cookies, and lots of SANTA! The past week or so I’ve really tried to get the little guy in the Christmas spirit (not that he even knows what that is yet) and one of our favorite songs to sing is “Santa Claus is coming to town”. It’s a catchy tune and his whole face lights up as we dance around to the song in the house. And so, I took that song and used it as an inspiration for my Christmas glass block decor!
This post contains affiliate links, meaning that if you make a purchase after clicking through Simply Made Fun may receive a small commission at no extra cost to you. Thank you for helping support my crafting habit!
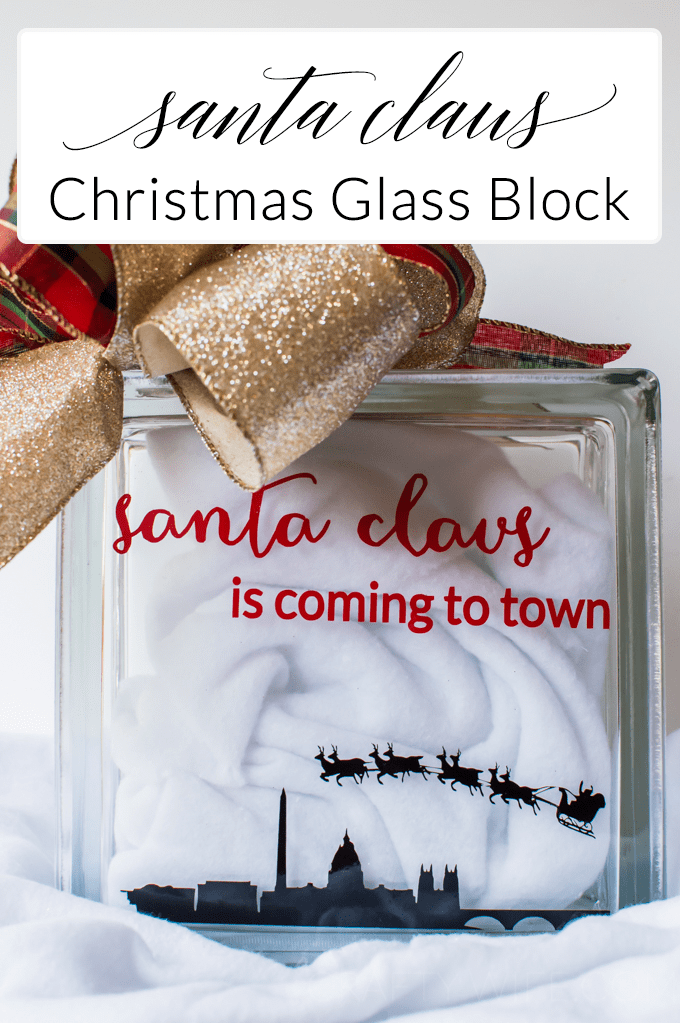
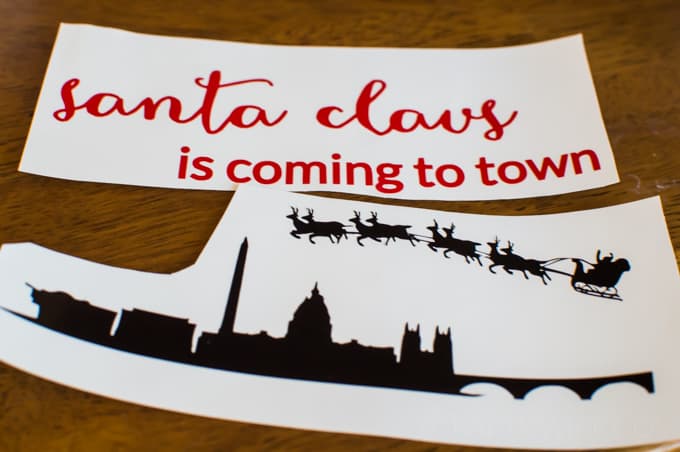
There were a few things I knew I wanted when I first set out to make this. The Washington DC skyline with Santa flying over top of it, and a fancy script front for the words above it. To get the skyline I searched for a vector image on google and then traced with in my Silhouette software. I wrote out the font myself and the picture of Santa in his sleigh came from one of the Silhouette groups I’m in on Facebook.
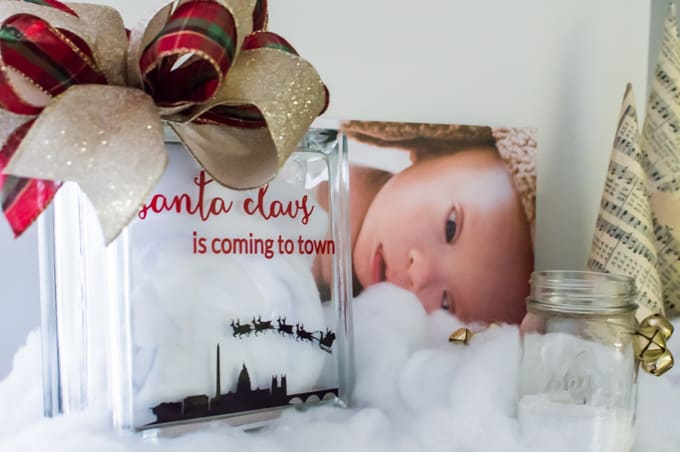
I know what you’re wondering, is that a picture of the little one? YES! He has finally made his big debut on the blog. I took that picture of him a few weeks back and I’ll have a whole post about that little cutie on Friday. So stay tuned for that!
But anyways, back to this Christmas glass block!
To make your own block you’ll need:
- Silhouette
Cameo or Portrait
- Oracle 651
vinyl
- Transfer tape
- Glass block (found at Michaels)
- Ribbon for bow
- Images for design
1. Cut out your design and weed it.
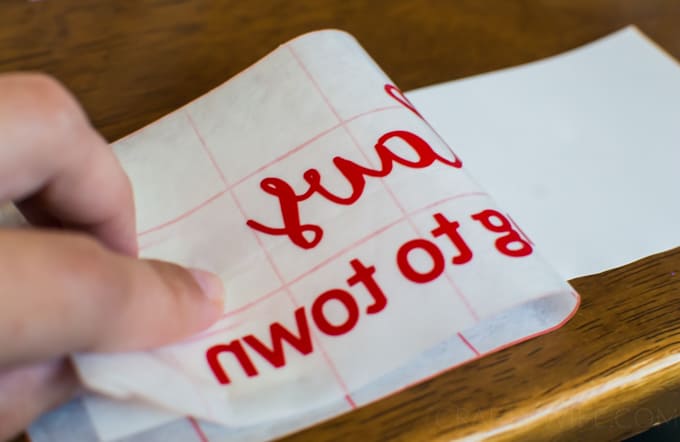
2. Then place transfer tape over it and place it where you want it on the glass block. When you pull up the transfer tape the design will be left on your block!
3. Next, grab your ribbon and make a gigantic bow. Well, make it however big you want it. I’m from the South so I think bigger is always better when it comes to craft stuff! To make my bow I used a bowdabra, which is awesome because if I had to do it solely on my own my bow would look like a hot mess. Then use hot glue and glue it down on your Christmas glass block!
For picture purposes I put in white felt in the inside of the block, but it’s not going to stay in there! Instead I bought lights so that the box can be lit up from the inside, now I just need to remember where I put them….
Anyways. That is my super simple Christmas glass block! I am so proud of it and love having it on display in our home!
And….I have something extra special for you all on the blog today!
This post contains affiliate links. I may earn commission from qualifying purchases at no additional cost to you. I will never recommend a product I don’t use or trust.


Aw, Teresa I love it (and the sentiment behind it). I’ve never known what to do with things like glass blocks but this is such a cute and simple Christmas decoration. I like the small little knick knacks that you take out each year and put around your house, no doubt this one will be like that for you. I know what you mean about Christmas, now having a little baby of my own this year I also find us doing the same thing (she doesn’t know or care about any of this yet…but I do!). I’m so eager to read your post on Friday, I’ve been waiting for the little one to come around here. Hopping away to pin this now, thank you for putting together the blog hop, I’ve loved seeing everyone’s projects, so much innovation!
This so so adorable! I really need to get a silhouette, I should have added one to my christmas list! I am so excited to see your little babe!! He is precious- can’t wait for Friday! Thank you so much for hosting this, I can’t wait to cuddle up and go through all of the posts this evening.
Beautiful project! I can just picture it all lit up from within with the silhouettes in front. Simply stunning! I know what you mean about kids upping the Christmas factor – I’ve always loved Christmas, but now with my littlies it adds a whole extra dimension of magical fun and joy just seeing them get so excited. 🙂
What a fun project this is! I love that you added some local love by including the skyline to DC – such a great idea. Your pictures are so good! Sometimes, it’s hard to get detail when you’re demonstrating something with the other hand. Thanks for sharing this really neat project, Teresa! 🙂
This is such a beautiful project! I will be sharing it with my readers. Merry Christmas to you and your family!
Cute! What is bowdabra!? Your bow is so pretty. I’ve never attempted to make my own bow but I can imagine mind looking rough too on my own. Haha! I’ve never heart of silhouette cutting machine! That is very neat!
This is so cute! I love the idea of putting lights in it! My favorite Christmas decoration is actually the yearly swag that my mom’s friend makes and sells. It smells soooo divine! Plus I never put up a tree because my cats would DESTROY it, so I’m happy to still have a piece of fresh evergreen in my livingroom. 🙂
Thanks for hosting this blog hop! I love Santa flying over your own city.
So cute! I love the idea of putting lights inside!