Fresh Cut Christmas Tree Truck Sign
If you have a toddler that loves the little blue truck books, they will go crazy over this fun twist to the classic Christmas tree truck sign!
For two years I have loved the red Christmas tree truck sign. They are everywhere and I really wanted one of my own. But I wasn’t about to pay $15 for a store-bought sign or pillow when I could make one myself. And customize it so that it was more our style!
Even though I’m still trying to define our “style”. It’s hard y’all, and not something I particularly enjoy.
For my toddler’s birthday one of our friends gave him the Little Blue Truck books, and he is obsessed with them! We read them every night, and right now we’re loving Little Blue Truck’s Christmas. While we were reading it for the ten-thousandth time the other night I got the idea to do a fun twist on the (what I consider) classic Christmas tree truck sign. It’ll be a fun reminder as my son gets older of the books that he loved as a toddler.
Plus, we’re kind of obsessed with the color blue in our house so it just seemed to make sense to do a blue truck instead of a red one.
I won’t lie to you, I had such a hard time deciding on which file to use for this project. There are so many different styles of trucks and phrases to use that it was hard to figure out which one I liked the most. I think I had about five different files in my Etsy cart at one time before I narrowed it down. But I’m loving the file I chose!
This post contains affiliate links. I may earn commission from qualifying purchases at no additional cost to you. I will never recommend a product I don’t use or trust.
How to make your own Fresh Cut Christmas Tree Truck Sign
Materials
- Vintage Christmas Tree Truck File from Etsy
- Stencil vinyl
- Transfer Tape
- 12×12 piece of wood (from Hobby Lobby)
- Paint brushes
- Acrylic paint in multiple colors
- Wood Stain (I used Minwax Expresso)
- An old rag or t-shirt
- Polycrylic
- Mod Podge
- Silhouette Cameo or Cricut Machine
Tutorial
+ Stain your wood and let it dry overnight
+ Mix your base paint color with water (half water half acrylic paint) and brush a light layer onto your wood. Wipe off the excess paint. Continue doing this until you get a nice solid base coat of paint (I did four layers on mine). Let dry for a few hours or even overnight.
+ Cut out your design with your Silhouette Machine and weed it. Use the transfer tape to place the design on your piece of wood.
PRO TIP: I have struggled for YEARS with stencil vinyl on wood signs and I finally found a solution: ORAMASK 813 VINYL. It is the perfect material to use as a stencil and I’ll never go back to that Cricut and Silhouette brand ever again!
+ Paint a layer of mod podge over the stencil (this will stop the paint from bleeding through!) and let it dry.
+ Once the mod podge is dry grab your paints and start to work on your design. Let the paint dry most of the way and then remove the stencil. This is the time to do any touch-ups if you need to!
+ When all the paint is dry, sand it (optional) and seal it with a light coat of polycrylic.
There are a lot of steps and materials needed to do this DIY but it is so worth it in the end. I mean, who doesn’t need a vintage truck carrying a Christmas tree hanging around their house? And the fact that you can paint the truck any color you want to match your home….YES. All the YES.
I’m a big fan of making my own holiday decor and have done a few signs that I love the past few years! My most recent Merry & Bright sign has become a fast favorite of mine but the Rudolph sign (another Etsy file diy) has been a favorite of yours since last year! I only wish I knew then the trick to getting a perfect whitewash on the wood. Oh well, you craft and you learn I guess.
These DIY Christmas signs are some of my favorites!
more holiday fun!
[pt_view id=”e6c5d75u73″]

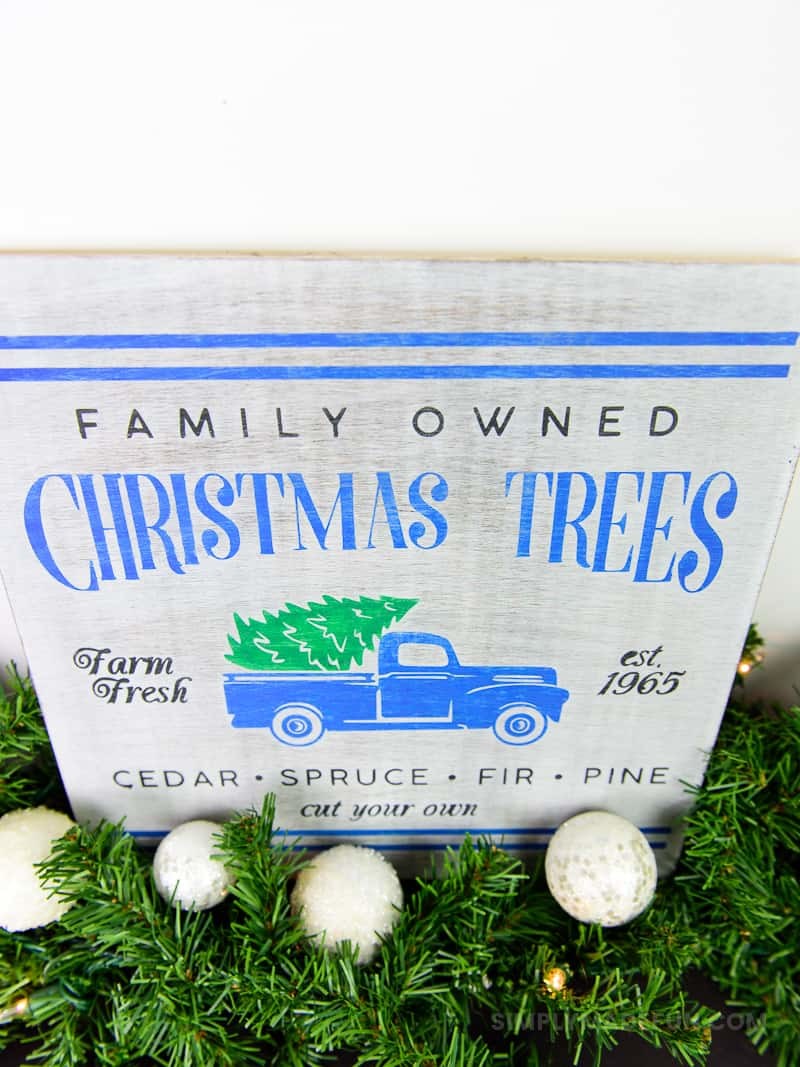
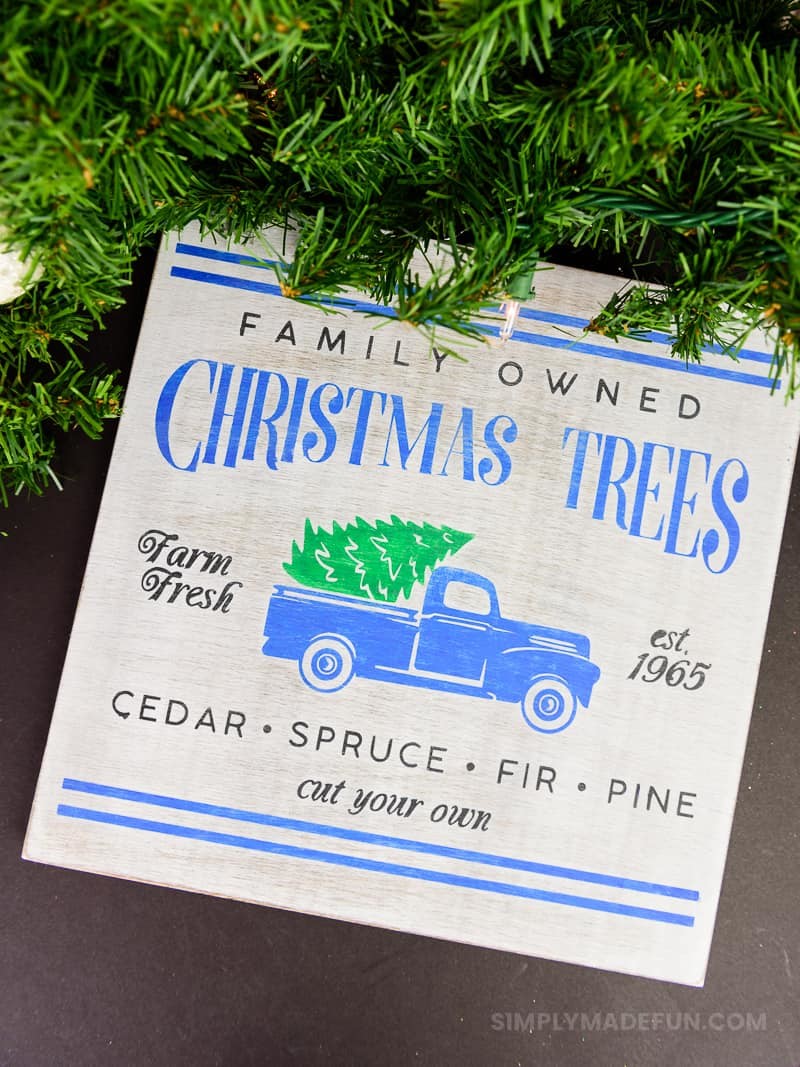
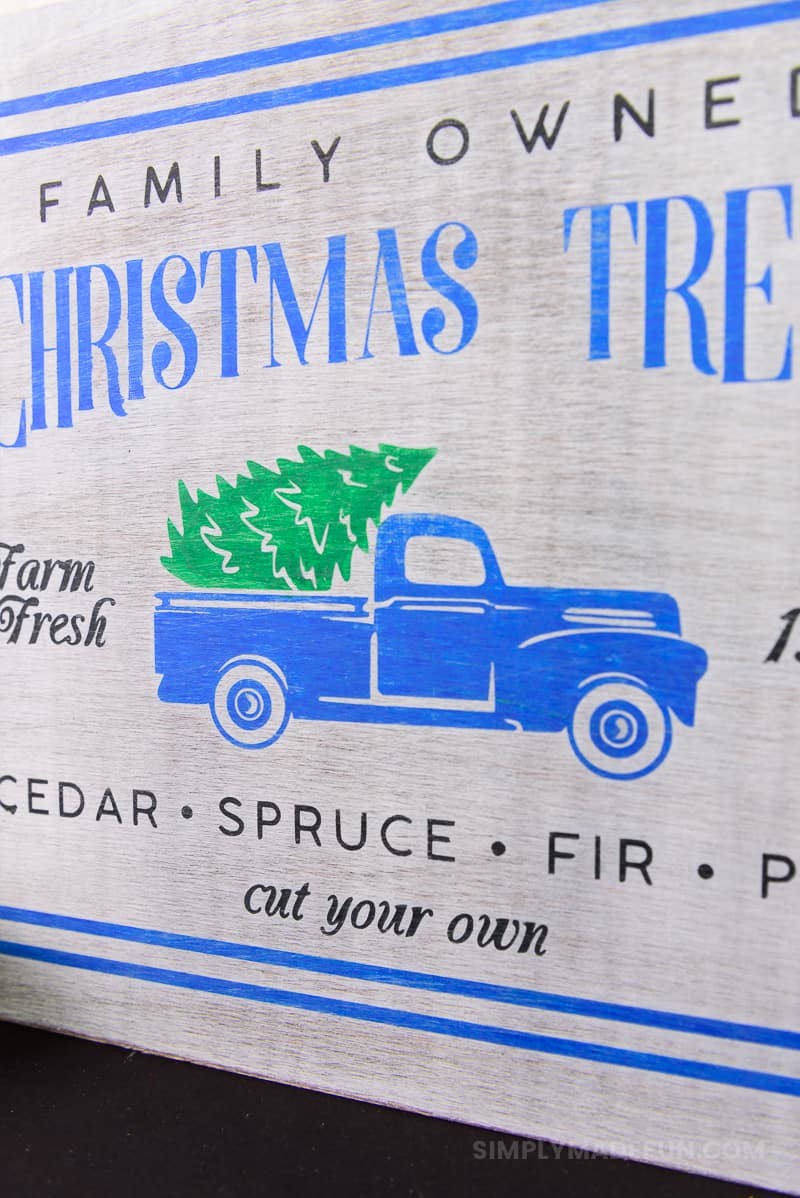
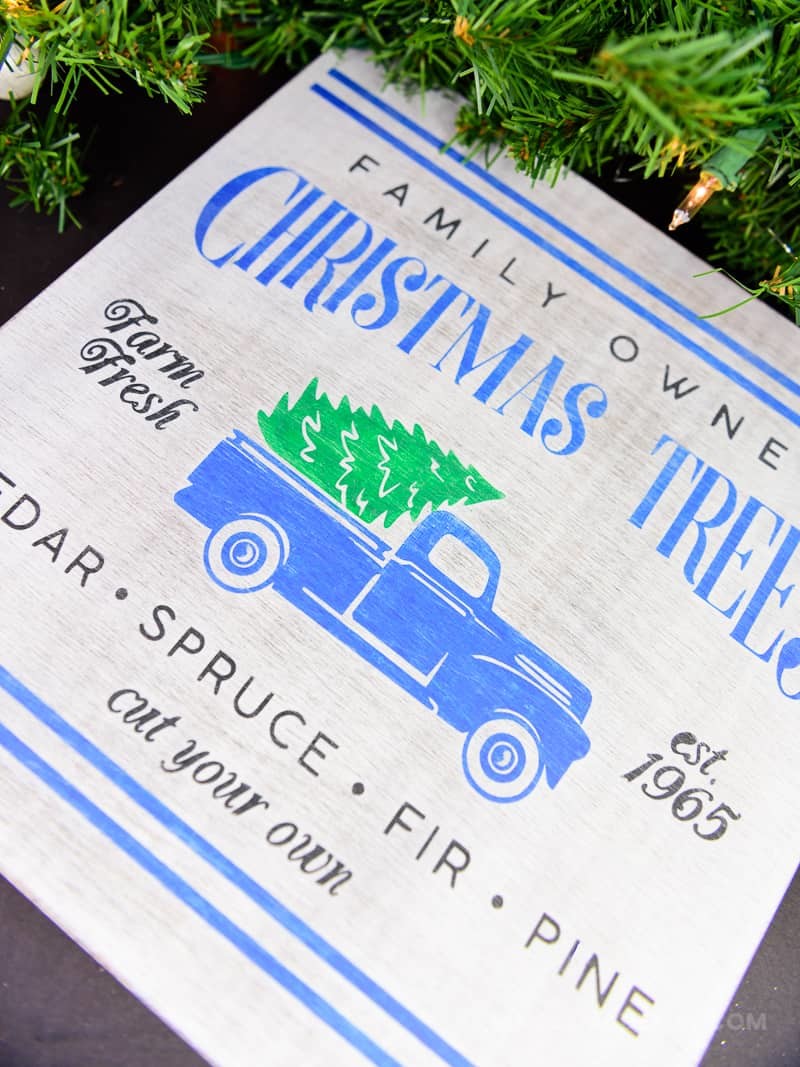
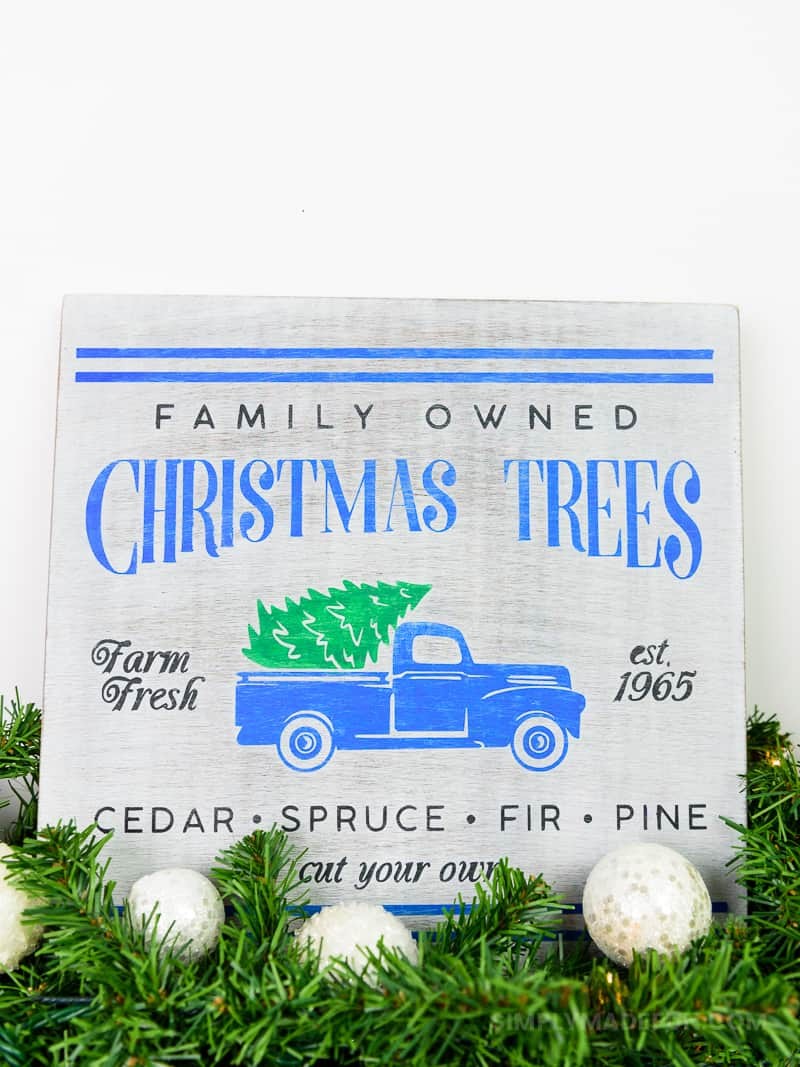
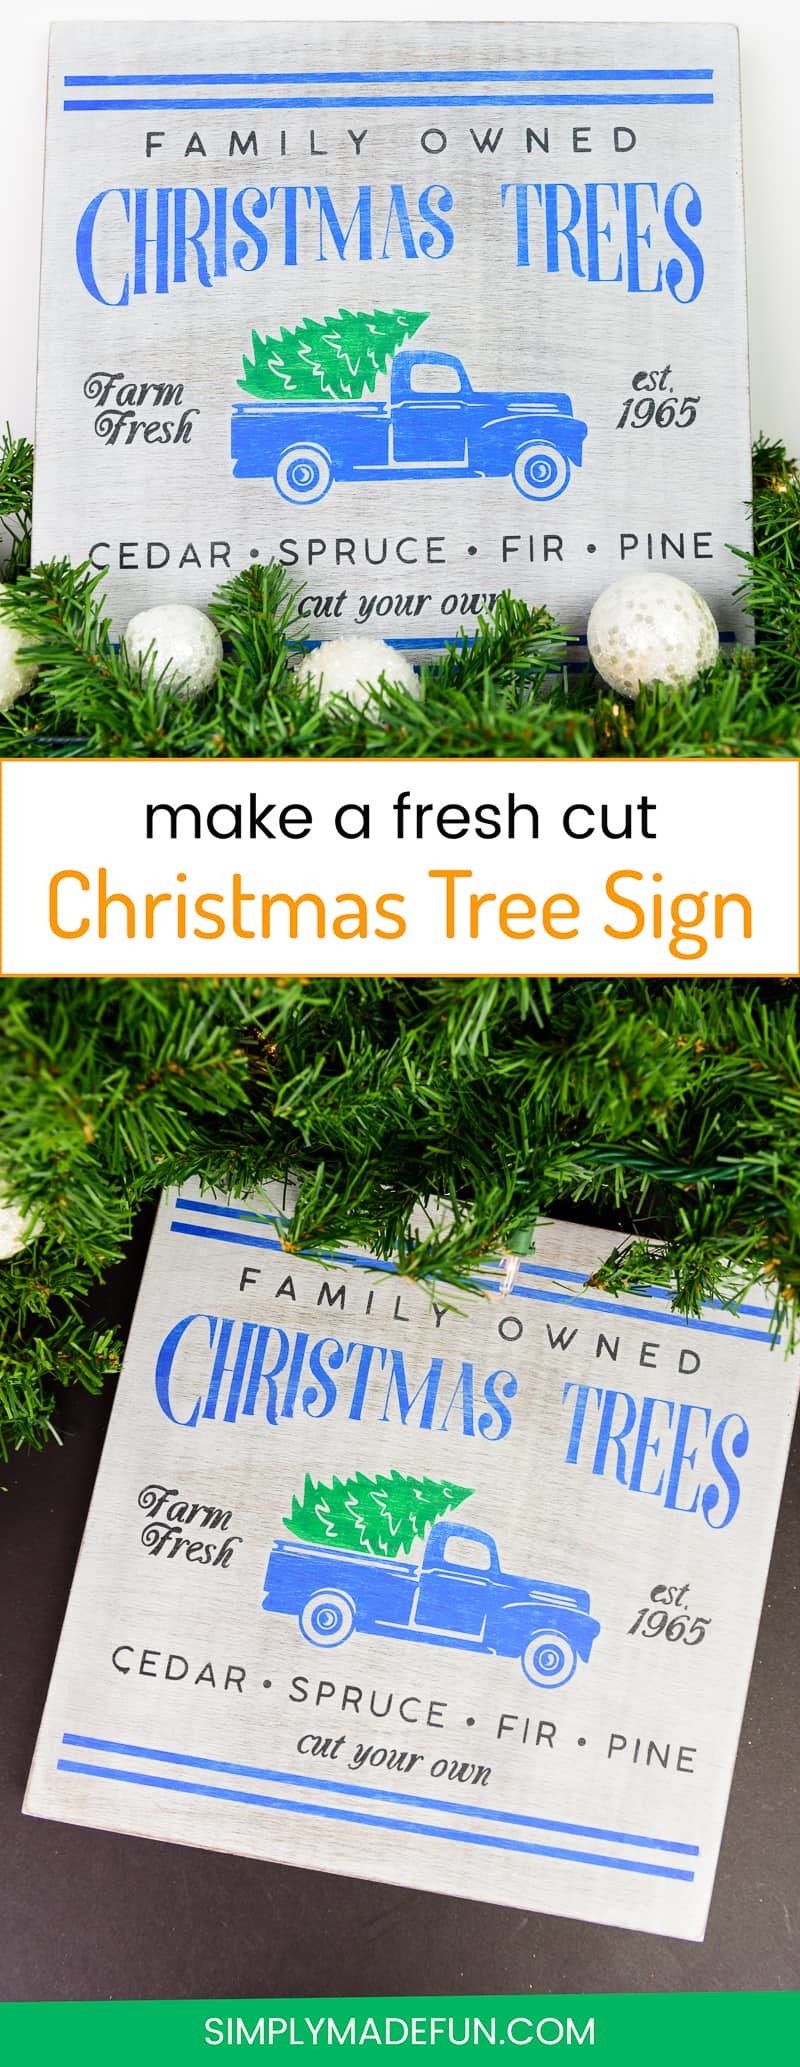
I love how this turned out, it is so cute! And I love that you did blue, you know I’m all about blue in my house too!