Guest Post: How to Take Your Photos to the Next Level
I’m really excited to be doing this guest post for Teresa’s photography series. I love experimenting with different subjects and styles. That’s why I’ll be sharing a few tips about how you can get completely different images just by making a few small changes.
A quick little intro about me: In 2012, I decided to quit my job and move to the land of croissants, pastries and heavy-duty bureaucracy. I brought my love of photography and body painting with me to France and am now sharing them on my blog www.ingrenoble.ca. You can also find me on Instagram (my recent obsession), Pinterest, Facebook and Twitter.
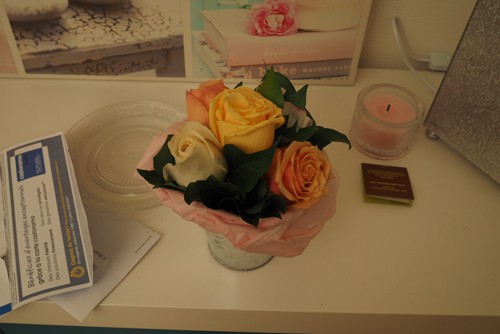
I’m going to use a cute little bouquet of flower as an example. I love before/after shots, so here is the drab/boring/unappealing “before” shot with bad lighting and clutter:
For most of these styles, you just need a nice DSLR camera (even a point and shoot will work in some cases) and a basic knowledge of how your settings work.
This post contains affiliate links. I may earn commission from qualifying purchases at no additional cost to you. I will never recommend a product I don’t use or trust.
Minimalist
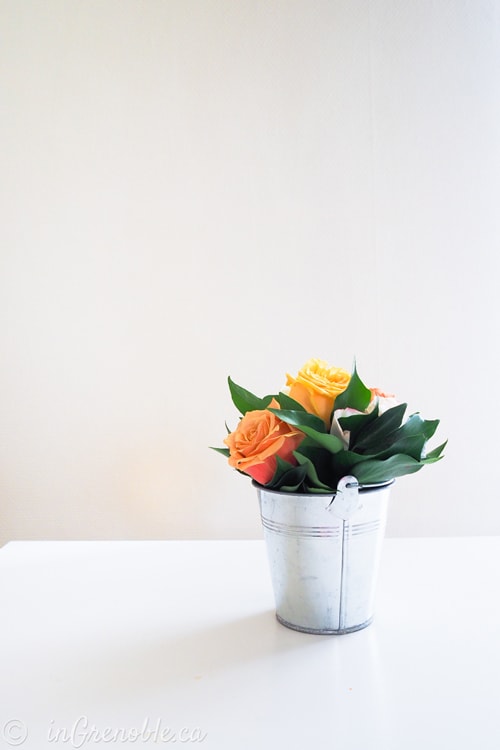
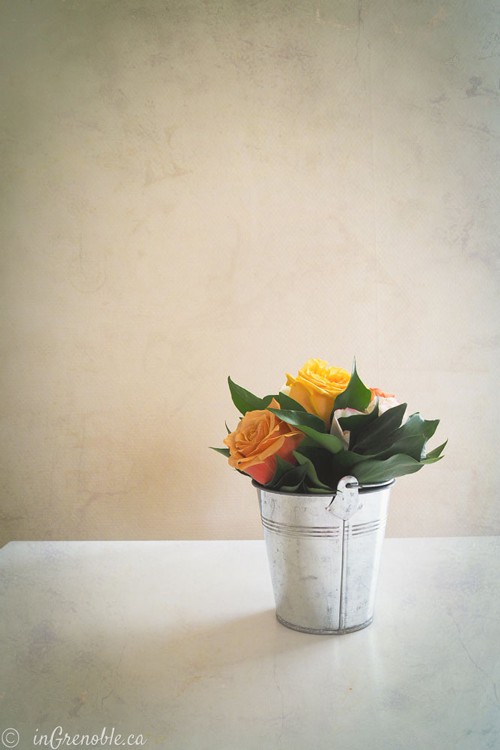
This is a really popular style right now and I’m seeing it all over magazines, blogs and even Instagram. You need a good amount of light for this type of image, so try to place your subject near a window. It’s best to take the photo during the day, since natural light (aka sunshine) is much softer and not as yellow as artificial light.
Put your object in front of a light background, like a wall or a cabinet. My first apartment in Paris had orange wallpaper (yikes), so I just used a white scarf to cover it up.
These types of images can look good up close or far away, as long as you have the space to back up. Personally, I think it looks best when the object is off-center and straight on, rather than at an angle.
Backlit
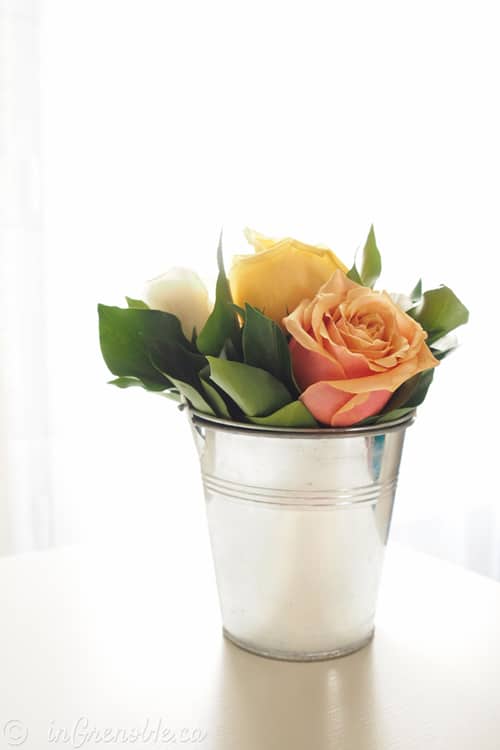
If you look at my blog or Instagram, you’ll notice that I love taking photos with backlighting. This just means that the light source (window, sun, lamp) is behind my subject. This gives that soft, dreamy effect that I love! It takes a few tries to get right, since your photo might be too washed out on the first attempts. For this style, try different angles so that you can see how the light flows over your image.
Close up
This is another one of my favorite styles. It’s easy to make almost anything look good when you take a close up shot with a wide aperture. As mentioned in a pervious article in this series, a wide aperture gives that pretty blurry background.
This type of image is actually how I became interested in photography; a friend of mine loved taking photos of ordinary objects – tea cups, forks, jars – and making them look amazing by “filling the frame” and using a wide aperture.
This type of style is best for objects with depth, like flowers. Flat things like plates or photo frames would look better with another style.
Props
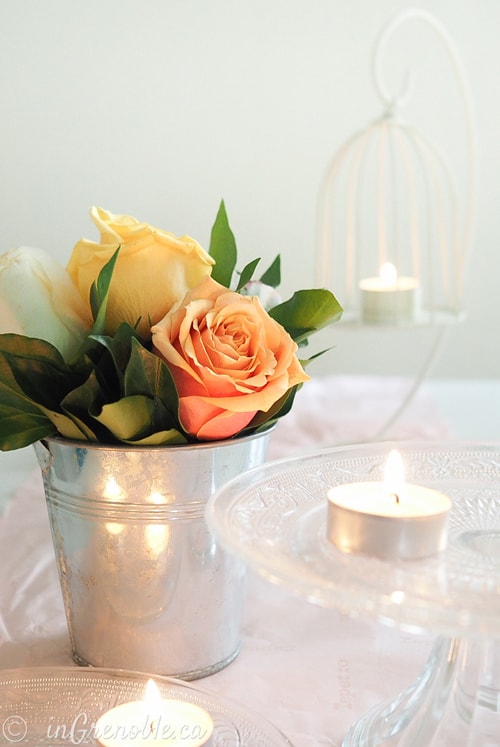
You can have a lot of fun with this one! Either stage a scene with complementary props or put your object in context. Everything always looks farther apart in photos, so make sure to put all the elements in your composition closer together. Often, less is more, so make sure you don’t take the focus away from your main subject.
When I talk about putting an object in context, especially a craft, that means showing how someone would use it. If it’s a toy, take a photo of your child playing with it or if it’s meant for the kitchen, show it beside someone cooking.
Bird’s Eye View
This is great for those flat objects that I was mentioning earlier or ones that look best from the top, rather than the side. When taking this type of shot, I like to put my subject on the ground or on a low surface, like a coffee table. You’ll want to make sure that your camera is completely parallel, otherwise the image will look skewed. Some cameras (like mine) have a setting that shows you whether your camera is level or not.
Dramatic
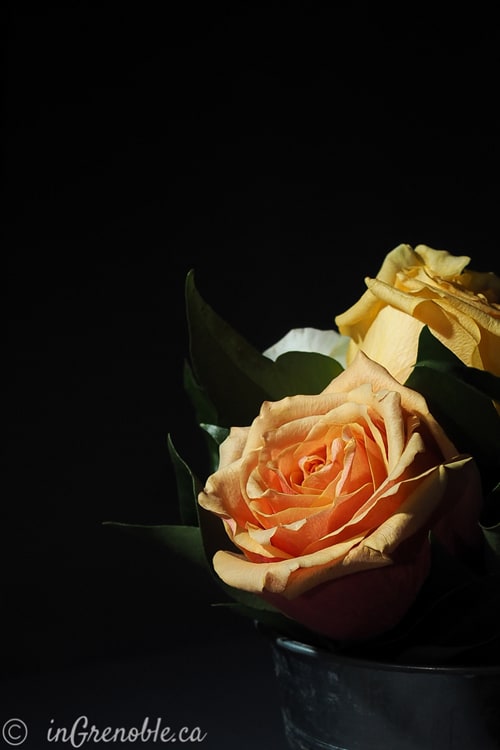
I was mentioning that the light and bright look is really popular right now, but if you really want to stand out, why not take a dramatic shot? It may not work for all objects, but it can be surprisingly versatile.
I’m using an off-camera flash (to my left) for this picture. You could try to use a lamp, but make sure to get light bulbs that are more white than yellow. Avoid trying to do this with your regular camera flash because the image will look flat and boring.
Effects
There are many post editing tools you can use to add text or effects. They can be cool to play around with, but try to reign yourself in. Personally, I prefer images that look as natural as possible and if there are some effects, I like them to be fairly subtle.
Well, I hope these tips give you a little bit of inspiration for your craft photos. My most important tip would be to look at other blogs, magazines, etc, and when you find an image you like, analyze it. What is in the image? How’s the lighting? What angle is being used?
**********
Huge thank you to Lisa for giving us these great styling tips for our photos! I can’t even pick a favorite style because I really love them all and try to use a bit of each in every photo session I do. Which one is your favorite? Is there one style you lean towards when taking your own photos?
Make sure to follow InGrenoble for more information on Photography, Travel, and Paris. Who else is a teensy bit jealous she lives in the most gorgeous city on earth (in my opinion)?
And check out these posts from her, all of which contain amazing photos from France and a few travel tips as well!




Great photo tips! Thank you for this post. I’m always looking for ways to improve my photography.
Thank you for stopping by! Lisa has some great tips, I hope they’re helpful. 🙂
Great post, Lisa! I love all your styles! I think minimalist and back lit are my favorites 🙂
Love the backlit photo too! Her photos are gorgeous, aren’t they? 🙂
This is great, Lisa! Shooting one subject in all of these manners would be a fun idea for a creative project.
That would be a great creative project! Thanks for stopping by Megan. 🙂
That’s a great post! And makes me want to travel too!
Me too! Lisa’s photos make me want to go overseas so badly. 🙂
I love some good photography tips, thanks so much for sharing!!!
You’re very welcome. Glad you liked the post! 🙂 I really love Lisa’s blog and her photography so I was incredibly excited to share it.
Wow, these photos are amazing! Her tips are certainly going to help me. Thanks for sharing!
You’re welcome! So glad you found the tips helpful. I just love Lisa’s blog and am so glad she shared her awesome skills with us!
Lots of great tips for a newbie like me. Thanks for the advice! I’m glad I found your link through the Twirl & Take a Bow link party.
Hi Anne! Thank you for stopping by. I agree, Lisa’s tips are fantastic. I’m so glad you found them helpful!
Great tips!
Thanks for stopping by Jenna!
I really appreciate this post. I love blogging but the photography part is the hardest for me,hands down. I love how the different styles are broken down and explained in a way I can understand here. The dramatic shot is my favorite – stunning!
I’m so glad you found it helpful Jen! I agree, setting up my photos so they look great on the blog can be really difficult. But Lisa’s tips have been so helpful! I love the dramatic shot too by the way. 🙂
Thanks for the tips Lisa! I’d love to be able to pull all of these off! What a beautiful, clear and friendly post. Your photos are the bomb diggity!
Her photos are gorgeous! Lisa is incredibly talented. I’m so glad you liked the post. Thanks for stopping by!