Hello Fall Wreath
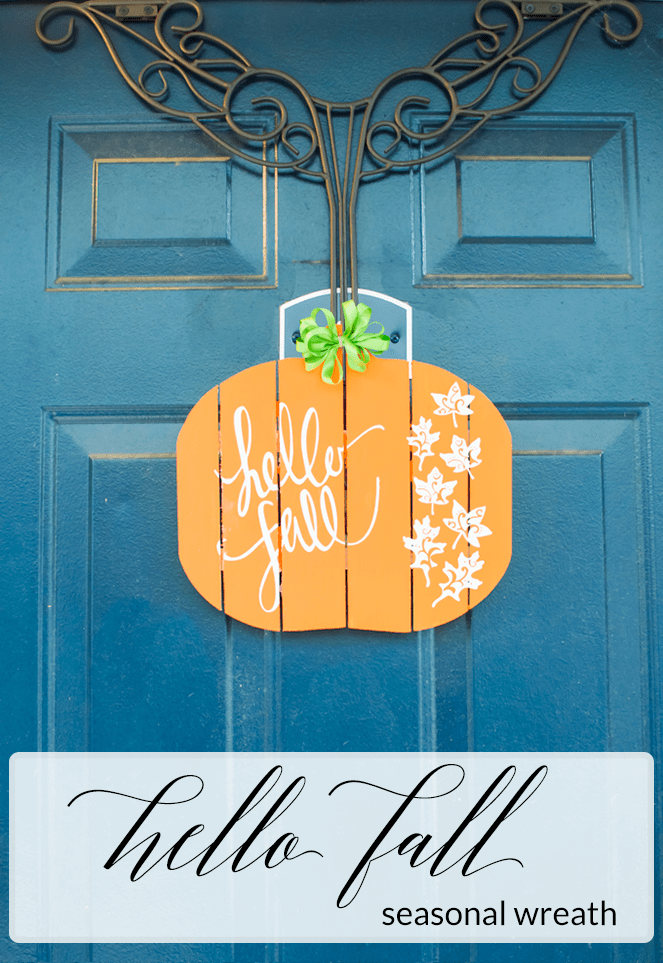
I know that Fall has been here for over a month but the weather hadn’t really got the memo until a week or so ago. Seventy plus degrees in October is not my idea of Fall, so now that the weather has cooled off somewhat I am a happy girl. And I’m celebrating with a super easy Hello Fall wreath that’s hanging on my front door!
I’ve been using my silhouette a lot lately but I’ve never really used it to make stencils. So I had the idea to try something new and see how it would turn out. Just like every other thing I’ve tried with my machine, I’m now hooked on stencils! And they’re super easy to do too.
This post contains affiliate links. I may earn commission from qualifying purchases at no additional cost to you. I will never recommend a product I don’t use or trust.
Materials
- Silhouette Portrait
- Vinyl (I used the silhouette brand from Michael’s since I was only going to use it once)
- Hello Fall & Fancy Leaves designs from the Silhouette design store
- Transfer Paper (also bought at Michael’s)
- White Paint
- Mod Podge
- Paintbrush
First, paint the wooden pumpkin and set it aside.

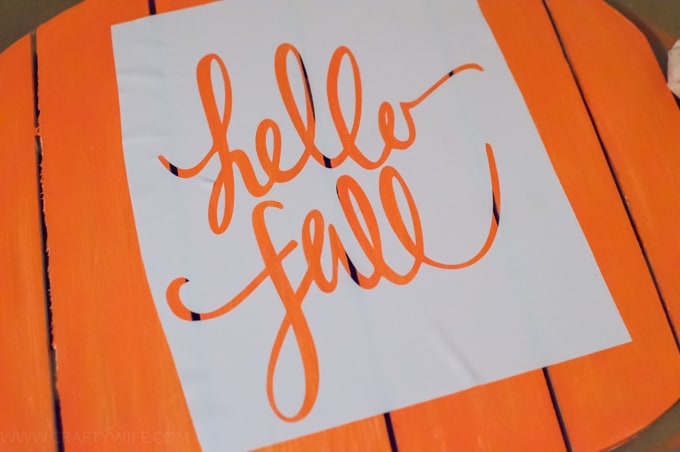
While it dries measure the pumpkin to see how large to make the stencil, and then fix the size in the Silhouette software. After cutting it out, weed the design and place transfer paper on top.
Then place the stencil on top of the pumpkin and lift up the transfer paper, leaving only the stencil.
Paint a layer of mod podge over the stencil. This step is so important because it’ll keep the paint from bleeding underneath the stencil!
Once the mod podge dries paint a light layer of the white paint over the stencil. Then gently peel up the stencil while the paint is still wet!
I still had a little bit of bleeding but it wasn’t too bad, and I was able to touch it up easily!
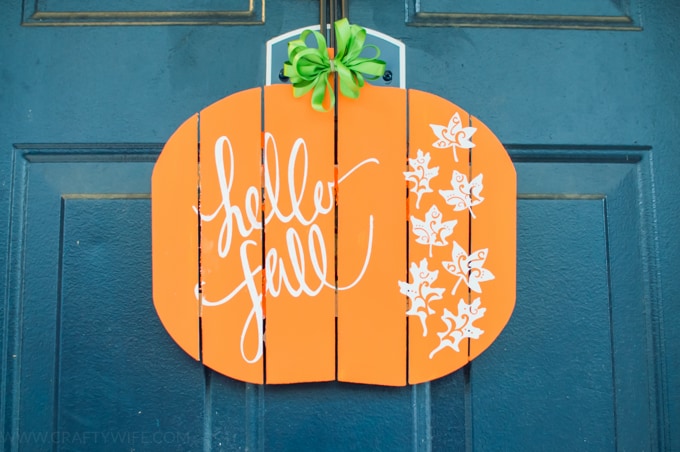
To finish off my Hello Fall burlap wreath I added fancy leaves (from the silhouette store!) and made a small green ribbon and attached it to the stem. The bow gave it another color which I felt it was sorely missing! Just in time for the trick-or-treaters too! I really wanted something simple and this wreath definitely fits the bill.
So, happy fall y’all! And Happy November!


This is just so cute! I love it and it’s giving me inspiration to get started on my christmas decor!