How to Cut Paper with a Silhouette Machine
Learn all the tips and tricks to cut paper with a Silhouette Machine. We’ll show you what cutting mats to use, what blade works best, how to remove the paper from the cutting mat without ripping it and more!

Moving along in the Learn Your Silhouette series…let’s talk about paper.
Cutting paper can be tricky if you use the wrong materials and tools. And I was the person who avoided cutting paper for years because I was (unknowingly) using the wrong tools to do it.
I would get so frustrated and angry because I wasted my time and materials.
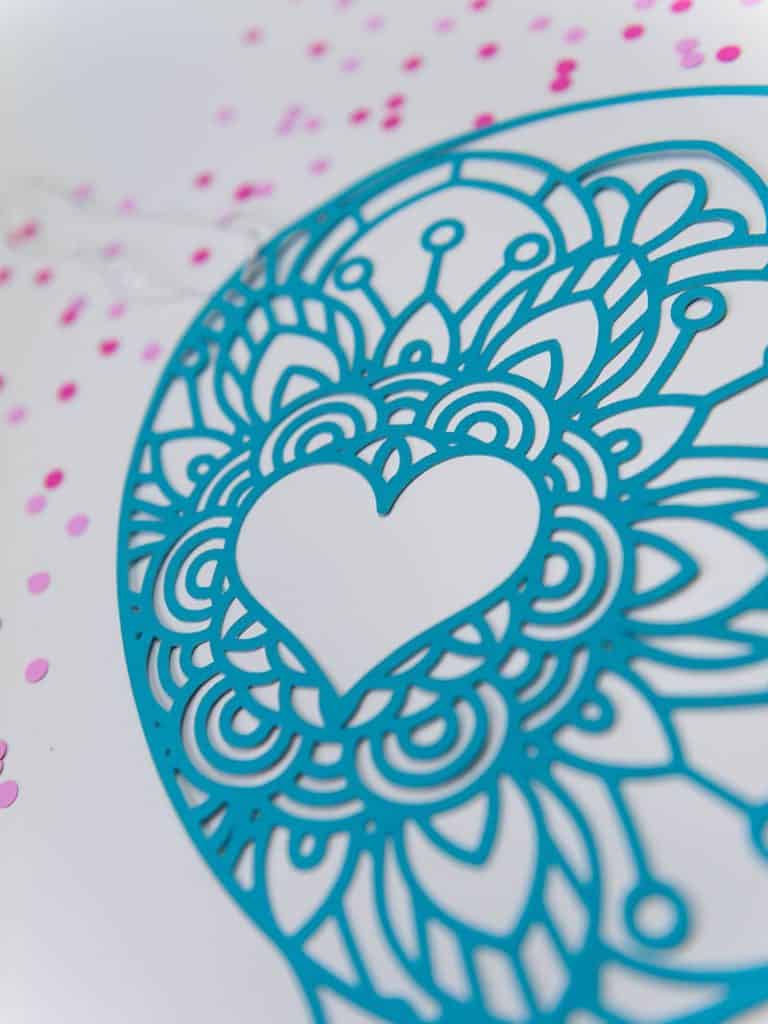
Back when I first started using my Silhouette machine there weren’t things like separate cutting mats for paper crafts.
I learned pretty quickly that a brand new mat would eat your paper if you didn’t try to “de-stick” it beforehand.
I also learned that you couldn’t use the same blade for glitter paper/vinyl that you would use for regular cardstock. Glitter dulls your blade and that causes problems for other projects you try to do!
Now we have so many different tools to use specifically for paper that makes it easier to craft with paper.

Tools you need to cut paper with a Silhouette machine
You will need….
- Light grip cutting mat – this mat comes less sticky than a regular or strong grip mat which makes it perfect for paper! There’s no extra step to de-stick you mat required.
- Autoblade – buy an extra autoblade and make sure you only use it for paper! Paper will dull your blade faster so if you’re using the same blade for paper and vinyl (or another material) then you may find that your blade isn’t cutting all the way through your material. Label your blade so that you know which one is for paper! Just make sure the autoblade is made for your specific machine!
- Scraper tool – you need this to get all the extra paper off your cutting mat. You want your mat to be completely clean before you put a new piece of paper on it!
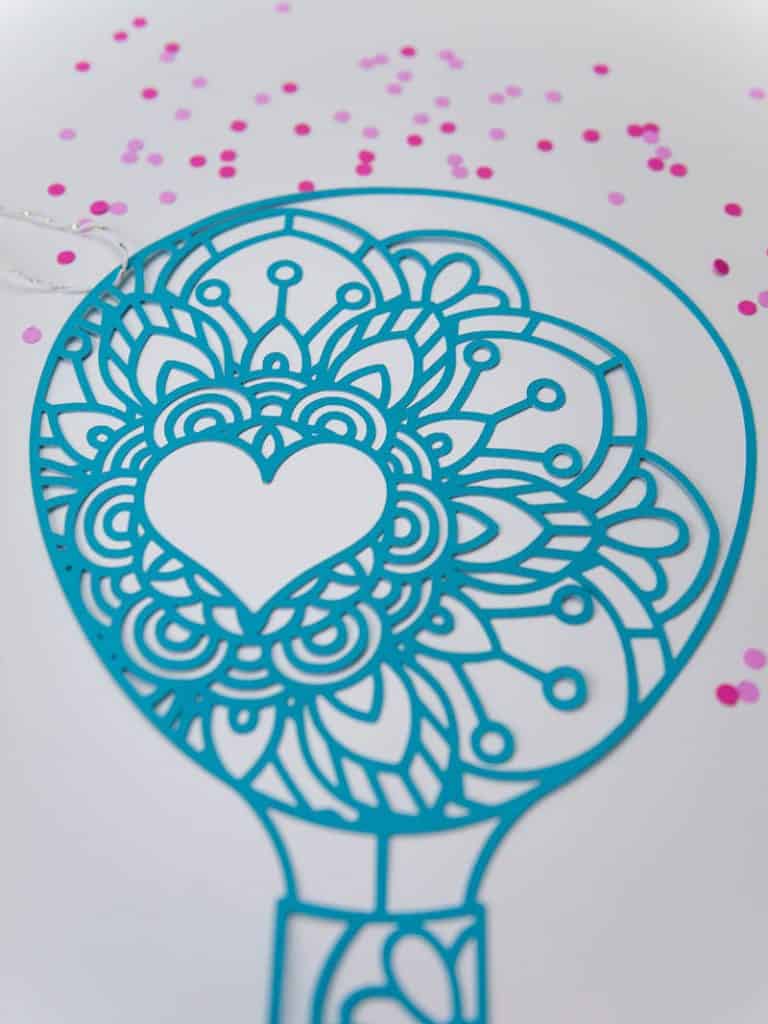
This post contains affiliate links. I may earn commission from qualifying purchases at no additional cost to you. I will never recommend a product I don’t use or trust.
TIPS FOR CUTTING PAPER USING A SILHOUETTE MACHINE:
What cut settings should you use to cut paper?
To cut cardstock your settings should be….
- BLADE: 4
- SPEED: 4-8 (use a slower speed for more intricate/detailed designs)
- FORCE: 24
- PASSES: 1
- OVERCUT: I like using this because it helps you get cleaner cuts. Start at 0.1mm for crisp corners
Always do a test cut before cutting your design to make sure the blade can cut through your paper. If it doesn’t, adjust your settings and try again.
Depending on the texture of the cardstock you may need a higher blade depth (usually 5 is a good place to start with textured cardstock).
What is line segment overcut and why you should use it to cut paper?
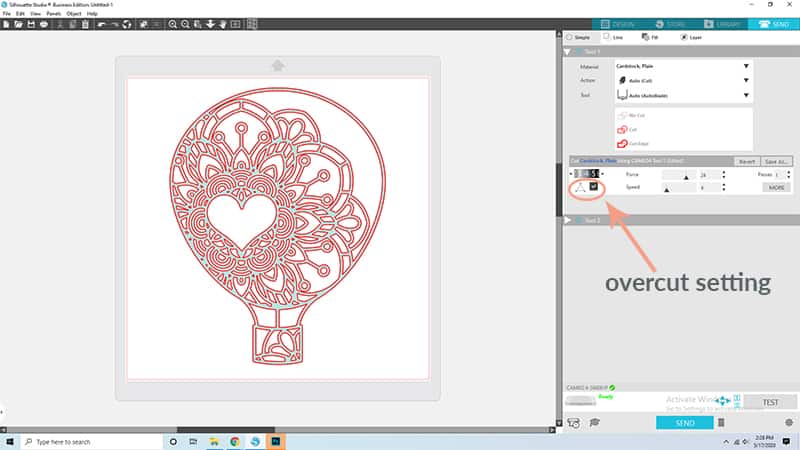
In Silhouette Studio, overcut is defined as cutting your design a little outside of the lines.
Why is this beneficial?
Typically if your blade drags around an edge it can potentially rip up the edge and tear the paper. Overcut prevents this by cutting past the corner, lifting the blade up, and then will start cutting the next side. Cutting corners this way will keep the blade from rotating and potentially tearing your corners.
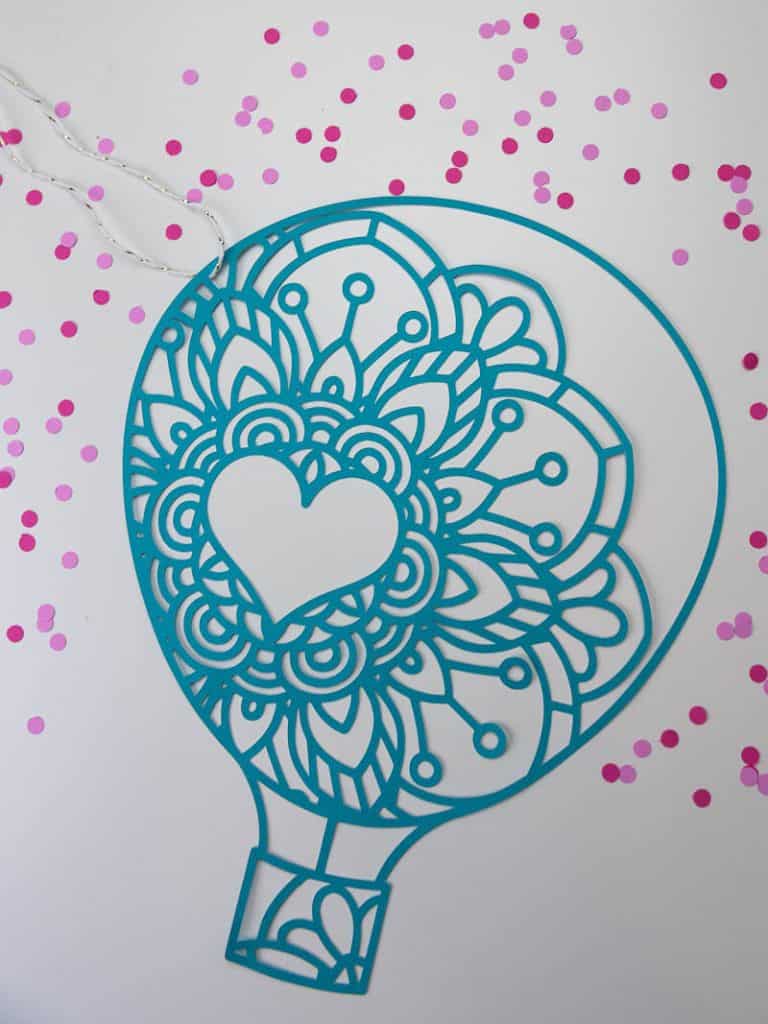
OVERCUT WILL NOT WORK ON ROUNDED EDGES. It cannot detect them. Only turn it on if you’re cutting a design with sharp corners.
You can turn Overcut on in the SEND tab in your Silhouette Silhouette. You can adjust the width of the overcut depending on what you like, but I always like to start small (0.1 is what I recommend) and then go bigger if I need to.
Do you need to clean your mat to cut paper?
If you have used this mat for other paper projects…YES.
If you have small scraps of leftover paper on your mat use your scraper tool to get them off.
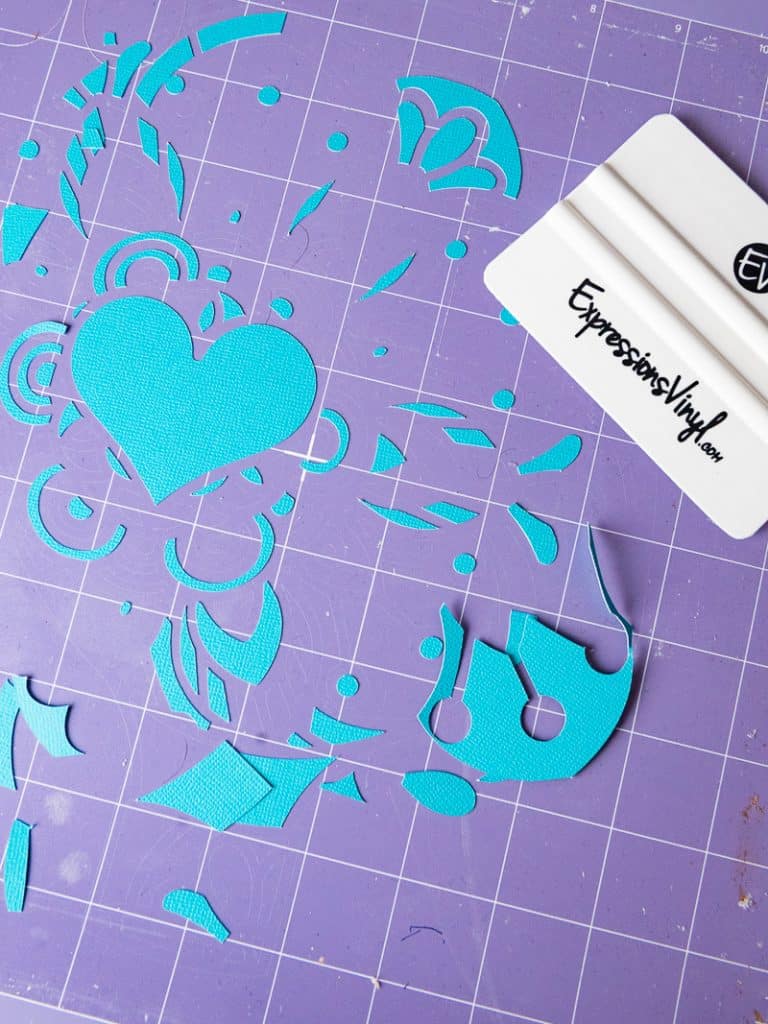
This is a step you should not skip because any bits of paper still stuck on the mat will cause your paper to not lay flat and it will stop your blade from getting a clean cut.
If you have a brand new light grip mat, nothing needs to be done.
However, if all you have is a new standard grip or strong grip mat you must de-stick you mat! To do this, use a cotton t-shirt and dab at the mat until it loses a good portion of its stickiness.
I was using a strong grip mat for this project because it has been used so many times for other things that it has lost some of its stick.
I also couldn’t find my light grip mat so…..I used what I had.

Four things you MUST do before hitting cut!
- Check to make sure your rollers are locked in place. I can’t tell you how many times I’ve been in the middle of a cut just to have my roller slip and completely ruin my material.
- Double and triple check your cut settings to make sure they’re right.
- Check your blade to make sure it’s clean. If it’s not, clean it out thoroughly before inserting it back into the holder.
- Do a test cut that way you know whether or not your blade depth works for the type of material you’re cutting.
Before unloading your mat after your cut is finished, check the cut lines!
Check to make sure your design is cut all the way through.
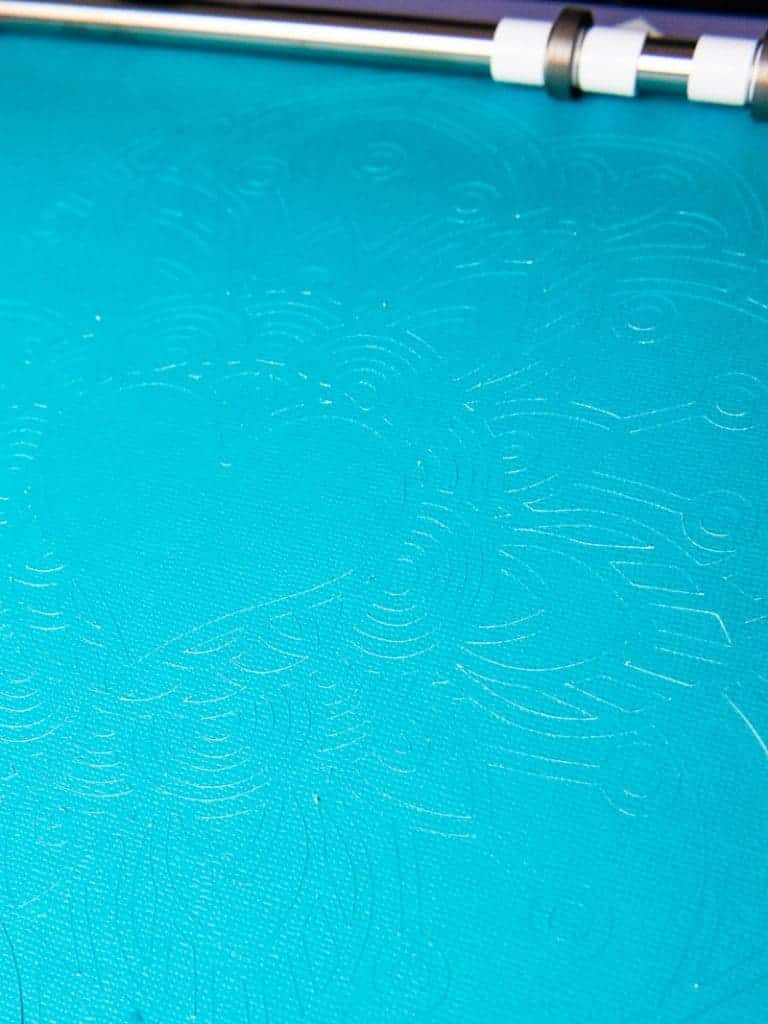
To do this you can lift up a corner of the paper to see if it the weeded pieces are fully detached. You can also shine a light (your phone flashlight works well for this!) on the paper and check that your entire design is cut.
If you notice your design isn’t fully cut clean out your blade and then press SEND to cut your design again.

Other posts from the Learn Your Silhouette Series:
- How to Use Transfer Tape
- How to Cut and Weed Small Vinyl Designs
- How to Get Crisp Paint Lines with Stencil Vinyl
- How to Use Heat Transfer Vinyl on Shirts
- How to Remove Heat Transfer Vinyl if You Mess Up

How to cut paper with a Silhouette machine
Learn how to cut intricate svg designs on paper with your Silhouette machine!
Materials
- Cardstock
- Design from SoFontsy
Instructions
How to prep your machine and software before you hit cut
- Prep your mat. If your mat has pieces of paper on it from previous cuts, clean them off with your scraper tool.
- Load your paper on the mat and into your machine.
- Check your blade to make sure there are no small pieces of paper or other materials inside of it. Clean it out if you need to.
- Double check your cut settings in Silhouette Studio and make sure OVERCUT IS TURNED ON.
- Do a test cut to make sure your blade will cut through the paper. If it does not turn your blade depth up to 5 and try again. Continue to do this until you have the correct settings for your machine.
What to do after your design is finished cutting
- DO NOT UNLOAD YOUR MAT YET!
- Check to make sure your entire design cut on your paper. I like to use my cell phone flashlight to check.
- If your machine did not cut your entire design, HIT SEND in the Silhouette software again and recut it.
- Gently pull up the paper to make sure that your design comes up easily. If it does, hit UNLOAD.
- You may need to use a weeding tool to get all the small pieces weeded. Most of the big pieces should just fall right out!
Notes
Settings to cut paper with your Silhouette machine
- BLADE: 4
- FORCE: 24
- PASSES: 1
- SPEED: 4
- OVERCUT: On
Recommended Products
As an Amazon Associate and member of other affiliate programs, I earn from qualifying purchases.


Article stated many times it was about cutting paper, then gave settings for cardstock.
Hello! There are many different types of paper (cardstock, copy paper, crepe paper, etc) you can cut with your machine. This particular article is about cardstock, which is what a lot of us use with our cutting machines to make cards, banners, bookmarks and more.
If you need a specific type of paper it would be more helpful to specify which type you’re looking for so that I may be able to help point you in the right direction for tips and tricks. Otherwise I cannot help.
Thanks!