Nursery Ampersand Art
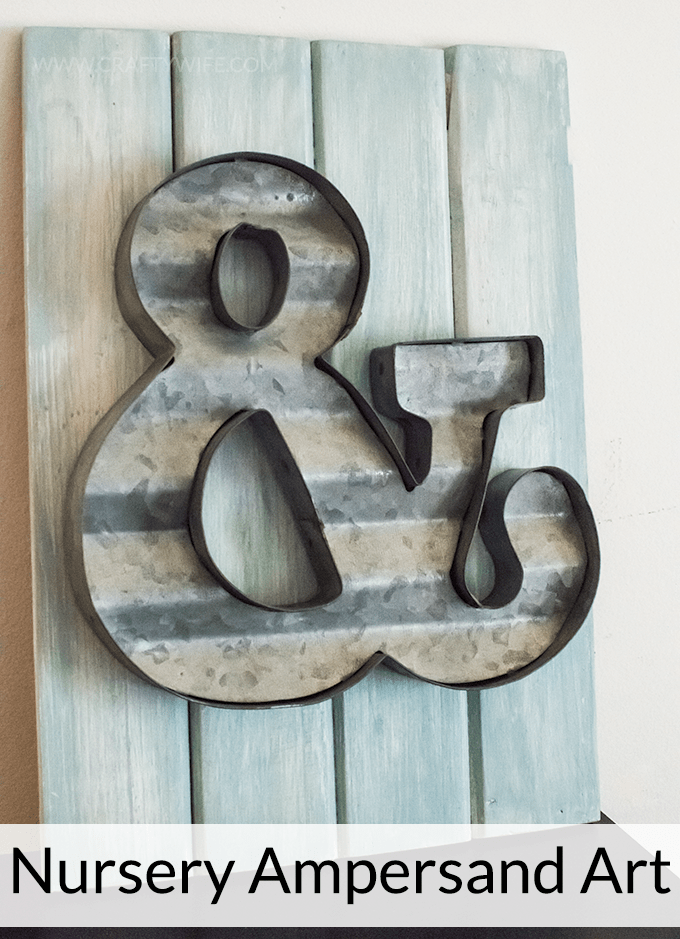
Over the weekend I finally got around to a project that has sat in my craft corner for a while now. I’ve had a long-time love of ampersands and definitely have a few scattered throughout my home. My favorite ones are the metal kind. I’m not sure why but I just think they look more unique than the wooden ones, but maybe that’s just me.
I was in Michael’s one week and saw this lovely metal ampersand, and I just knew I wanted to do something with it! I was sure Chris would tell me that I didn’t need to bring yet another one into our home, but I decided to buy it anyway and was determined to find a place for it! I’m still not sure if I want to use it in a gallery wall display, but I do know it’s going in the little man’s room and that I needed to start working on it.
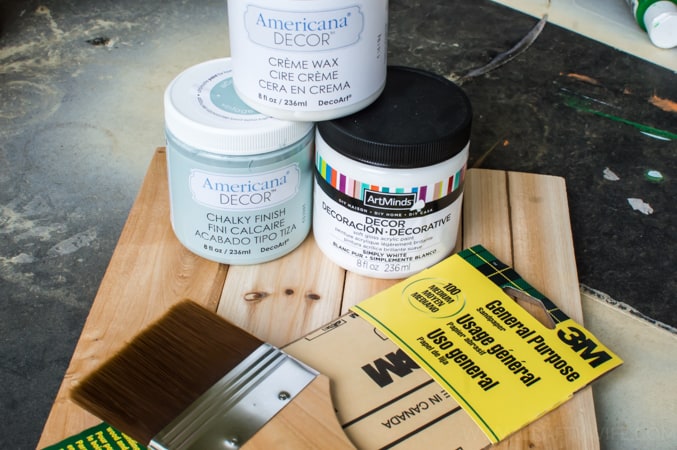
So I gathered up my lovely chalk paint (I’m telling y’all, I’m obsessed with it!) and other materials then headed outside to get this project started. Here’s what I needed:
- Wooden board (bought at Michael’s)
- Metal ampersand (bought at Michael’s)
- Mint green chalk paint
- White chalk paint
- Clear wax
- paint brush
- paper towels
- lint-free cloth
- E6000 glue
- sand paper
To start, I sanded down my wood board until it was nice and smooth. You want to get all of the rough edges off before painting! Then, I put a nice layer of white chalk paint on the wood. Only one coat was needed for me, but I wasn’t looking to fully cover the board either since I was putting another color on top of the white!
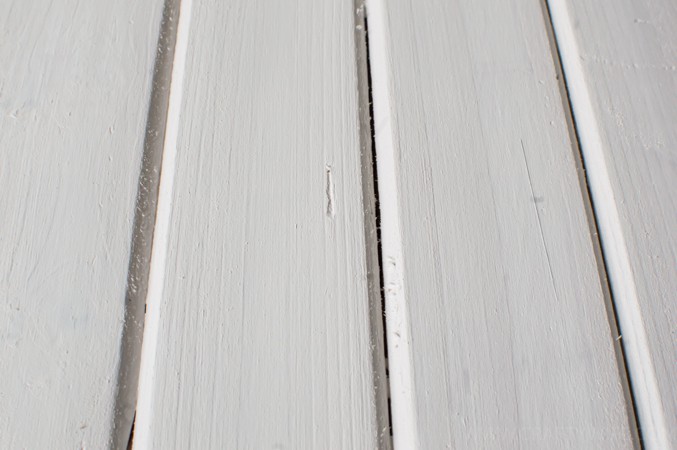
Once the paint is dry gently sand the board again. Don’t try to strip off the paint, you’re just doing this so that you have an even surface to work with!
Then, lightly paint a coat of your top color (for me it was the mint) on top of your white board. As soon as I was done painting I grabbed a paper towel and began wiping most of the paint off. I didn’t want a perfect top coat so I just continued to wipe until I was happy with the amount of color left on the board.

Once the top coat is dry lightly sand it again. Not only will this give your board a slightly distressed look, but it’ll also even everything out (again) before you put the wax coat on!
Add the wax coat with your lint-free cloth then leave it outside to dry.
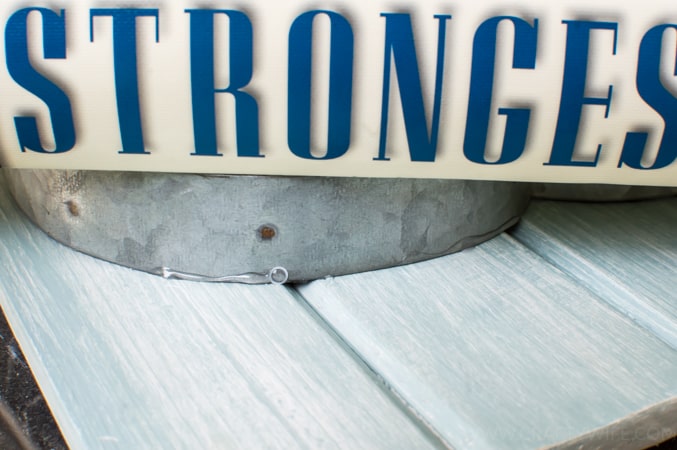
Once everything is dry put a nice liberal amount of E600 glue (that stuff sticks to everything!) on the back of the ampersand and then turn it over and press it down onto your board. I borrowed a few of Chris’s heavier books to set on top of the ampersand so that it would set. An hour later, and this project was finished!
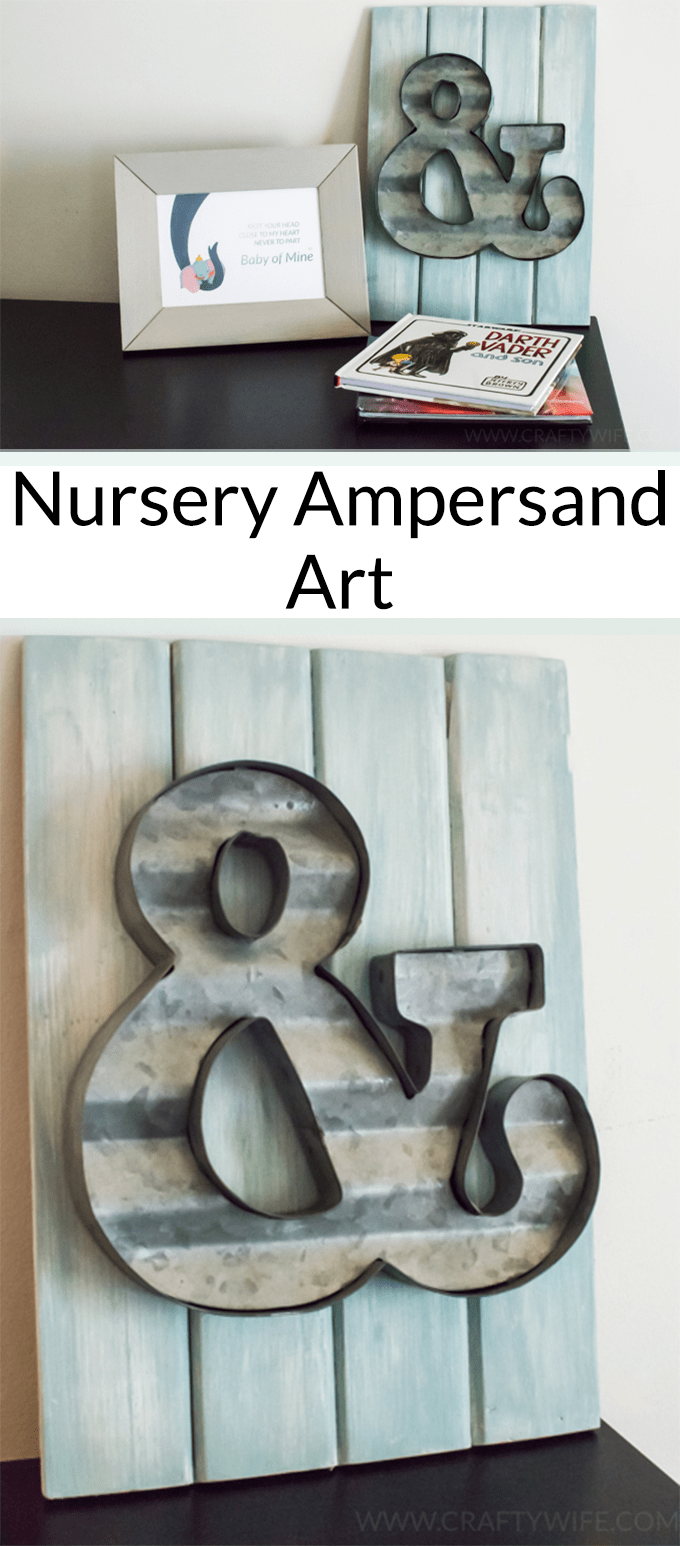
I am so excited with how it turned out, and love that it brings a bit of color to the nursery! The slight distressed look I achieved was exactly what I was going for and I think the entire display looks great against the dark wood stain of our little man’s furniture.
I cannot wait to see how the rest of his room comes together and am so excited to share it with y’all in the coming weeks!
This post contains affiliate links. I may earn commission from qualifying purchases at no additional cost to you. I will never recommend a product I don’t use or trust.

