15 Minute Paper Spider Webs DIY
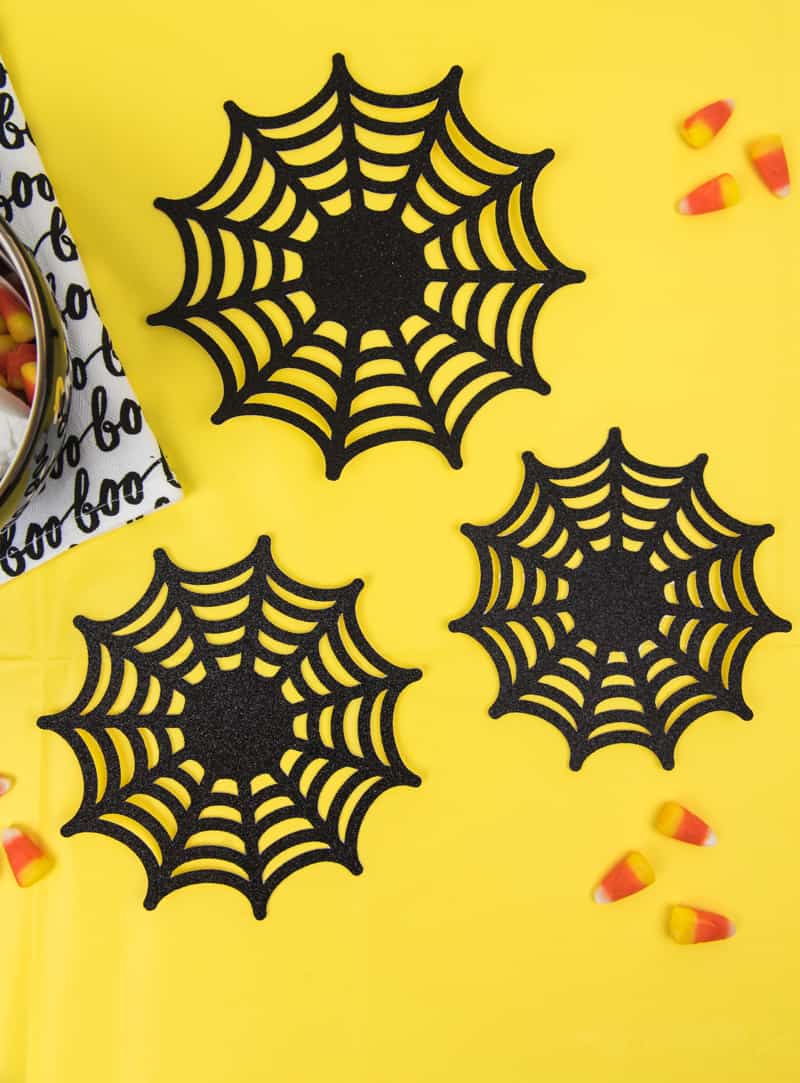
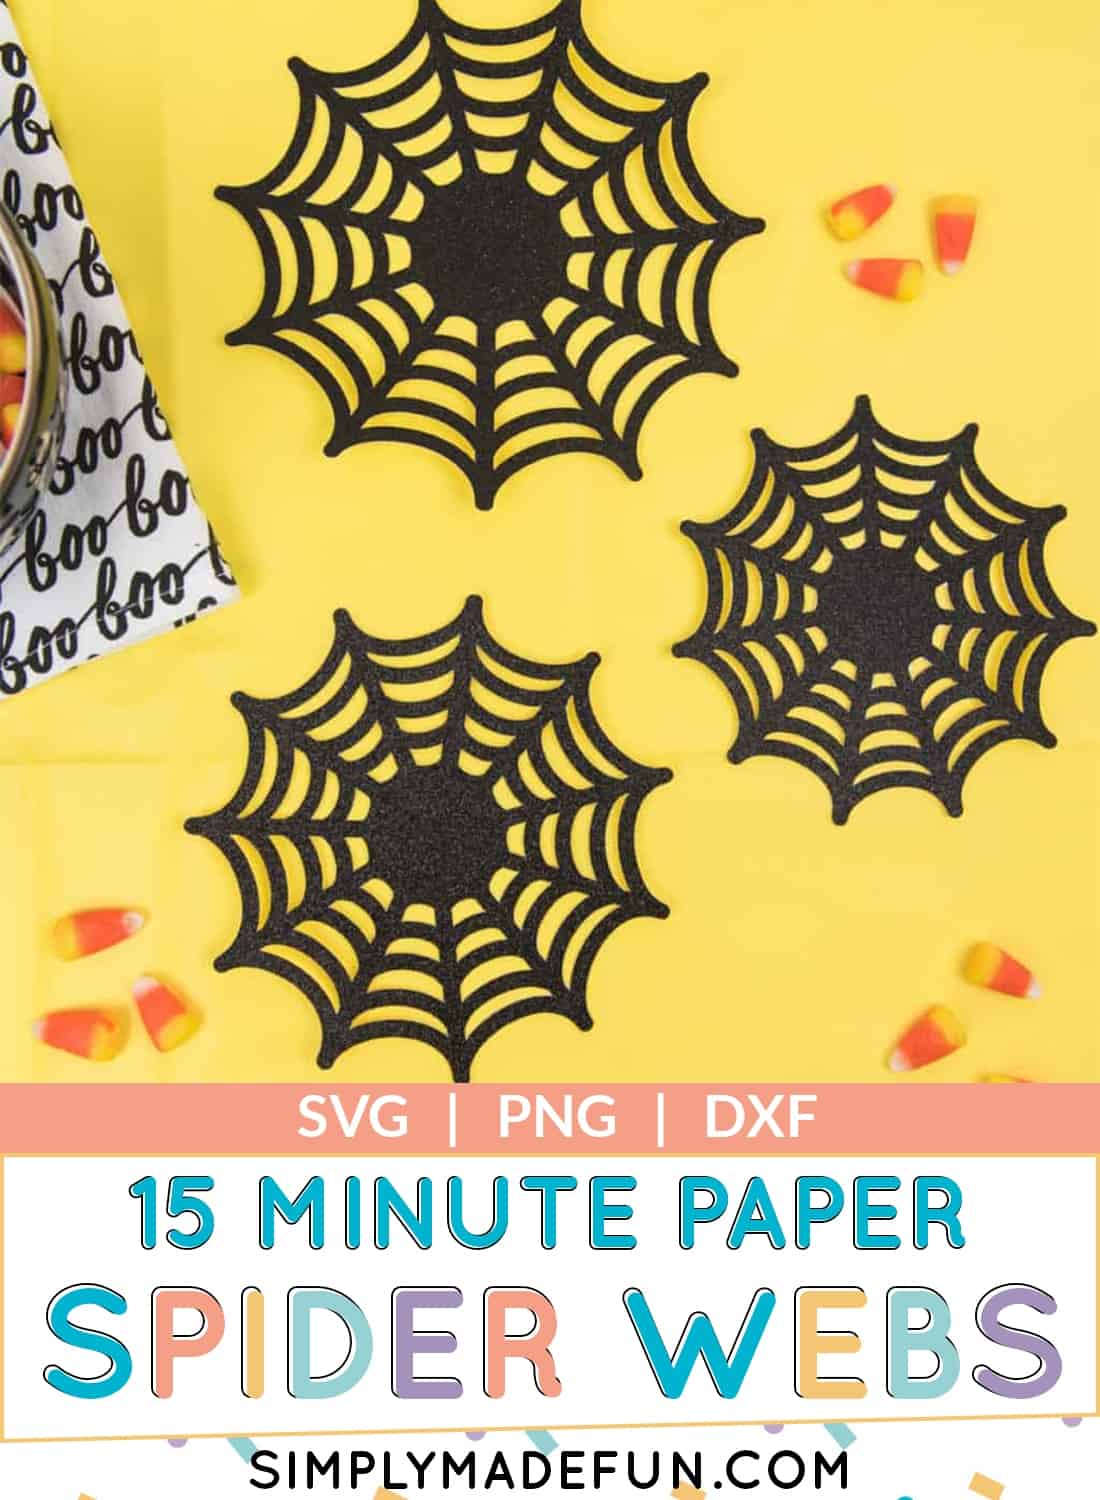
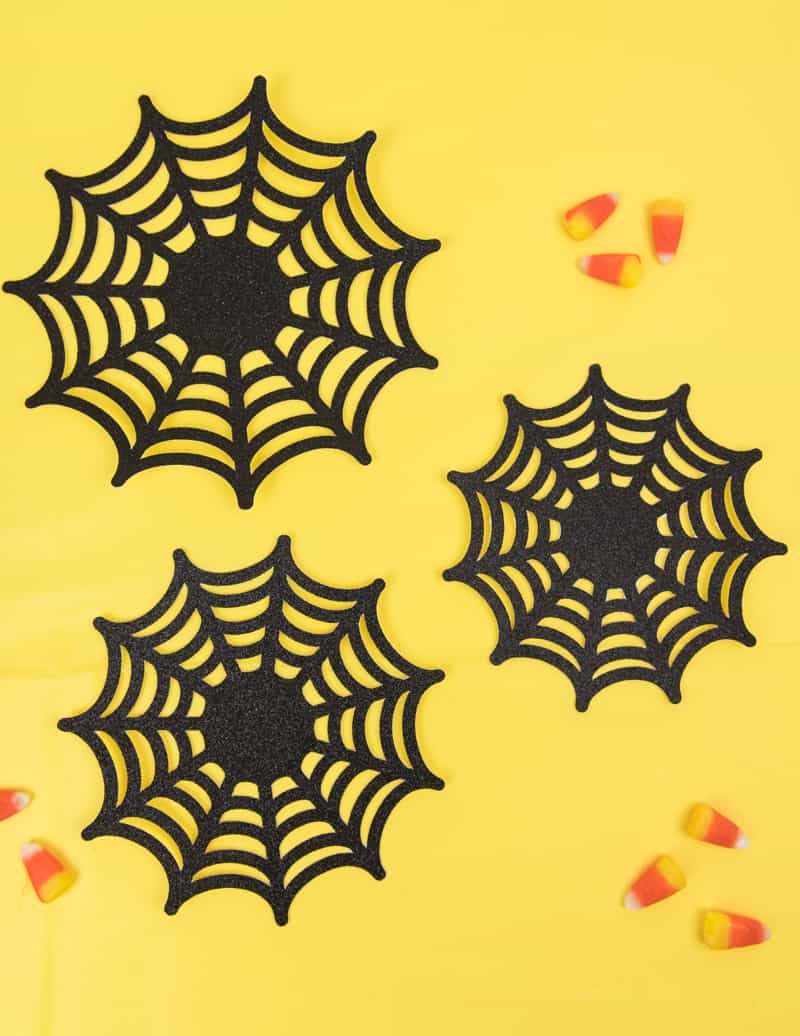
Grab the free SVG cut files for these Paper Spider Webs and use them as fun party decor for Halloween!
Halloween has never been my favorite holiday.
It probably has something to do with the fact that my biggest fear in life are spiders (ick), and I’m allergic to peanuts and tree nuts so I always had to give up more than half of my candy to my sister. As a kid….that was not cool.
Even so, I figured I should make some quick and easy Halloween party decor just in case I need it some day.
The best part about these glittered paper spider webs is that they’re easy to store so you can pull them out and reuse them year after year! So maybe (hopefully) one day they’ll get used.
Materials
Everything you’ll need to make these paper spider webs!
- Glitter cardstock,
- Silhouette Cameo,
- Cameo 4 Autoblade,
- Light Grip Cutting Mat
This post contains affiliate links. I may earn commission from qualifying purchases at no additional cost to you. I will never recommend a product I don’t use or trust.
Common questions about cutting these paper spider webs!
What type of paper works best for these spider webs?
Do not use regular old 60lb cardstock for these webs! You want something sturdy that will hold up to your blade on your Silhouette or Cricut.
I liked using glitter cardstock for my paper spider webs because it’s thick and I really loved the glitter on the finished webs.
What cut settings should you use?
The wrong cut settings can cause your paper to rip and tear!
I used the glitter settings to cut these paper spider webs and it worked fine.
But, you’ll want to turn on Line Segment Overcut and make sure you’re using a new blade. I have a Cameo 4 Autoblade for my Silhouette Cameo that I use specifically for cardstock.
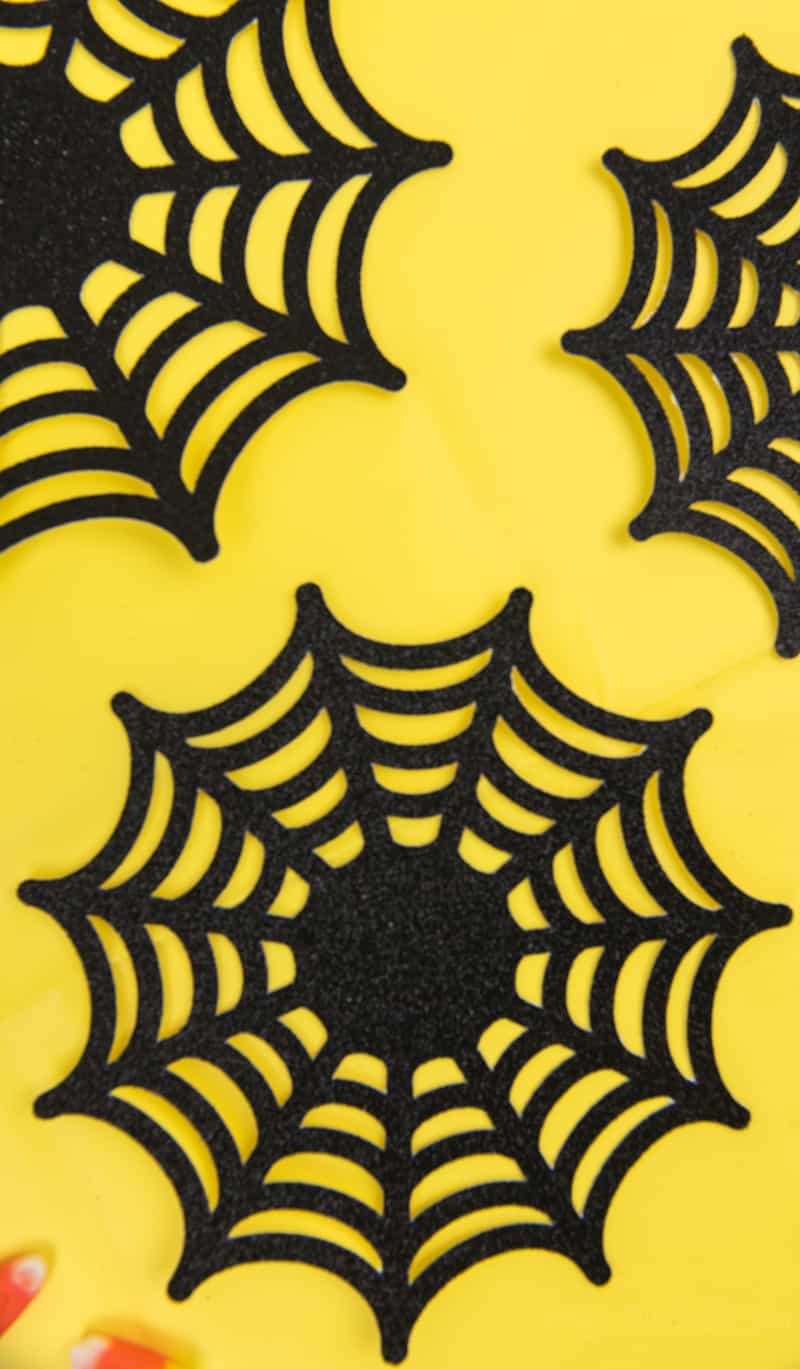
How do I get the paper spider webs off the cutting mat without it ripping?
This is the million dollar question. I’ve wasted so much paper trying to get it off the mat and I don’t want you to struggle!
First thing is to make sure your mat isn’t too sticky.
I recently invested in the Silhouette Light Hold cutting mat and I’m obsessed! It made cutting paper so much easier.
But if you don’t have one, try using an older (less sticky) mat. If it’s too sticky you will not get your paper off. That’s not what you want.
If all you have is a new mat grab a cotton t-shirt and rub it all over your mat. The fibers will stick to the mat and cut down on the “stickiness”.
When you go to pull up your paper from the mat use the Silhouette spatula tool and also make sure that you’re pulling the mat away from the paper, not the other way around!

FAQ’S About These Paper Spider Webs
How do you store these paper spider webs so you can use them year after year?
My favorite way to store paper is to put them in-between pieces of cardboard! Save your Amazon boxes and cut off pieces to put your paper in-between. Then you can label them and store them in a large plastic bin with all of your other holiday decor.
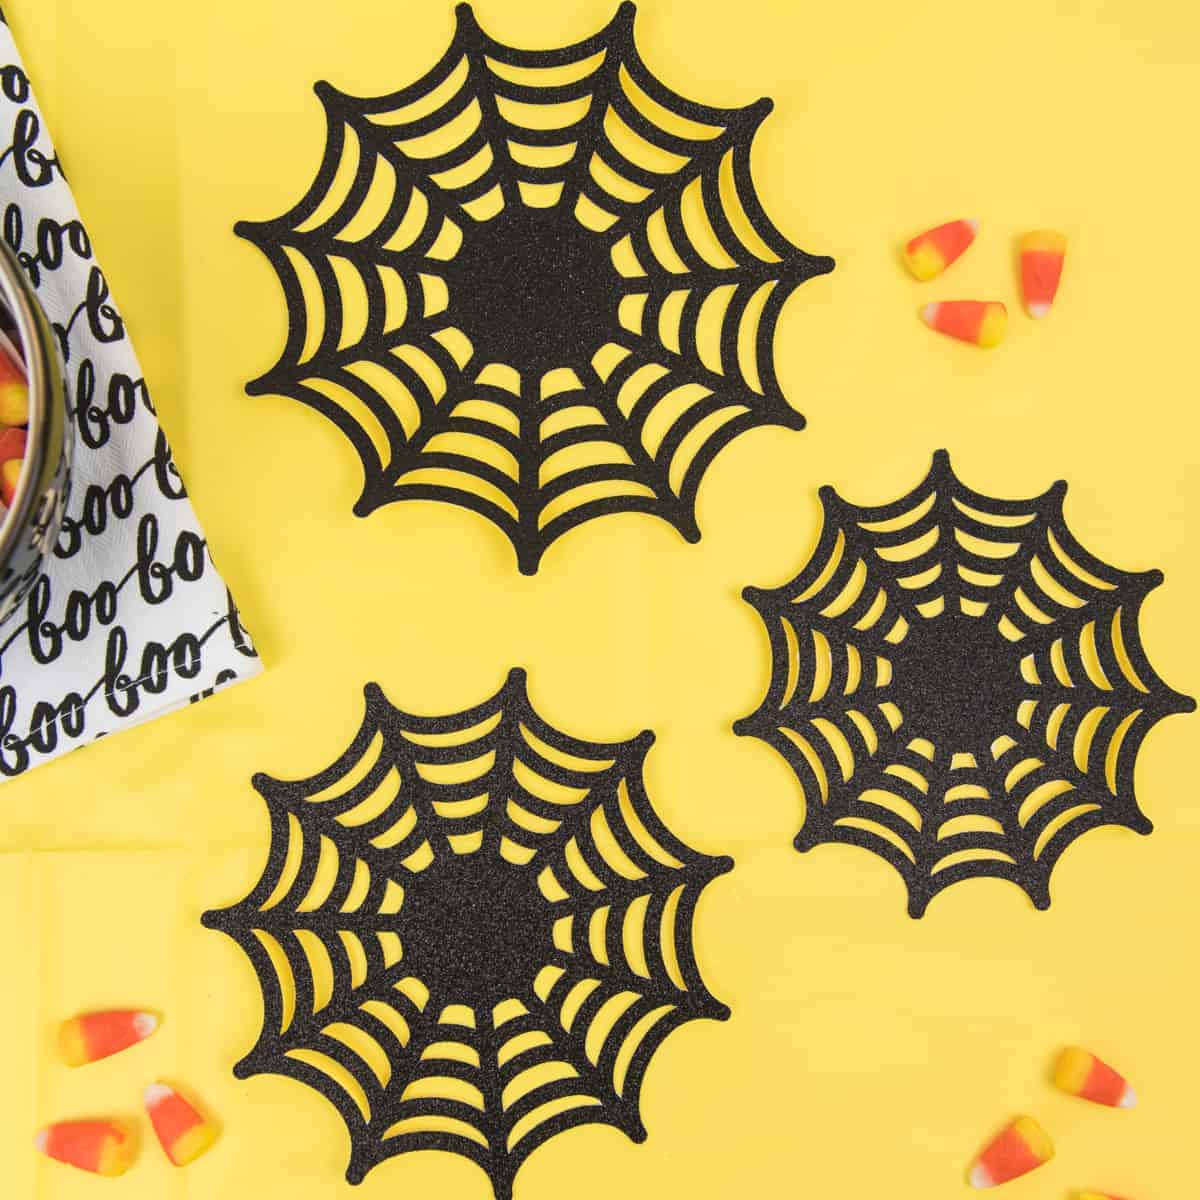
Combine these with some of my other Halloween projects and you’ve got yourself some cool party decor!
- Halloween Popcorn Bags
- Spooky Halloween Frame
- DIY Halloween Wreath
- Floral Mickey Ears Pumpkins
- Paper Pumpkin Lanterns

Paper Spider Webs
These paper spider webs are the perfect easy Halloween decor. You can use them as wall ornaments, party decor, or even a photo backdrop!
Materials
- Black, White, or Silver Cardstock
- Paper Spider Web cut files
Instructions
- Download the paper spider web file and open it in your Silhouette software.
- Adjust the cut settings and then hit cut.
- Use your spatula tool to remove the paper from your mat. Make sure to go easy on your paper so it doesn't rip!
- Hang up your paper spider webs or use them on your table decor for your Halloween party!
Notes
For these paper spider webs my Silhouette settings were...PAPER TYPE: Glitter Cardstock, DEEP CUT BLADE: 6, SPEED: 3, THICKNESS: 33, PASS 2.
- You may have to cut your design twice if you're using Glitter cardstock. Glitter is harder to cut because of the thickness.
- Clean out your blade after you cut cardstock (especially glitter). Pieces can get stuck in your blade and it will effect the way your blade cuts.
Recommended Products
As an Amazon Associate and member of other affiliate programs, I earn from qualifying purchases.
Before you leave check out these fun Halloween Party Decor crafts from some of my favorite crafty friends!
- DIY Skull Vase from Persia Lou
- DIY Pastel Halloween Decor from Spot of Tea Designs
- Spider Halloween Cupcake Wrappers from Polka Dotted Blue Jay
- DIY Pumpkin Candy Bowl and Banner from Persia Lou
- Halloween Party Printables from Spot of Tea Designs
- Haunted Mansion Pumpkin from Persia Lou



These are oh so cute! I don’t much like decorating for Halloween but Tyler really likes it haha!
Thank you! I’m with you, I don’t like decorating for it either. hahaha Does Tyler typically go all out for it?!