Make a Vinyl Snowman Charger
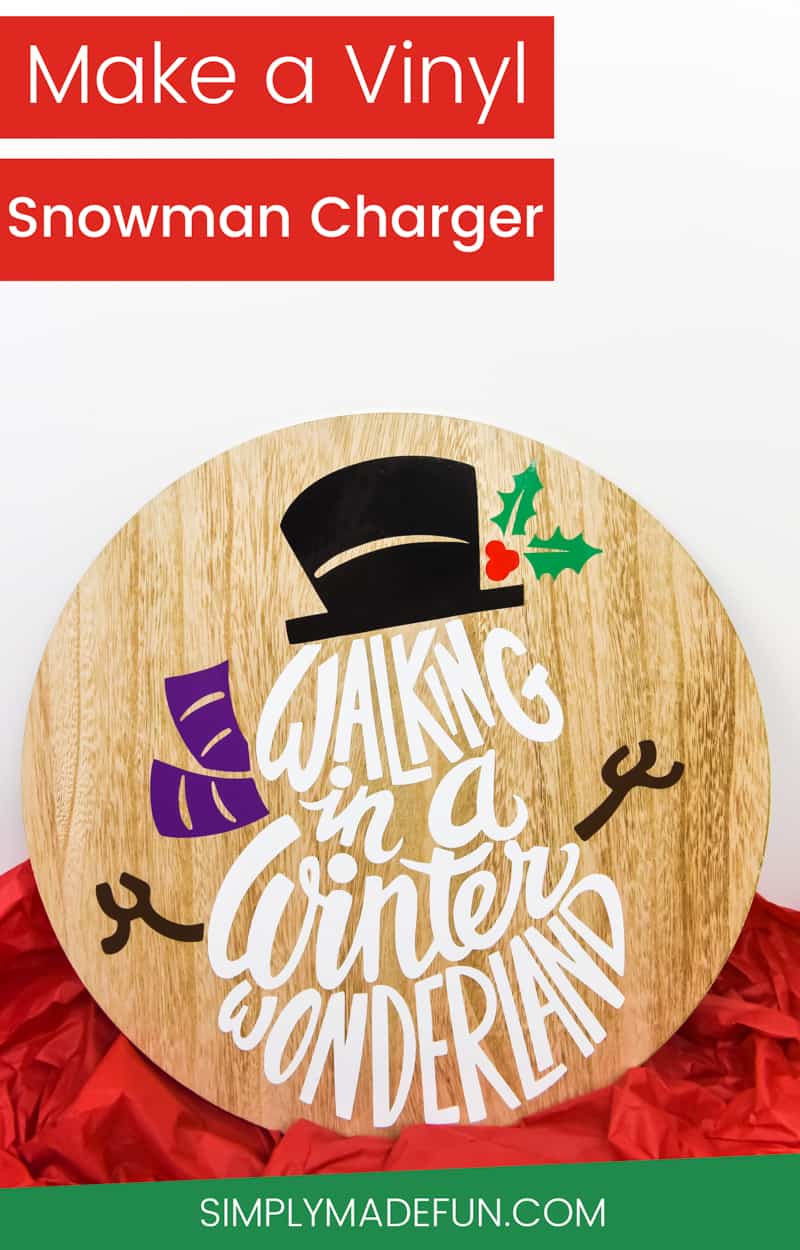
Make your own Vinyl Snowman Charger with this cute Target Dollar Spot find!
Probably my most favorite thing to decorate with during the winter is snowmen. I have always had a soft spot for Frosty the Snowman and now, as an adult, I still am a bit obsessed with him! I mean, who could say no to that button nose and the eyes made out of coal? He’s just so cute! And as a kid, the best part about snow days was heading out in the cold to build one of your own.
Since I can’t bring the snow inside (who else saw Jack Frost and wished they could’ve brought their snowmen inside with you?) I figure I’ll just decorate with them instead. It’s not the same, but it’s pretty darn close! And what better way to kick off my snowmen obsession of 2016 than with a vinyl snowman charger of my very own?
This post contains affiliate links, meaning that if you make a purchase after clicking through Simply Made Fun may receive a small commission at no extra cost to you. Thank you for helping support my crafting habit!
I really think my obsession started when I was young. Every year on Black Friday we would put up Christmas decorations, and besides our tree my favorite bit of decor was the giant light-up Frosty the Snowman my dad would put out on our front porch. I always looked forward to putting him out year after year. The only sad part is that I have no idea what happened to him! He’s probably hanging out with all the other snowmen who get tossed aside once broken. So sad!
I think that’s why I have this crazy need to buy all the cute snowmen stuff. Or make it myself. And for my latest project I decided to make my very own vinyl snowman charger that can be displayed all through winter! Because snowmen aren’t just for Christmas.
This post contains affiliate links. I may earn commission from qualifying purchases at no additional cost to you. I will never recommend a product I don’t use or trust.
Want to make your own vinyl snowman charger? Here’s how!
Materials:
- Silhouette Cameo
- Silhouette Studio Designer Edition Software
- Permanent Vinyl ( I used 6 different colors!)
- Transfer Paper
- Permanent Vinyl
- 13 x 13 Round charger (from the Target Dollar Section)
- Snowman Design (bought from this Etsy shop)
- Cut out all the vinyl (using this method to make sure it’ll line up correctly when you place it on your transfer paper!)
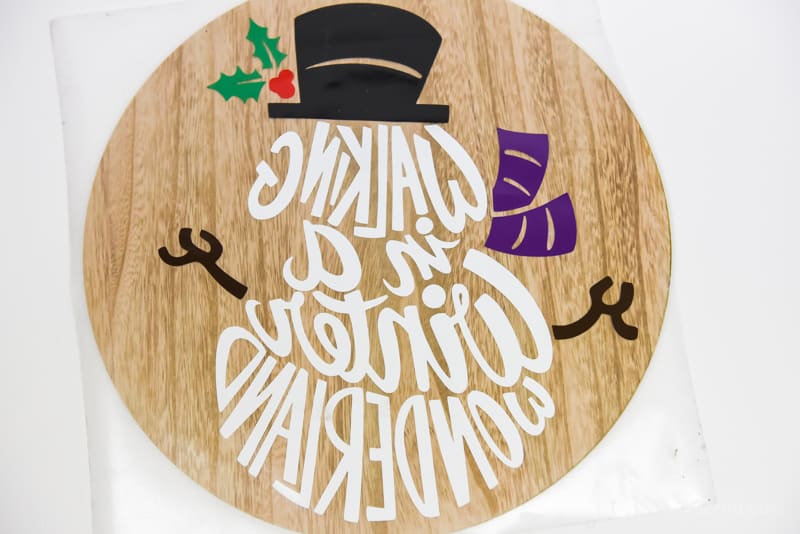
- Carefully place each layer on your transfer paper. Once you peel up the backing on your vinyl you’ll see that your design is backwards on your transfer paper. Don’t worry! Once you turn it over and put it on your charger it will be facing the right way!
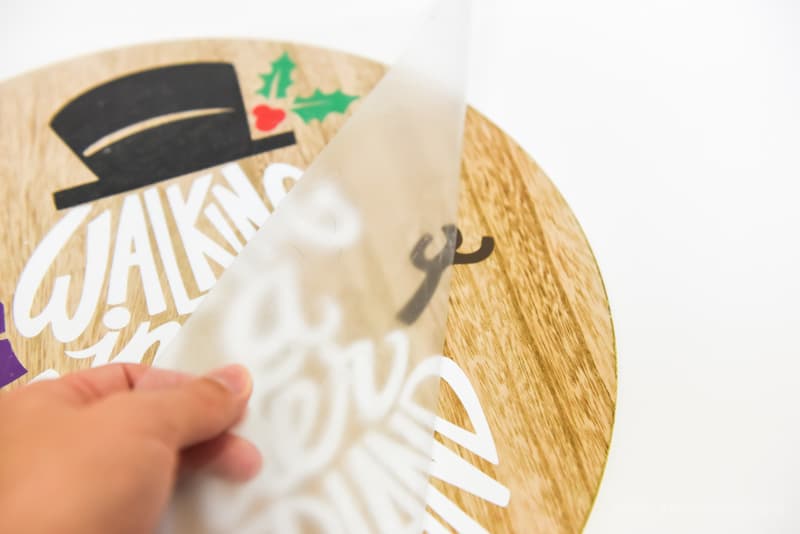
- Place your design on your charger and grab your Silhouette tools. Using your scraper tool, rub it all over the vinyl design, making sure that you put a little bit of pressure on the design as you go.
- Slowly start to pull up your transfer paper. If you notice that parts of your design are coming up with the paper, put it back down and repeat step 3. Continue lifting up the transfer paper and repeating step 3 if your design isn’t sticking to your charger. It took me a few times until I realized I wasn’t pressing hard enough with my scraper tool! Once I fixed the amount of pressure the vinyl stuck to the wood charger easily!
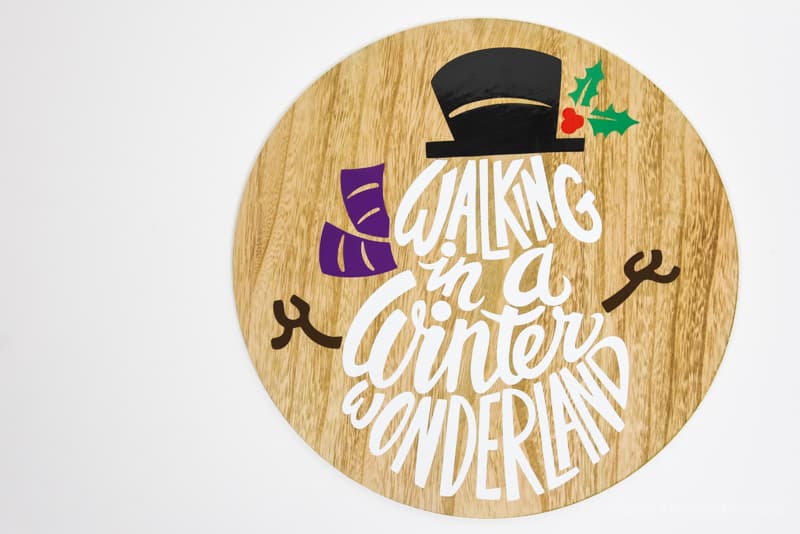
I am so in love with my vinyl snowman charger! This has reminded me how much I love snowmen decor and now I want to just buy all the cute stuff I see in the store. In fact, I saw the cutest cookie jar the other day and it took all I had to walk away and not buy it (because I didn’t need it, I just thought it was adorable!).
Would you make your own vinyl snowman charger or would you go with a different design?
Want more holiday decor inspiration?
[pt_view id=”bf63466nhu”]



I have no idea what this is. What is a snowman charger?
I love how this turned out, it is so cute!