
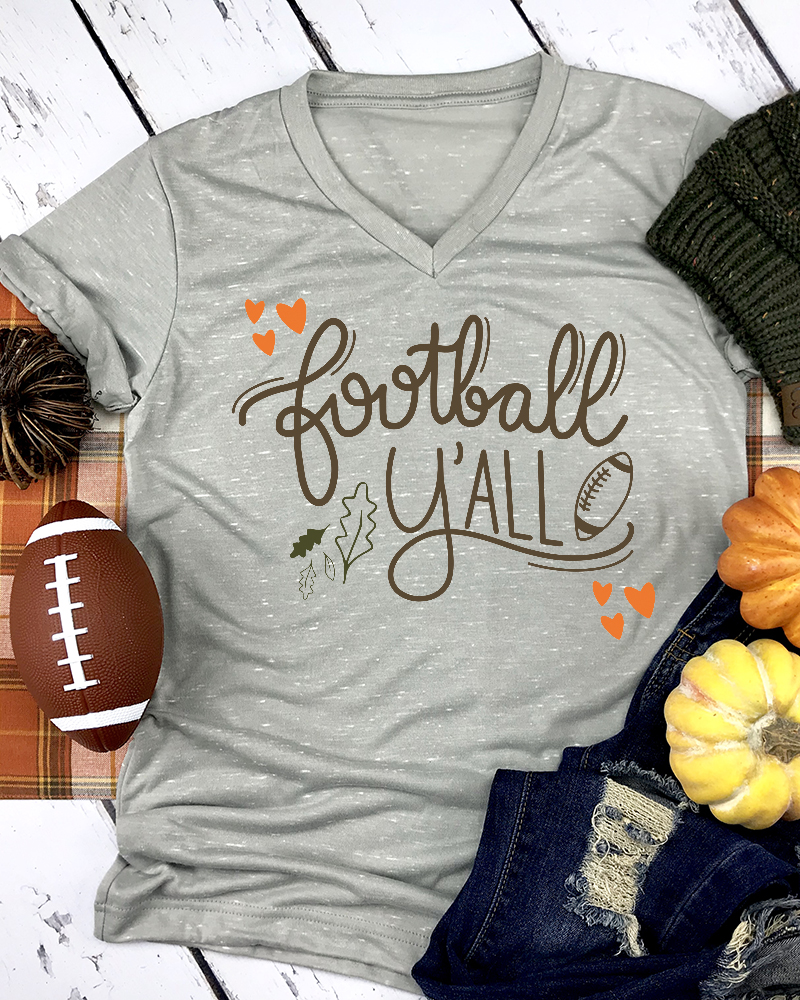
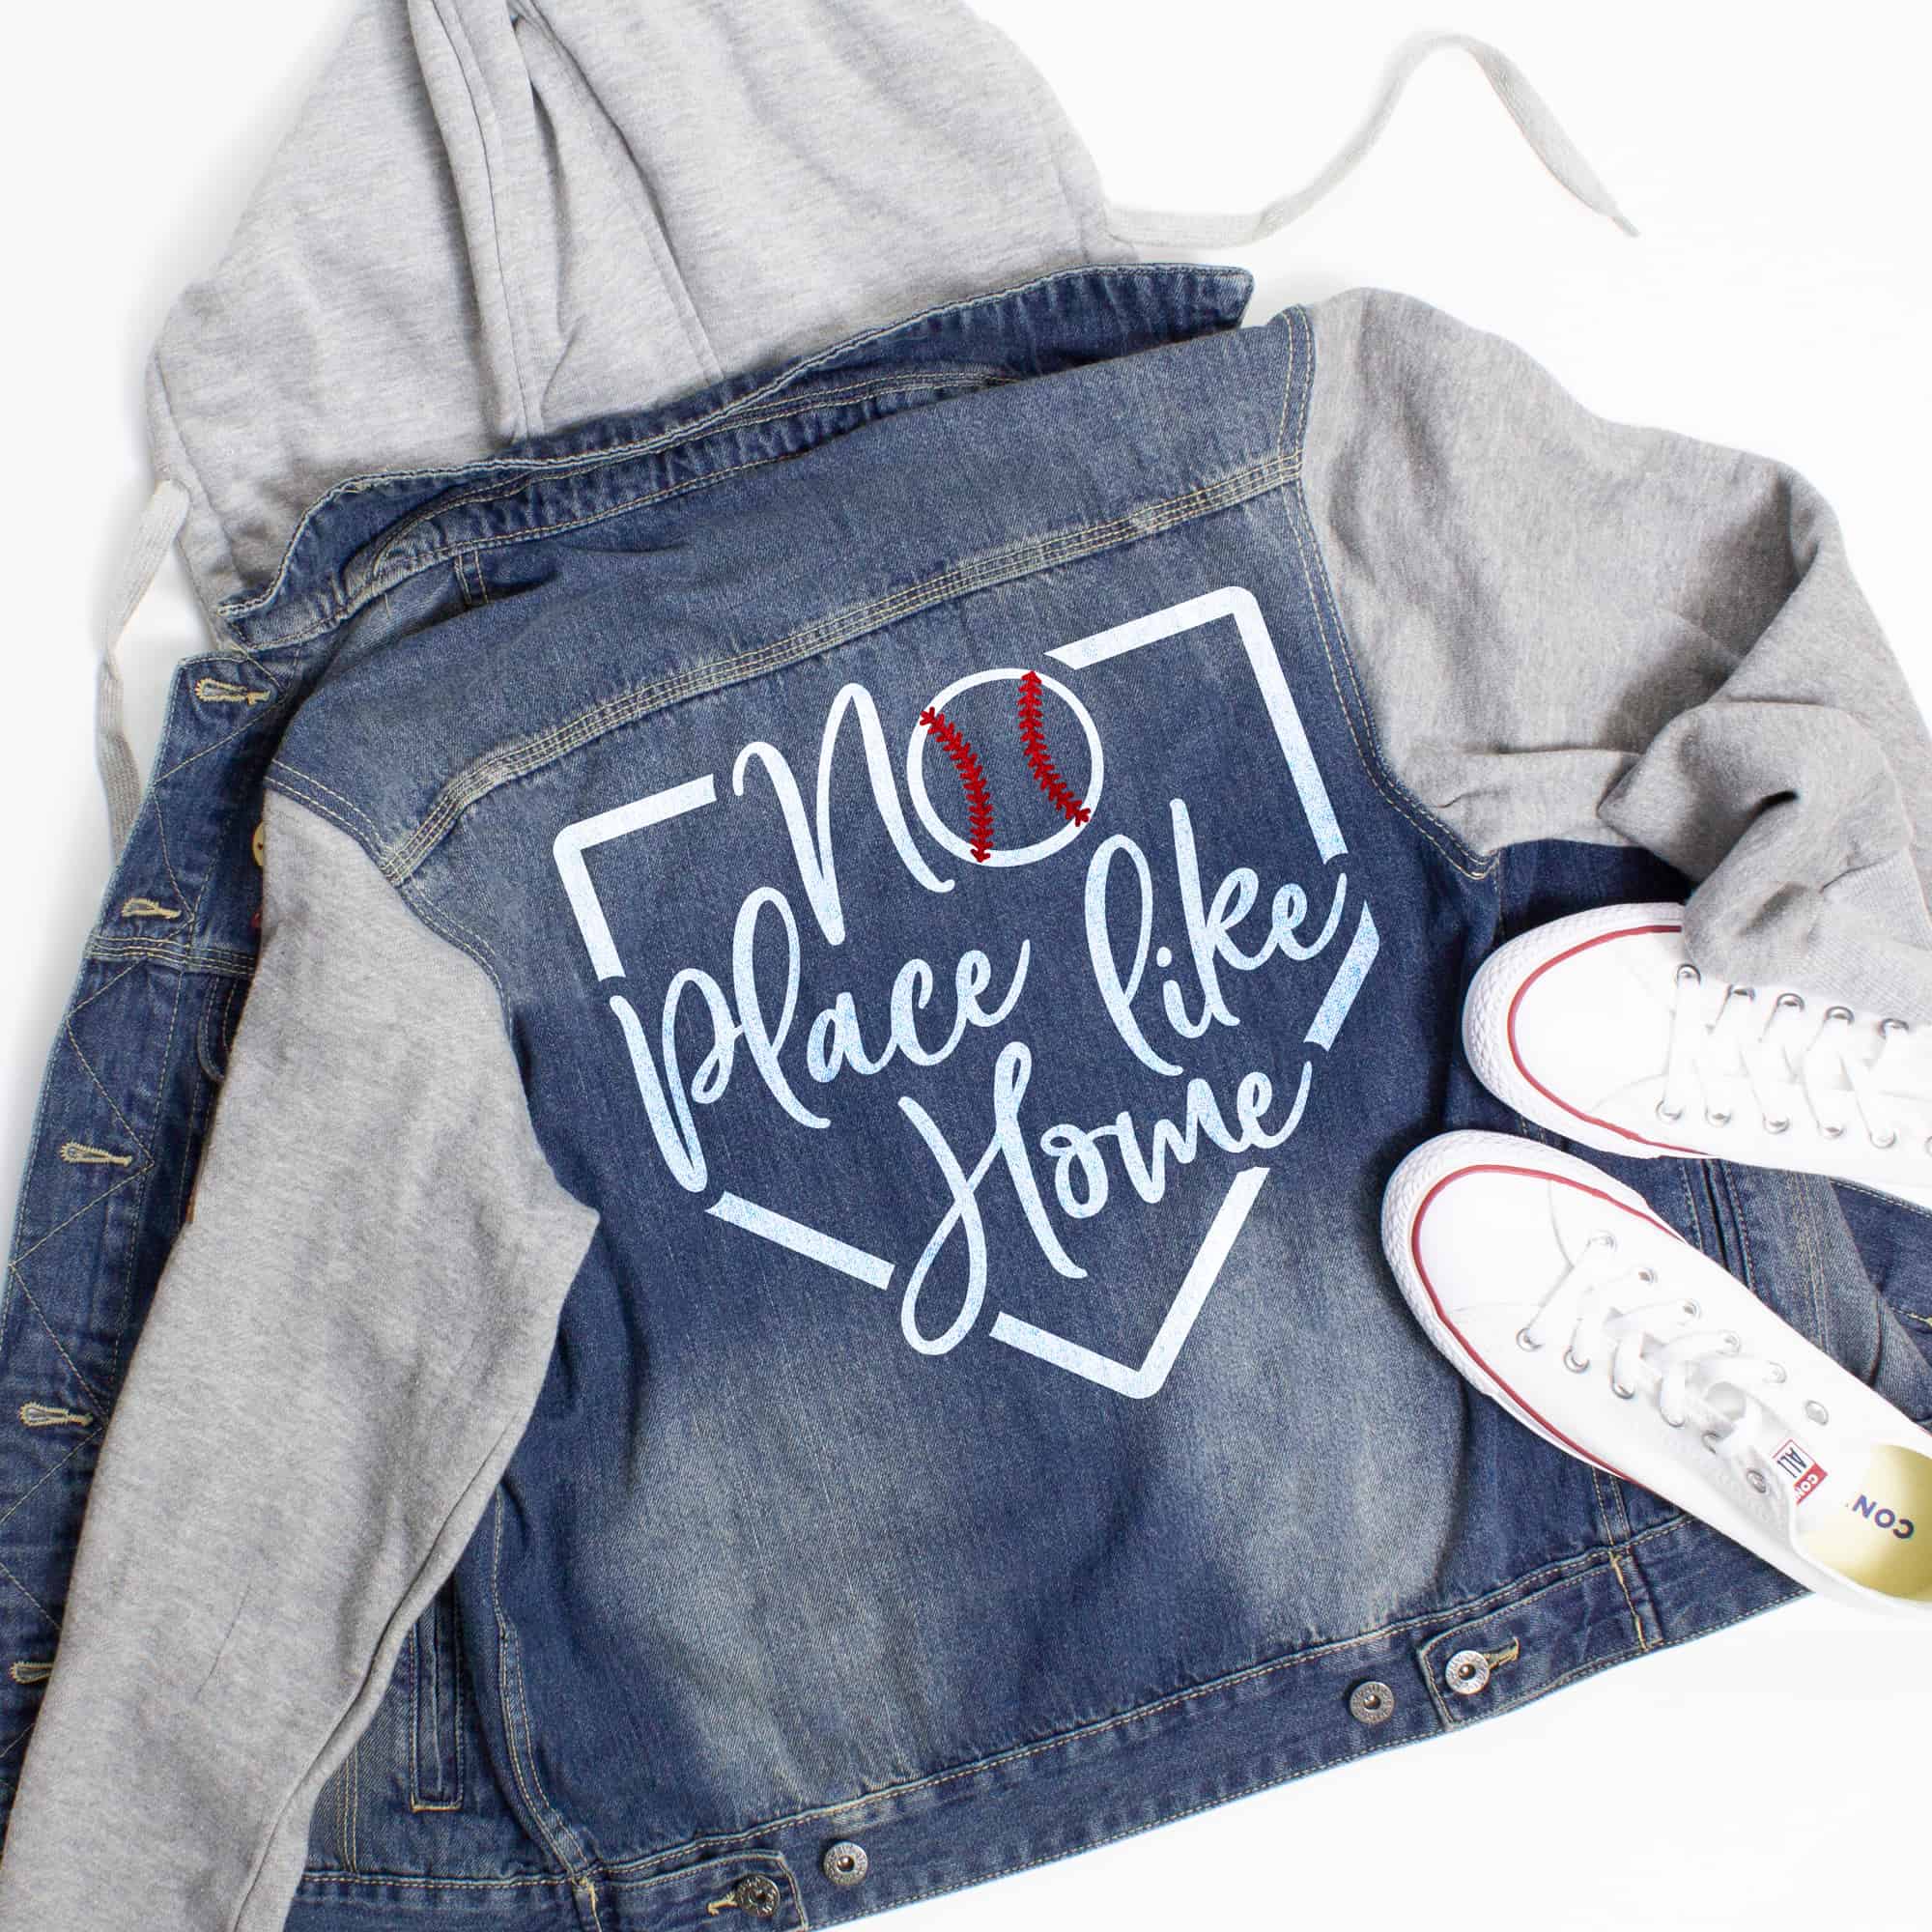
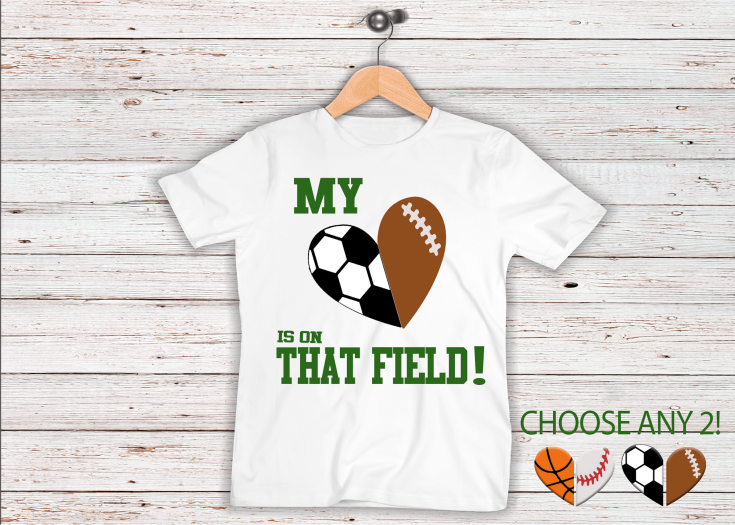
How to Make Custom Football Shirts with Heat Transfer Vinyl
This post contains affiliate links. I may earn commission from qualifying purchases at no additional cost to you. I will never recommend a product I don’t use or trust.
This post covers everything you need to know about making custom football shirts with heat transfer vinyl! Plus…tips on cutting htv, where to buy it, what you can use it on, and more!
My favorite type of vinyl to work with is heat transfer vinyl, and just this past year I’ve really put all my stash to use.
I’ve used HTV on wood ornaments, put HTV on a polyester swim bag, and made Monsters INC inspired trick or treat bags!
But my favorite thing to use heat transfer vinyl on will always be shirts. It’s just really fun to me to make matching shirts for Disney trips or holiday shirts for all of the kids.
It’s no secret I love talking about using heat transfer vinyl on shirts . I mean, I love it so much I have a whole blog category about it!
But we’ve never really talked about what heat transfer vinyl is and how you can use it to make your own custom shirts! So we’re going over all of it today!
In this post you’ll learn….
- What heat transfer vinyl is,
- What you can use heat transfer vinyl on,
- Where to find designs to use if you don’t want to make your own,
- How to cut heat transfer vinyl, and more!
Tips and tricks for making your own custom shirts with heat transfer vinyl.
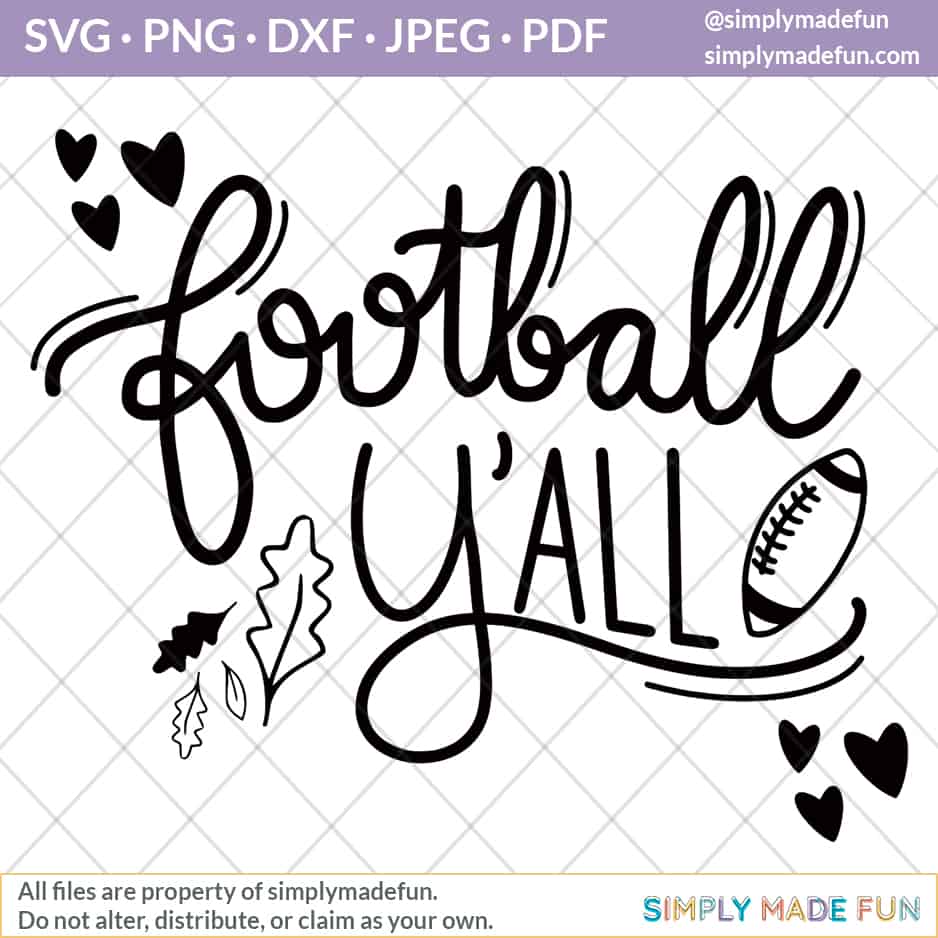
If you’re using this football y’all SVG, make sure you sign up for the newsletter to get it sent to you!
Then you will open it up in your Silhouette Software. This post will walk you through downloading an svg file to your computer and opening it in the software.
If you’re not into football and want a different design, we’ll talk about that in step 4!
1. What is heat transfer vinyl and what are the different types you can use?
Heat Transfer Vinyl is a type of material that is applied with a combination of heat, pressure, and time. HTV (or iron on vinyl) has a heat activated adhesive that will stick to your material once you have heated the vinyl to the right temperature. It also comes with a clear carrier sheet that lays on top of the htv to protect it from heat.
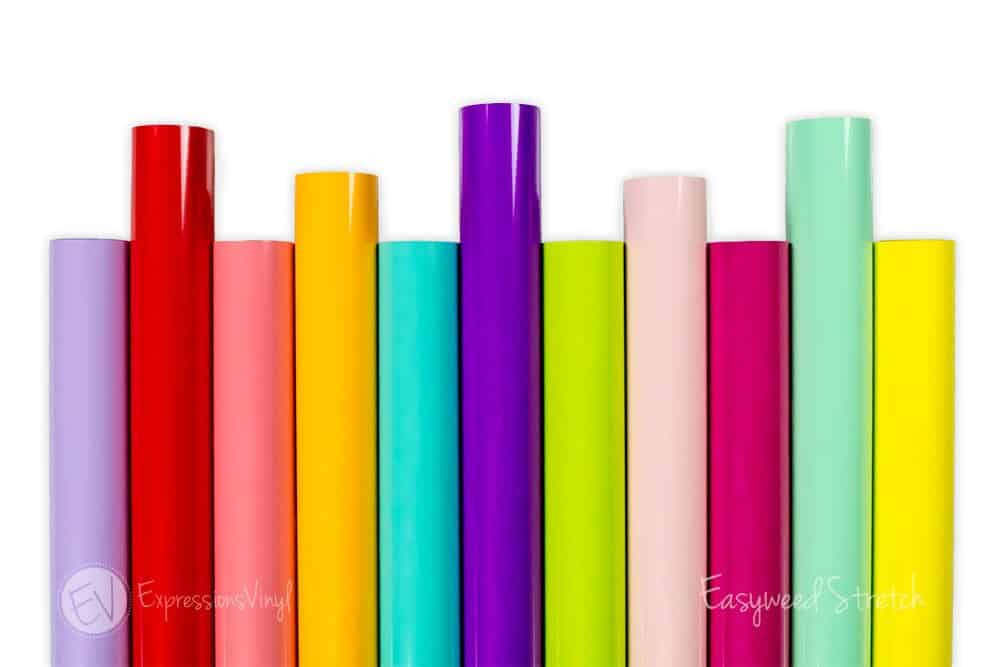
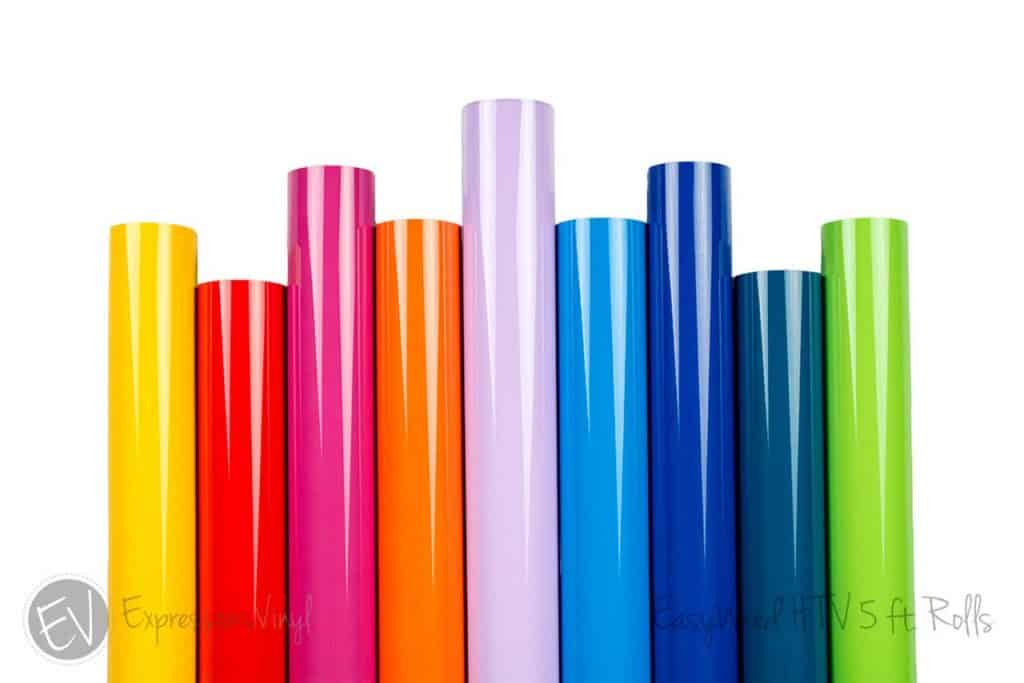
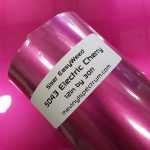
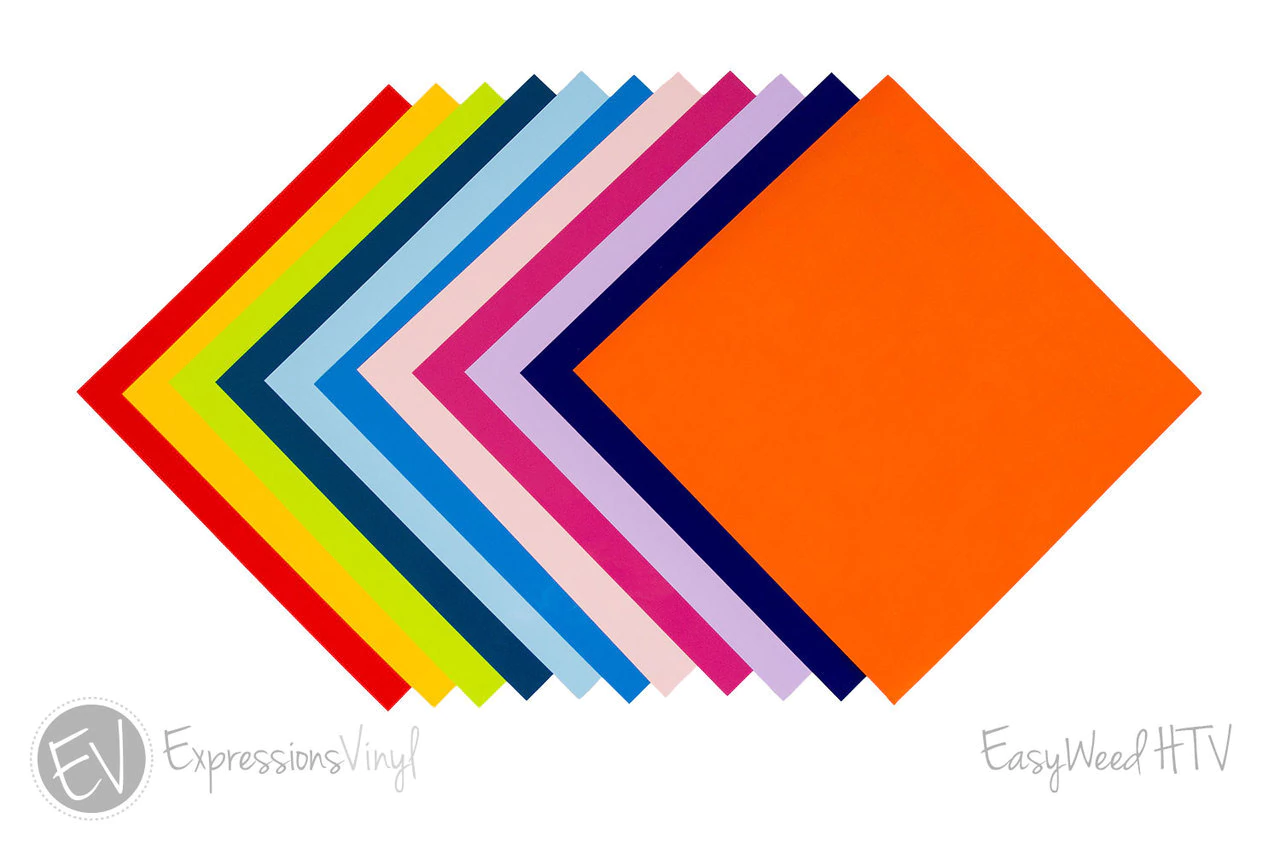
My favorite type of heat transfer vinyl to use is Siser Easyweed. As the name says, it is very easy to weed and it comes in every color of the rainbow so you can use it for anything! It’s the best beginner vinyl (in my opinion).
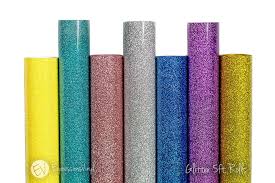
Siser Easyweed also comes in different types (reflective, glow, stretch, and more) so you can make all kinds of different projects with it!
Expressions Vinyl also has lots of other types of heat transfer vinyl to try, but in my opinion any kind of Easyweed is the best to work with!
2. What can you use heat transfer vinyl on?
For such a long time I only thought you could use heat transfer vinyl on fabric materials: t-shirts, pillows, canvas bags, etc.
But you can also use it on wood if you’re low on adhesive or stencil vinyl.
I’m sure there are more things but wood signs and fabric are my two favorites!
3. Where can you buy heat transfer vinyl?
My favorite place to buy Heat Transfer Vinyl is Expressions Vinyl. Their shipping is so fast and their prices are always good. Plus, I feel like they always have great sales to take advantage of!
Amazon also has Siser vinyl and (if you have Prime) you can get free two day shipping from them.
I personally don’t like using the Silhouette or Cricut brand of vinyl because it’s just cheap feeling. It also doesn’t hold up as long!
Other places you can get heat transfer vinyl from:
4. Where can you find designs to use if you don’t want to make your own?
There are so many places to find good SVG files that you can go down the rabbit hole and not come out for hours!
If you’re just starting out, the Silhouette Store is a great place to look for files!
Pinterest: just search FREE SVG files and you’ll find so many results!
Etsy: I love using Etsy for SVG files! Some files I’ve recently bought are from The Smudge Factory LLC – my most popular blog post features one of her files!, Cute and Cuttable, and SVG Fox.
Facebook Groups: I am part of a few Disney, Harry Potter, and Star Wars SVG file groups on Facebook and the people who share there are so talented! Just use the search bar to find groups that make files you’re interested in!
5. What the most important thing you MUST DO before cutting your design?
Always, always, ALWAYS mirror your design!
When you cut your design it should cut backwards. Don’t worry, you didn’t make a mistake. It’s supposed to look that way! Once you weed it and flip it over the design will be correct.
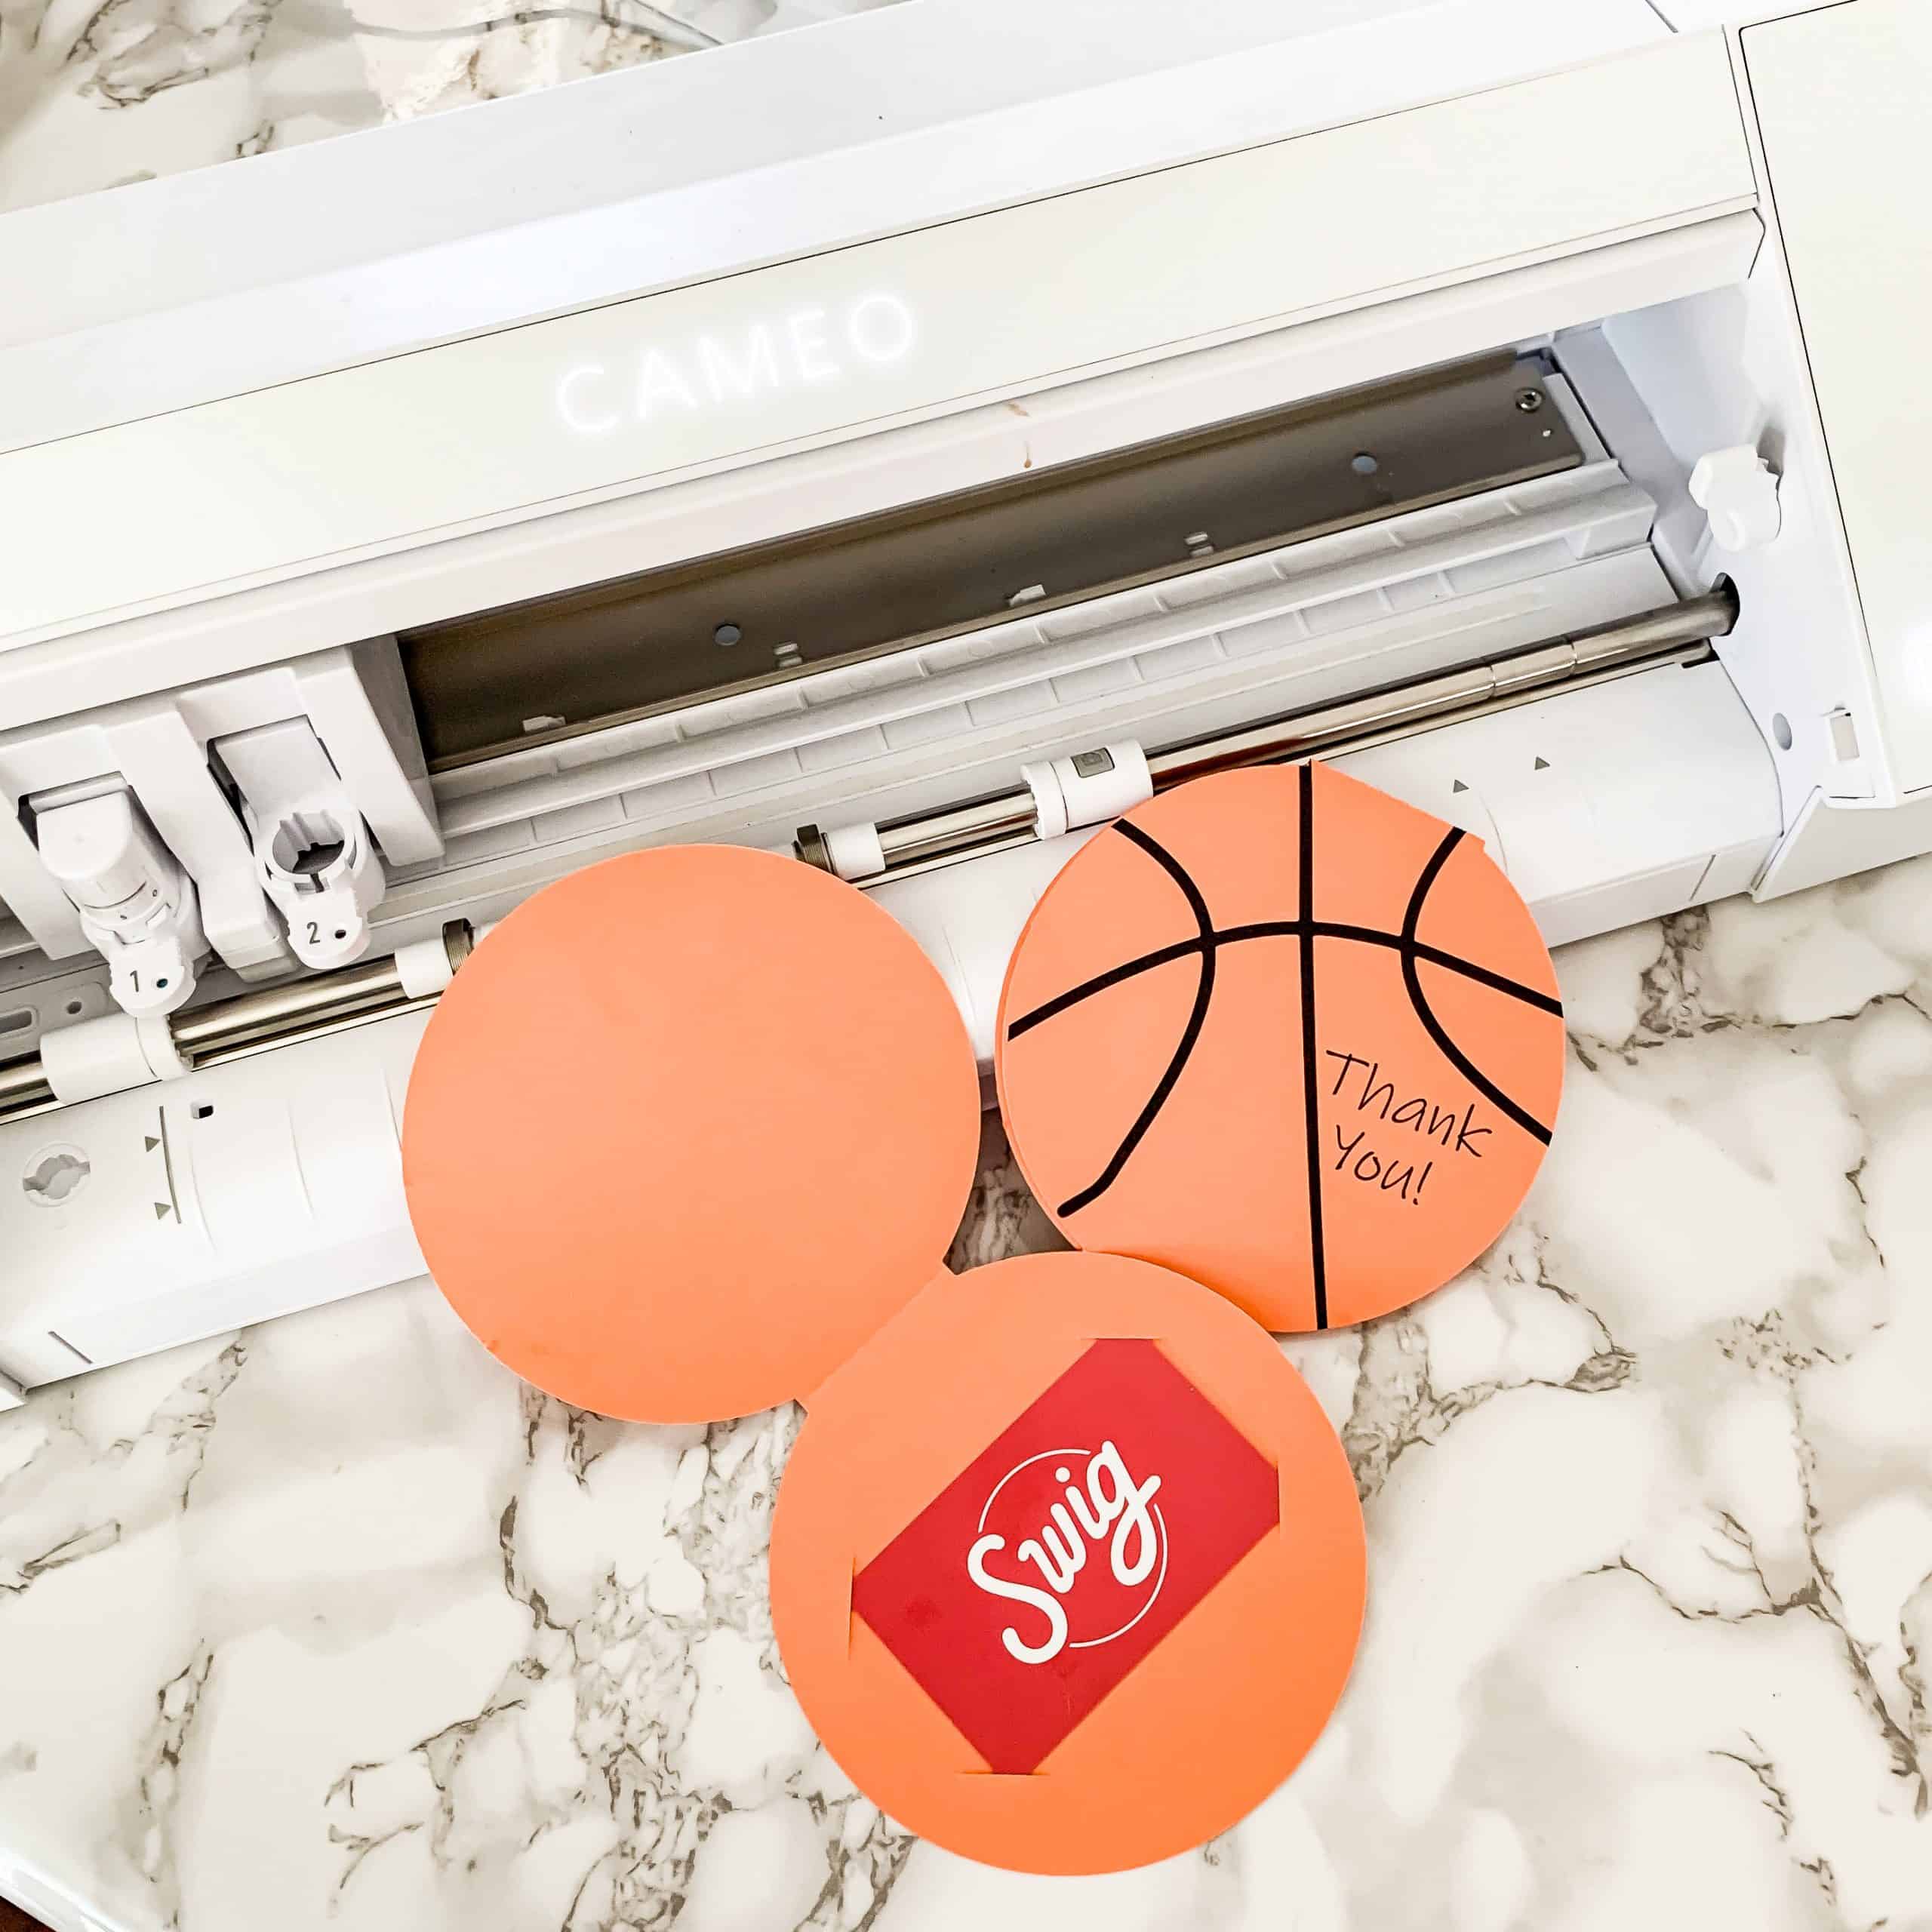
6. How do you cut heat transfer vinyl?
Earlier we talked about heat transfer vinyl having heat activated adhesive, and this is really important when you go to load your vinyl into the machine to cut out your design.
Heat transfer vinyl looks very similar on both sides so sometimes it may be hard to tell which side is which.
The secret is that the matte side of the vinyl is the adhesive, and you need to lay that side UP on your cutting mat. The other side (the one with the carrier sheet) should be touching your mat.
Also, you CAN cut heat transfer vinyl without a mat as long as you move the rollers on your Silhouette machine so they sit on top of your vinyl. I personally like using a mat because it feels more secure…but you can do whichever you prefer!
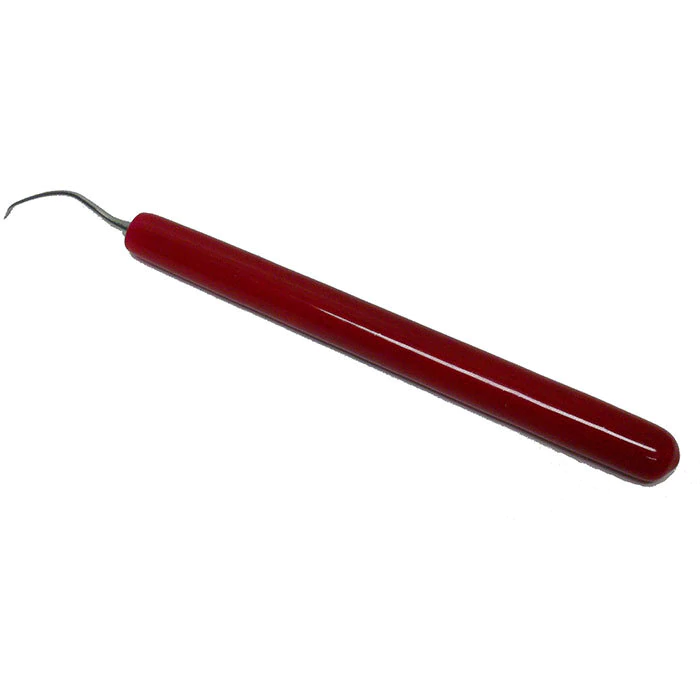
7. How do you weed your design and what tools should you use?
To make weeding easier (especially if you have a large design!), I like to draw a box around the design before sending it to cut. It’s much easier to pull away the box than to pull away a large piece of vinyl!
I personally prefer either a Pen Pin weeding tool or this tool from Expressions Vinyl. They’re both very sharp and pick up small pieces easily!


8. How do you put the design on the shirt?
This is where it all really starts coming together!
At this point you’ll turn over your vinyl so that the carrier sheet is on top. Before you go any further now is the time to make sure that your design is no longer mirrored!
Then you’ll want to find the center of your shirt, which you can find out how to do here!
There is also a very simple trick to find the center of your vinyl design and I talked about it here!
9. What to use to press your design onto your shirt.
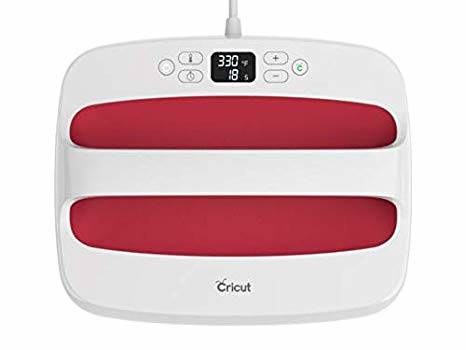
I use a Cricut EasyPress and love it! I used to use an iron but the problem with that is it’s not as big as your design and you won’t get an even press. This is because you’re moving the iron around and repressing in order to press the entire design.
If you have the room in your home a Heat Press is the way to go though. They’re bigger and get the right pressure for all of your projects!
But if you don’t want either of those things you can use an iron and it will work! You just need to put a lot of pressure each time you press your design!
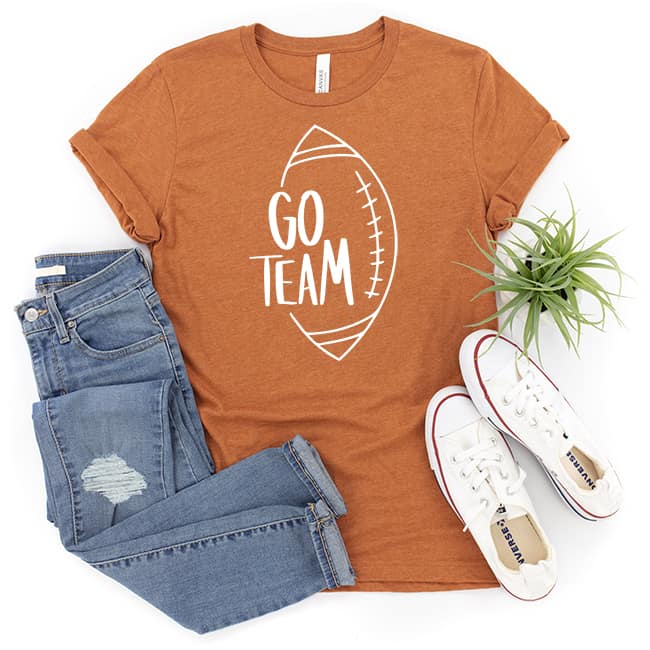
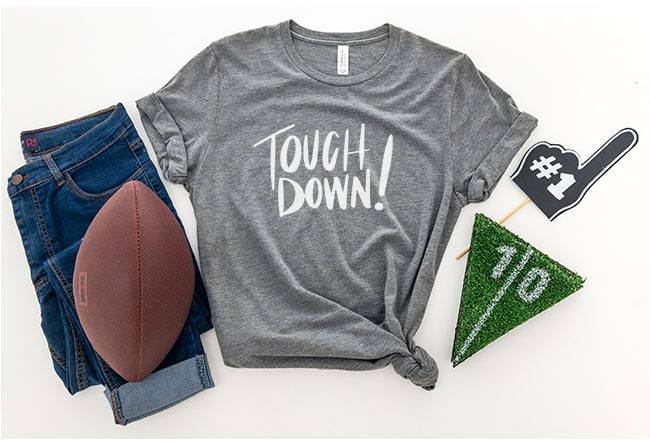
How to make custom football shirts with heat transfer vinyl
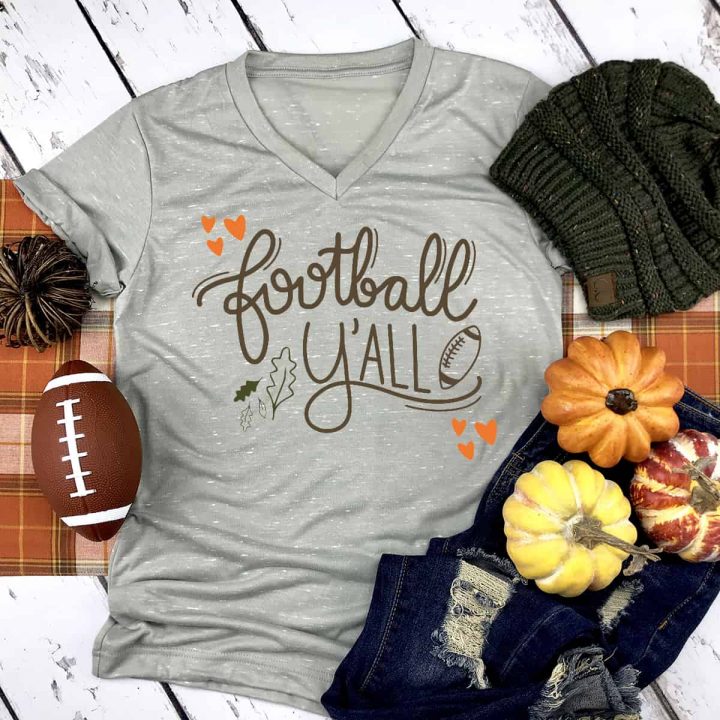
Football Y'all SVG
Materials
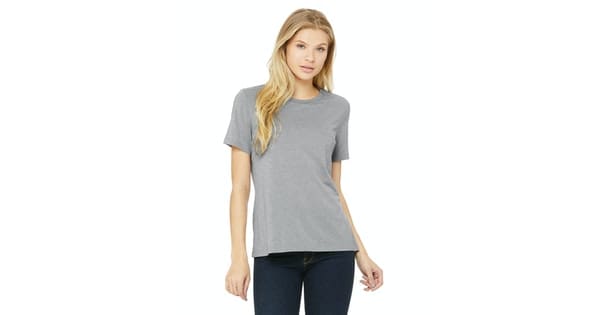
- T-shirt
- Siser Easyweed Heat Transfer Vinyl
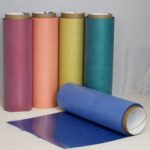
- Flocked Heat Transfer Vinyl
- Teflon Sheet
Instructions
Sign up for the email newsletter to grab the free Football Y'all svg!
- Download the Football Y'all SVG and open it in your Silhouette software. (head to this post if you need help opening SVG's in your Silhouette software!)
- Next, mirror your image and hit cut (*SEE NOTES 1 & 2)
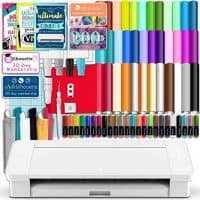
- Turn on your Cricut EasyPress and heat it up to the correct temperature (go here for the correct heat settings).
- Fold your shirt in half (sleeve to sleeve) and press the crease with your EasyPress. This will help you figure out where the center of your shirt is to line up your design correctly.
- Lay your design on the shirt, cover it with a teflon sheet, and press the design. (to find the center of your design when its on the carrier sheet, click over to this post)
- Peel off your carrier sheet while the vinyl is still warm. If you notice not all of your design has adhered to the shirt, lay the carrier sheet and teflon sheet back down and press for another 10-15 seconds. Repeat until your entire design is pressed on the shirt.
Notes
- If you do not have the Silhouette Business Edition you'll have to trace the image before you can cut it out.
- If you have the Business Edition of the software you can cut SVG's without tracing. You can also easily cut by color if you want to make this a multi-colored design!
Recommended Products
As an Amazon Associate and member of other affiliate programs, I earn from qualifying purchases.

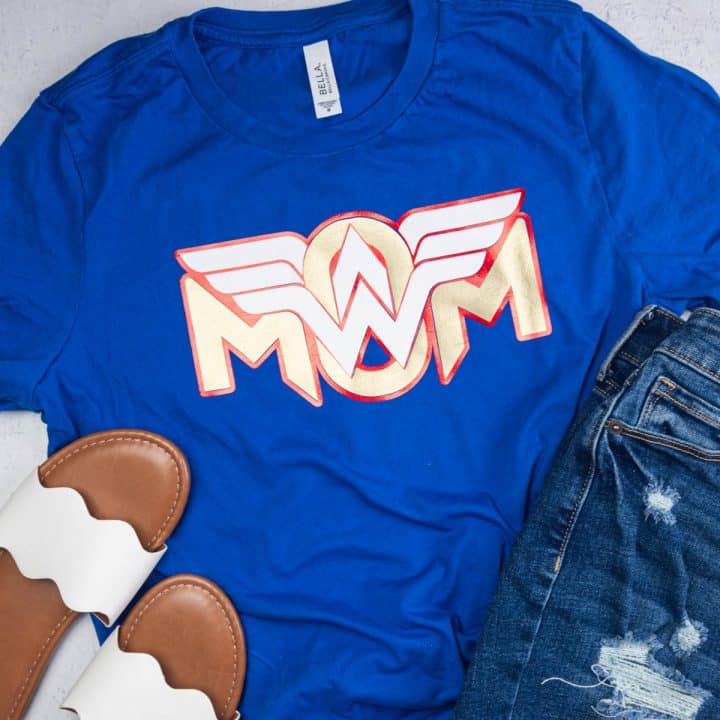
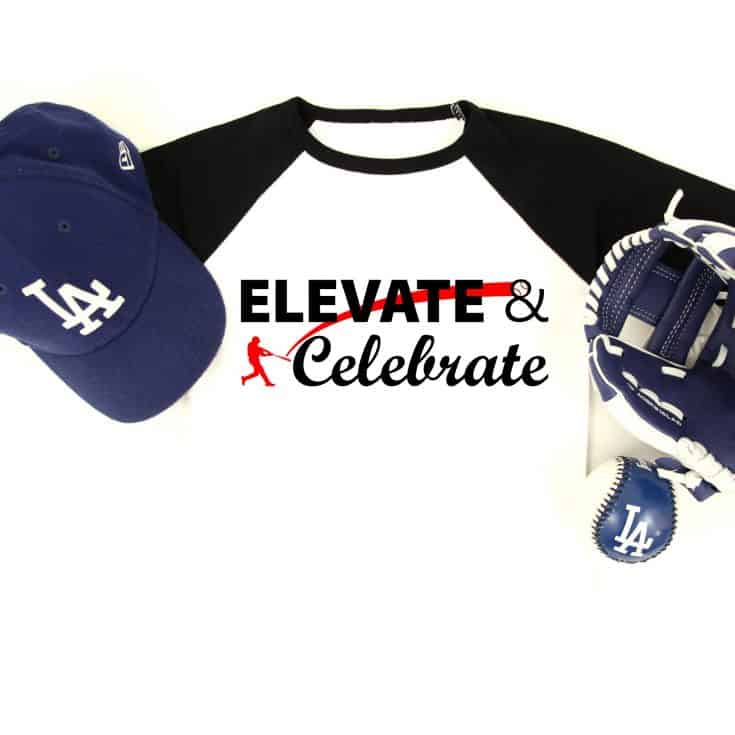
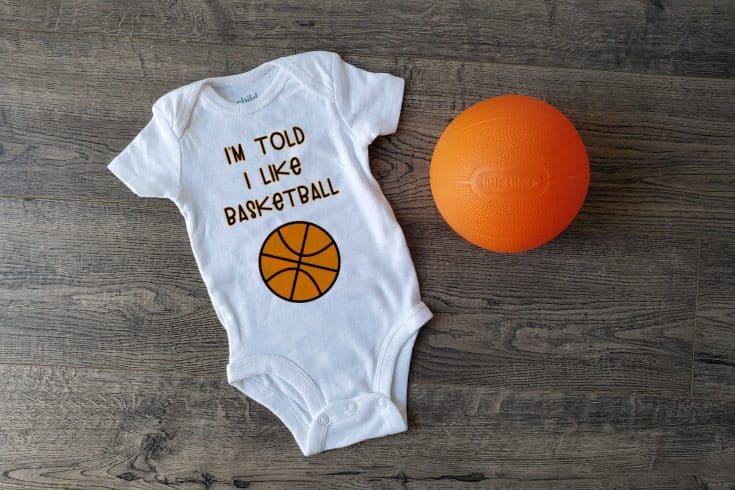
more shirts with heat transfer vinyl designs to try!


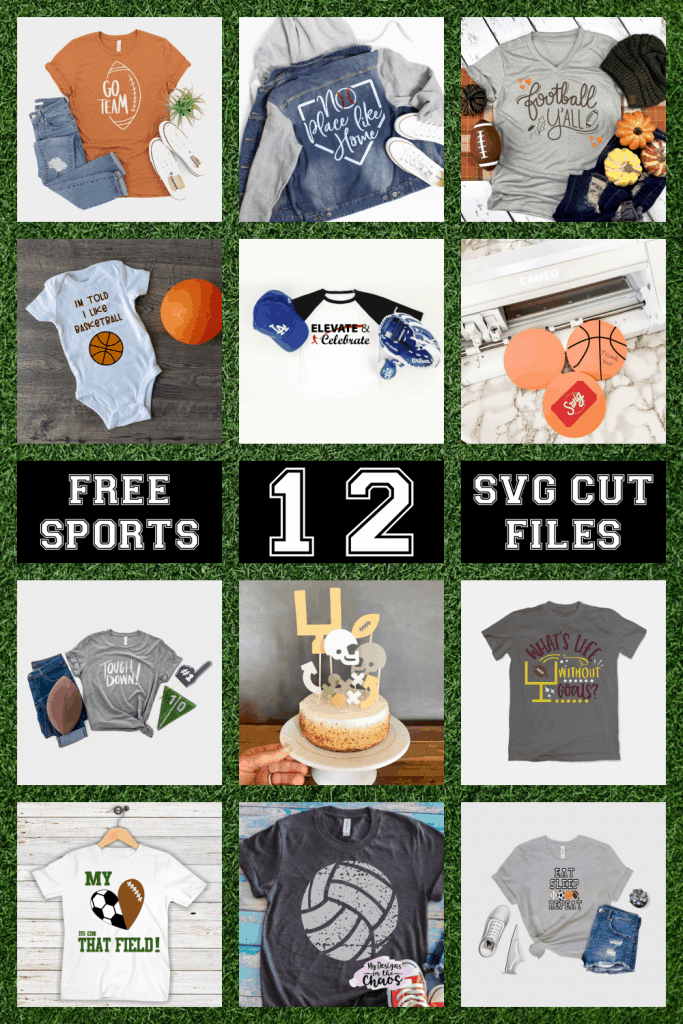
Sports SVG Files


II really got a lot out of this post but have a question. I’m new to the cricut maker and vinyl. I bought a roll of iron on vinyl by paper studio, it’s called shimmer and mixture of pastel polka dots. I have tried cutting it several times, but my machine doesn’t cut it all the way through. It appears to have a coat of plastic over the vinyl, and only cuts that plastic. I have used the settings most appropriate for this vinyl as far as I can tell. Any help you can give me would be greatly appreciated. My e-mail is:
raybet59@ec.rr.com.
Thank You,
Betty French
Hi Betty!
Iron on vinyl (also known as heat transfer vinyl) has a clear coating on the top that’s the transfer sheet. It’s what you put your iron on when heating it onto your surface so that you don’t burn the vinyl. To cut iron on, flip it over so that the plastic coating is touching your mat and the backside of the sheet is what your blade cuts. You also need to make sure to mirror your design when doing this, because when you flip it over after you cut it (with the clear coating facing you), the design should read left to right like normal.
Please let me know if that’s helpful!