Super Easy Deco Foil Disney Shirt
Get a screen printed look when you use Adhesive Vinyl and Deco Foil on your Deco Foil Disney Shirt!
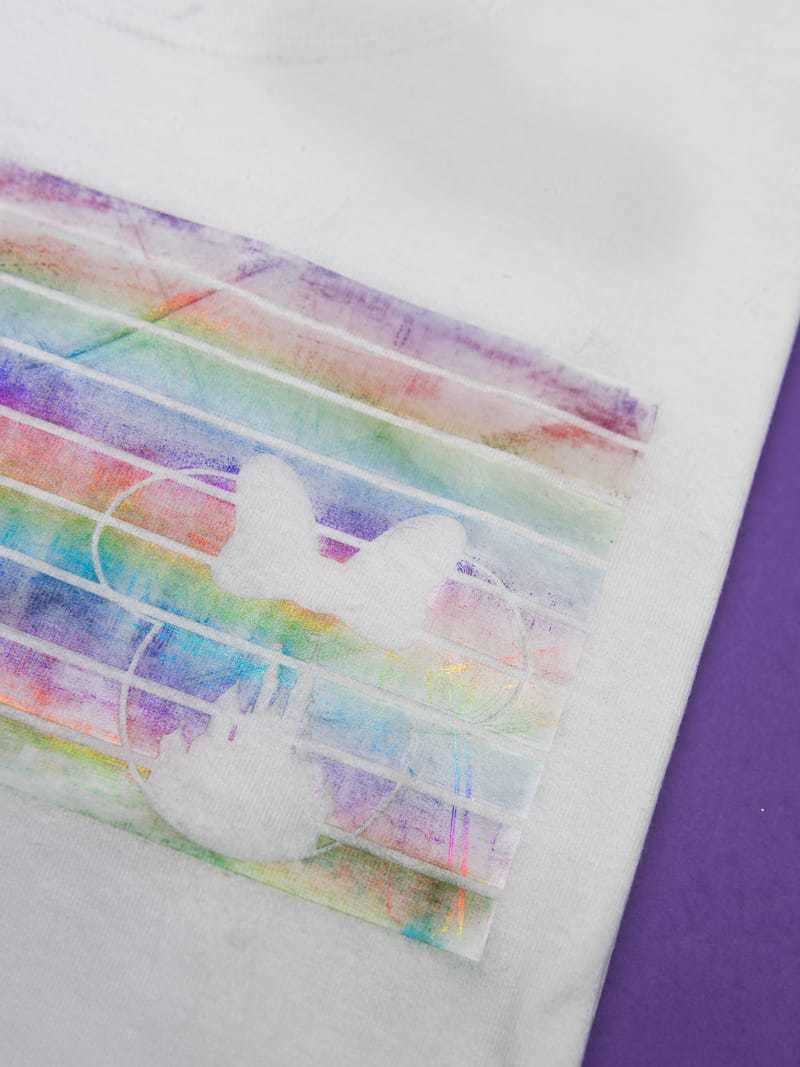
So I kind of did a thing over the weekend.
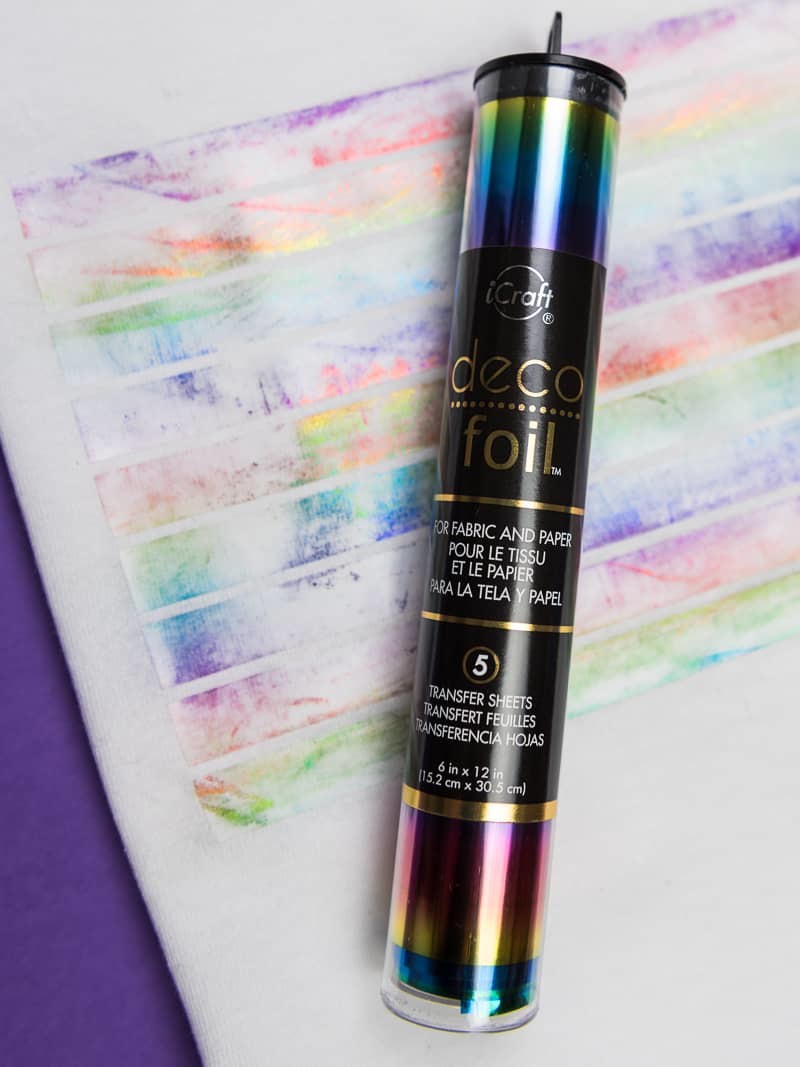
I was restocking my vinyl stash (Expressions Vinyl is having a sale the entire month of February!! <–enabler alert) and decided to buy some colors in their Deco Foil line. I’ve never used it before but thought….why not?
I knew this could go one of two ways: it could either turn out awesome or it could be an epic fail. Luckily it turned out ah-MAZING and I am so in love with the deco foil that I can’t wait to use it for all the crafty things!
I’m kind of obsessed with making shirts for our Disney vacations lately and ran in to Hobby Lobby last week to grab a bunch of shirts for our next vacation. It’s my favorite place to pick up blank shirts in a pinch, and I bought a ton!
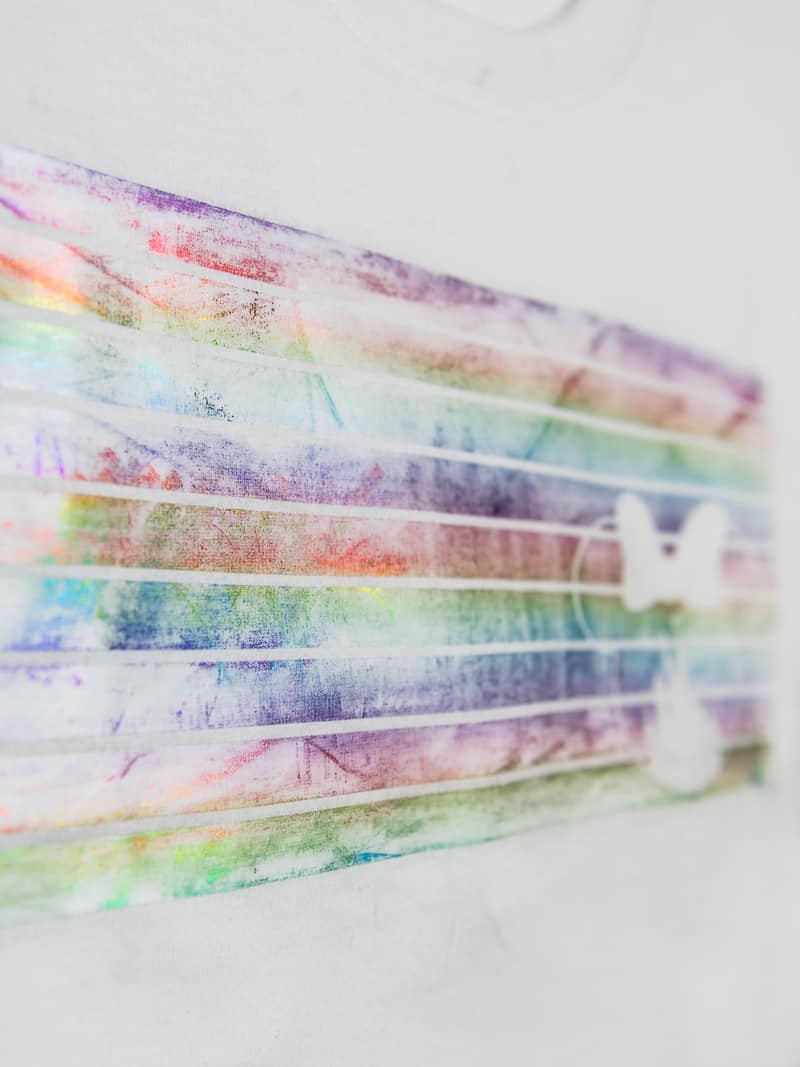
I kind of wanted a bit of a retro look to the shirt with a few of my favorite Disney icons to it too. The summer rainbow deco foil was the perfect addition and I’m super happy with how it looks on the shirt! And it was really easy to do it too!
This post contains affiliate links. I may earn commission from qualifying purchases at no additional cost to you. I will never recommend a product I don’t use or trust.
How to make a Deco Foil Disney Shirt
Materials:
- Easyweed Adhesive Vinyl
- Deco Foil
- Heat Press or Iron
- T-shirt (bought at Hobby Lobby)
- Silhouette Cameo or Cricut
- Pillowcase or Teflon Sheet
- Silhouette Scraper Tool
Tutorial:
+ Create the design in the Silhouette software and mirror it before sending it to cut!
+ Make sure that the stiff side (aka – the transfer sheet) of you adhesive vinyl is right side down on the mat.
+ Weed the design and then put it on your shirt. Heat up your iron.
+ Cover it with a pillowcase (or teflon sheet) and press the design for 45-60 seconds until the design is adhered to your shirt.
+ Remove the transfer sheet and place the deco foil on top (the plain side down) and use your scraper tool to “scrape” the pattern of the paper on to the adhesive vinyl.
+ If you remove the foil and notice that there are bald spots on your adhesive vinyl, move the deco foil sheet around and continue to scrape it until you get the coverage you want.
Tips for a successful Deco Foil Disney Shirt
+ Don’t make your design too large. It’s much easier to get full coverage on your shirt if your design is on the smaller side.
+ Make sure the adhesive vinyl is warm when you put the deco foil on top and scrape it. The transfer doesn’t work if the adhesive vinyl isn’t warm, so start scraping as soon as you pull the transfer tape off the vinyl!
+ Scratch the foil like you’re scratching a lotto ticket! Don’t be dainty about it, get in there and scrape hard. That’ll give you better coverage on your adhesive vinyl.
+ Wash your shirt inside out and on the gentle cycle. Since this material is different from heat-transfer vinyl, you’ll only get about 10 washes out of it. So if you’re hoping for a long lasting shirt design, you may not want to use deco foil!
I really wasn’t sure how this project was going to go and I thought I’d be coming here and writing an epic fail post. Good thing I was wrong! This is probably my favorite shirt to date and I am so excited to wear it for our next Disney trip! I actually got the idea for the design from A Girl and A Glue Gun’s Instagram account (my favorite craft blogger, ever) and just tweaked the idea a bit to make it my own.
Deco Foil for the win you guys. Now I kind of want to foil everything.
And if you need some ideas for custom Disney shirts, check these out!
more Disney fun!
[pt_view id=”93c9deac8b”]

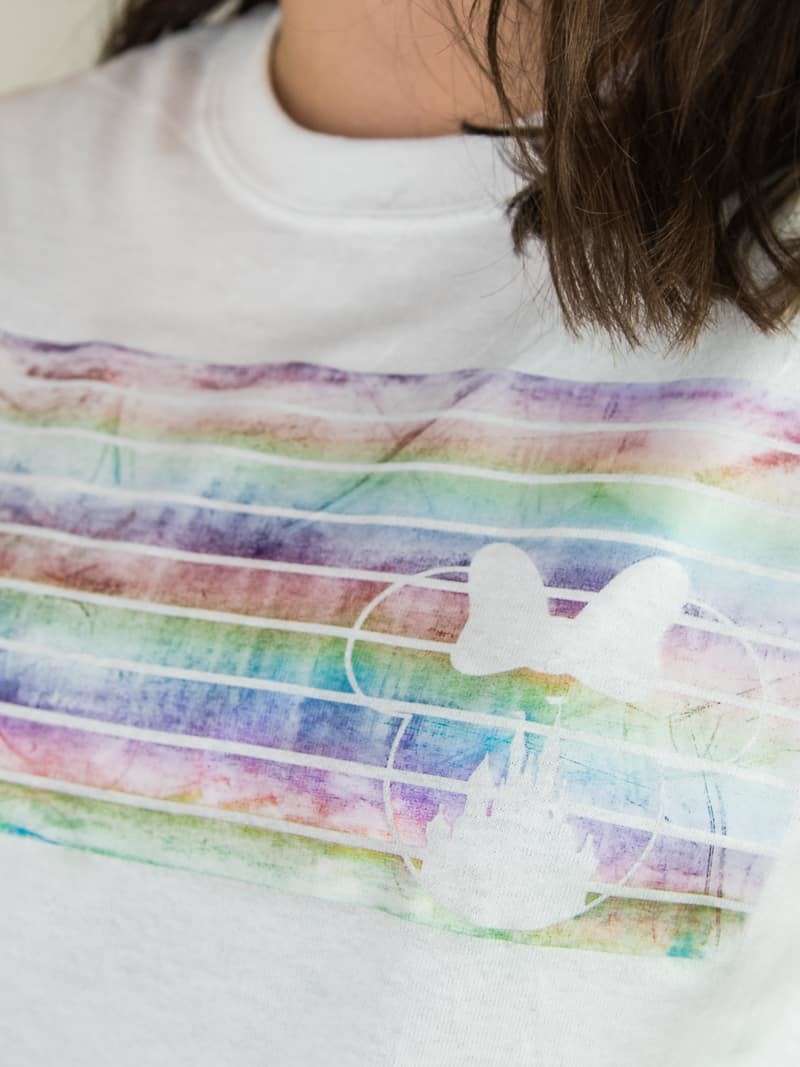


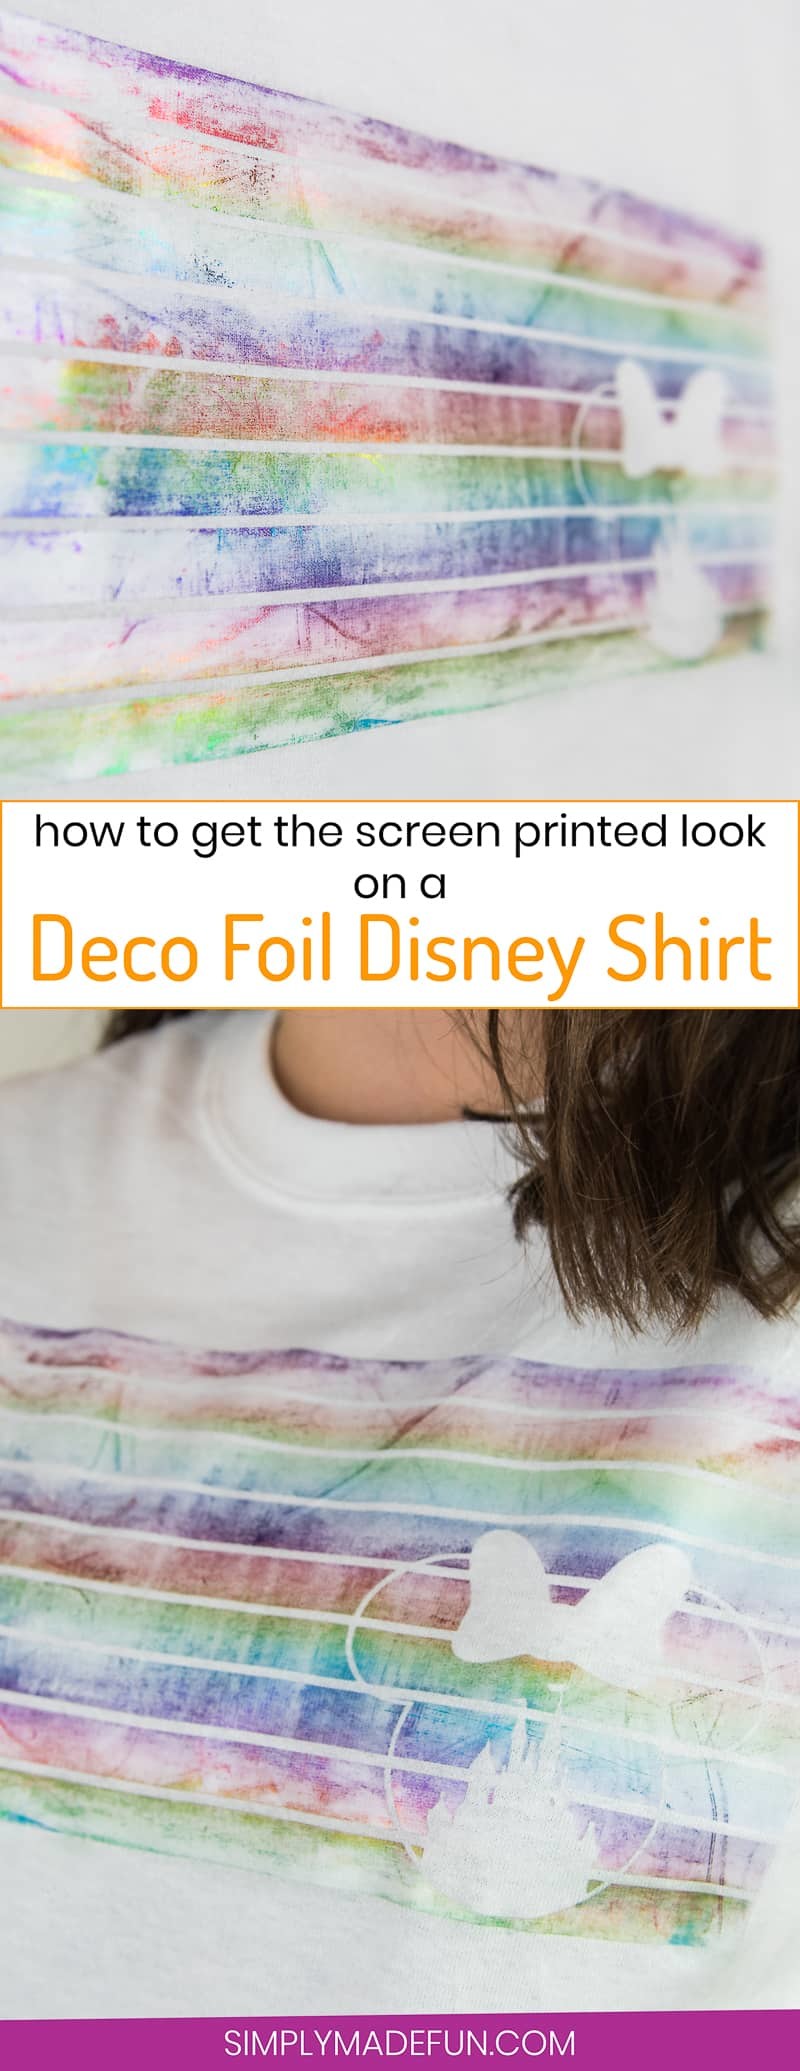
I love this shirt, perfect for your next trip. It’s so cute!