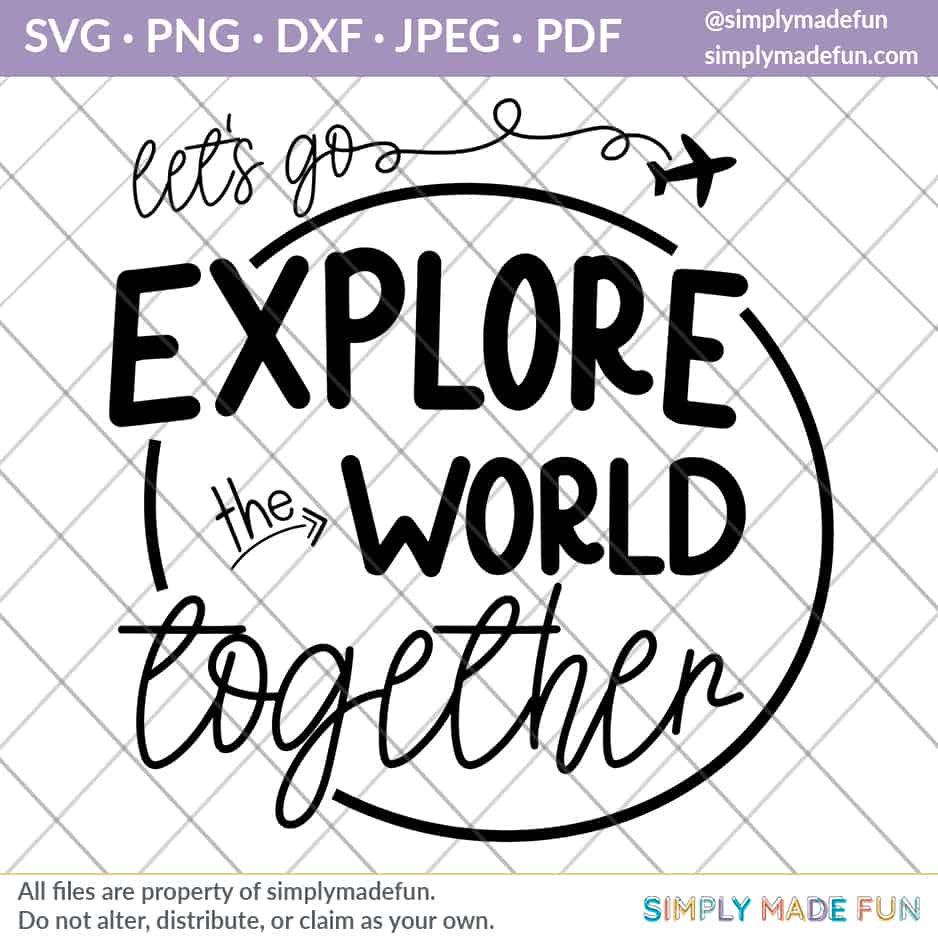
Explore the World Travel SVG
Use this explore the world travel svg on mugs, t-shirts, Christmas ornaments and more!
Up until this year I had never been outside of the United States. It was something we never did as kids. And even though Chris and I have been talking about it for over a decade we just now got around to it.
And I won’t lie, I’ve been hit by the travel bug.
I can’t wait to travel more and I am so excited that this month’s free svg roundup is all about travel. You can grab our explore the world travel svg and use it on Christmas ornaments, t-shirts, notebooks, mugs and more! And you can grab the rest of the files in the roundup at the bottom of the post!

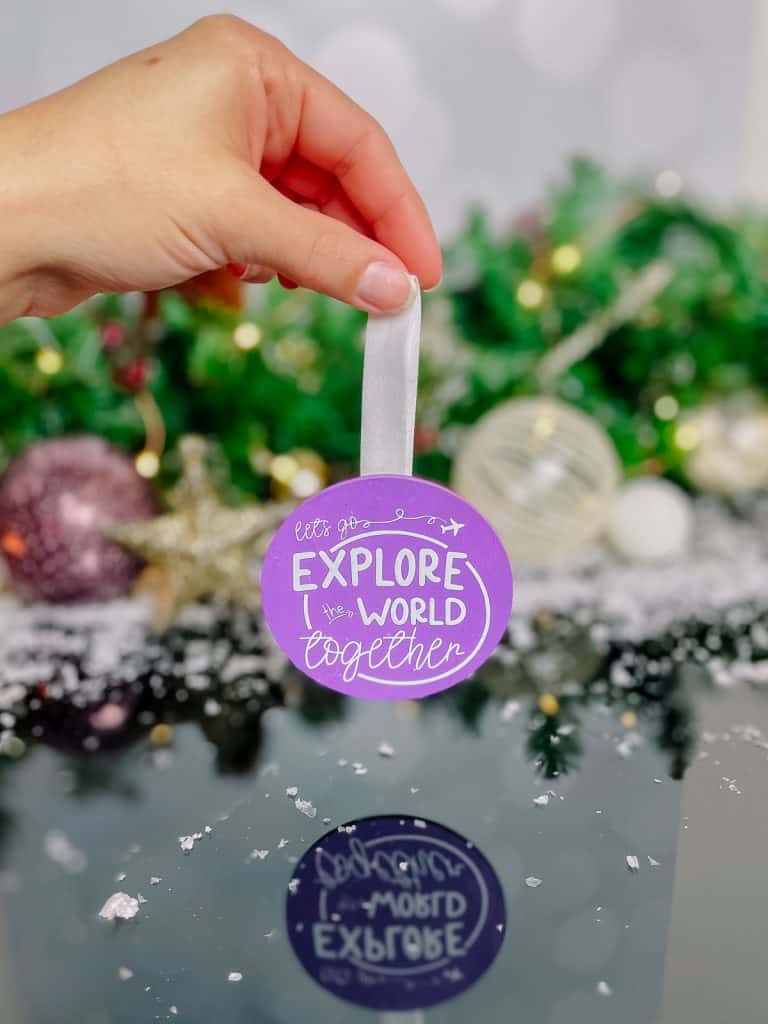
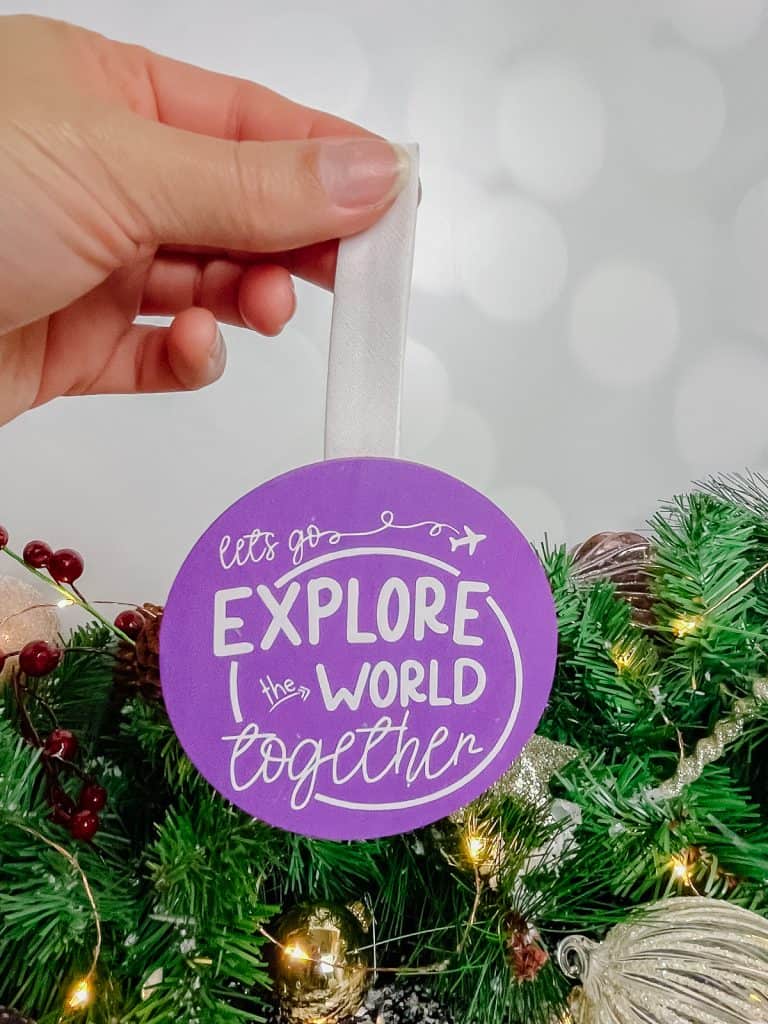
I decided to put this explore the world travel svg on an ornament to remember that 2021 was the year we went to Iceland.
This is the perfect svg to commemorate a big trip and it was really easy to put on wood!
I ended up using extra wood rounds that I had from this craft, and they were the perfect size for this travel svg!
You can use heat transfer vinyl or adhesive vinyl on wood, so use whatever you have on hand!
I love htv on wood because it melts a little and gives it more of a painted look. But adhesive vinyl looks great too!
Materials
Everything you need to make this explore the world ornament!
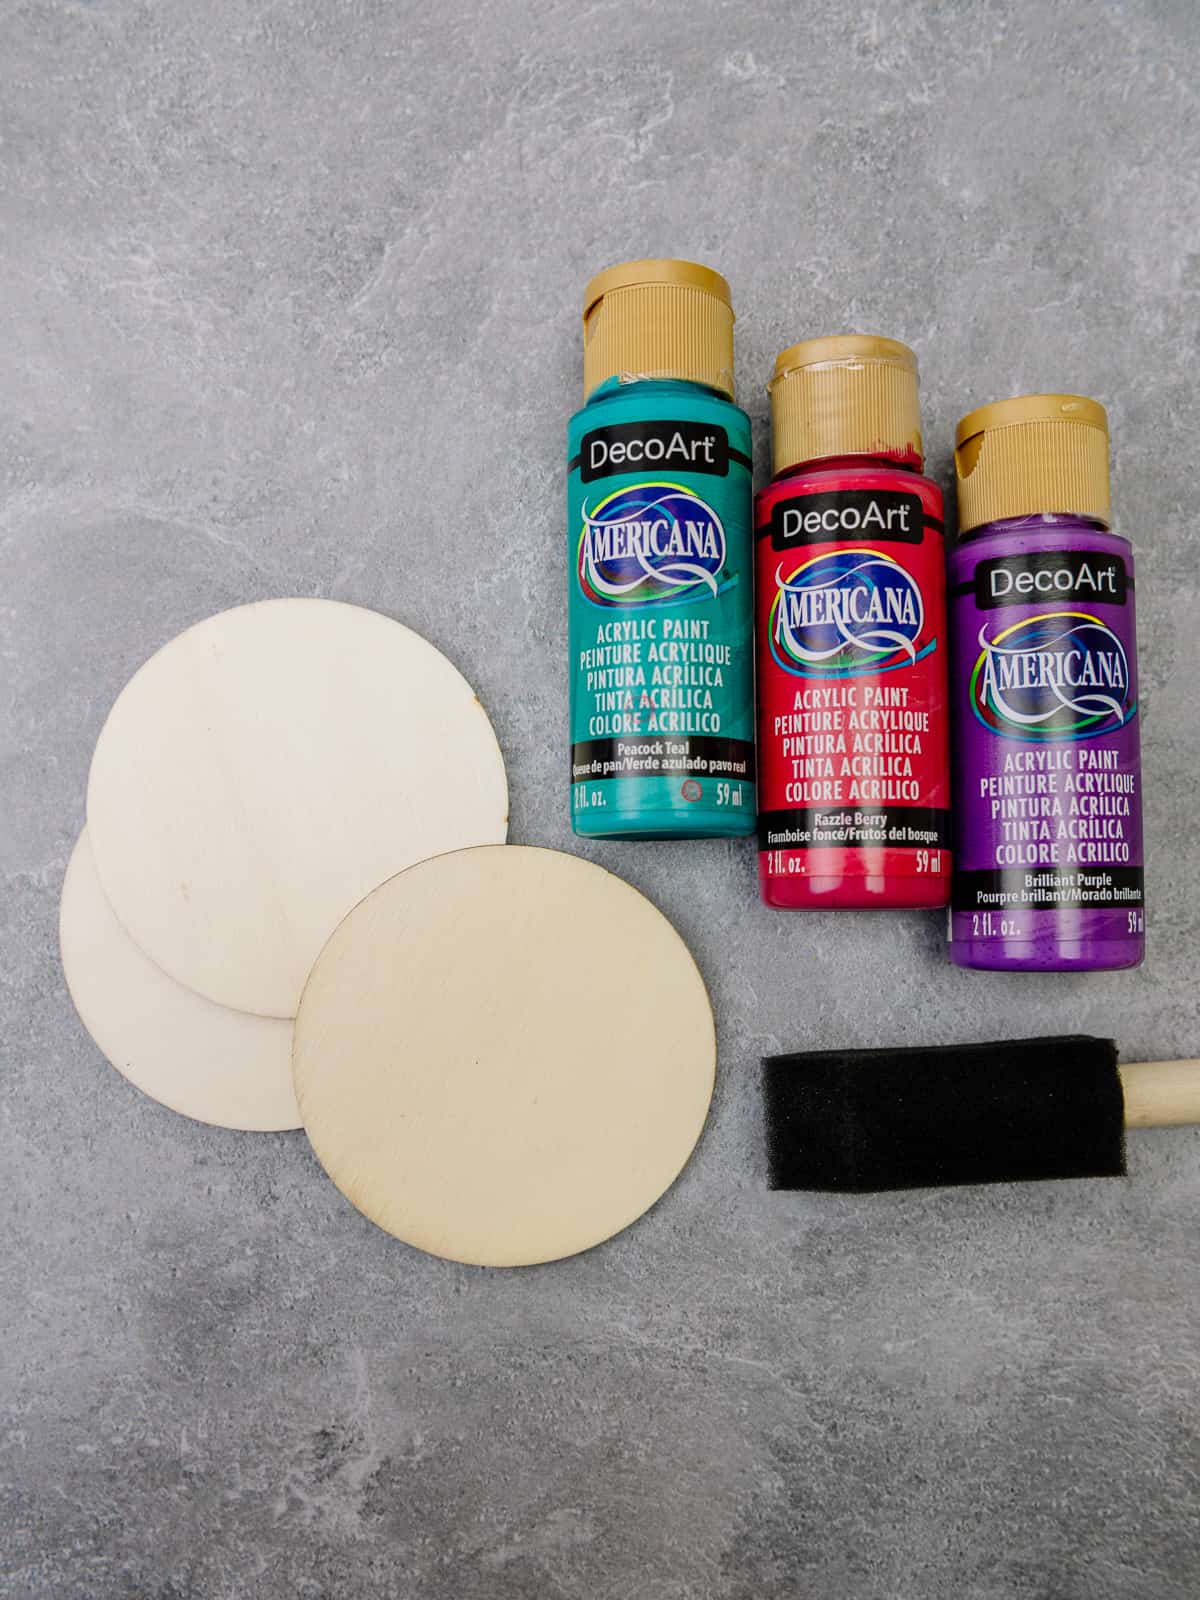
- Wood discs from Hobby Lobby
- Acrylic paint and a paint brush
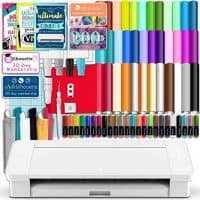
- Silhouette Cameo
- Cameo 4 Autoblade
- Cutting mats
- Heat transfer vinyl (or adhesive vinyl)
- Heat Press
This post contains affiliate links. I may earn commission from qualifying purchases at no additional cost to you. I will never recommend a product I don’t use or trust.
Common questions about using heat transfer vinyl on wood!
What type of wood works best when using heat transfer vinyl?
Your wood piece should be smooth to the touch.
If it is rough at all then vinyl (of any kind) won’t stick. I know that wood slices are really cute to add designs too but if you go that route you need to make sure the wood slice has been sanded down so that it has a nice smooth surface.
If you want a more rustic looking wood slice then this svg file will not work for you. The best option in that case would be to paint the wood.
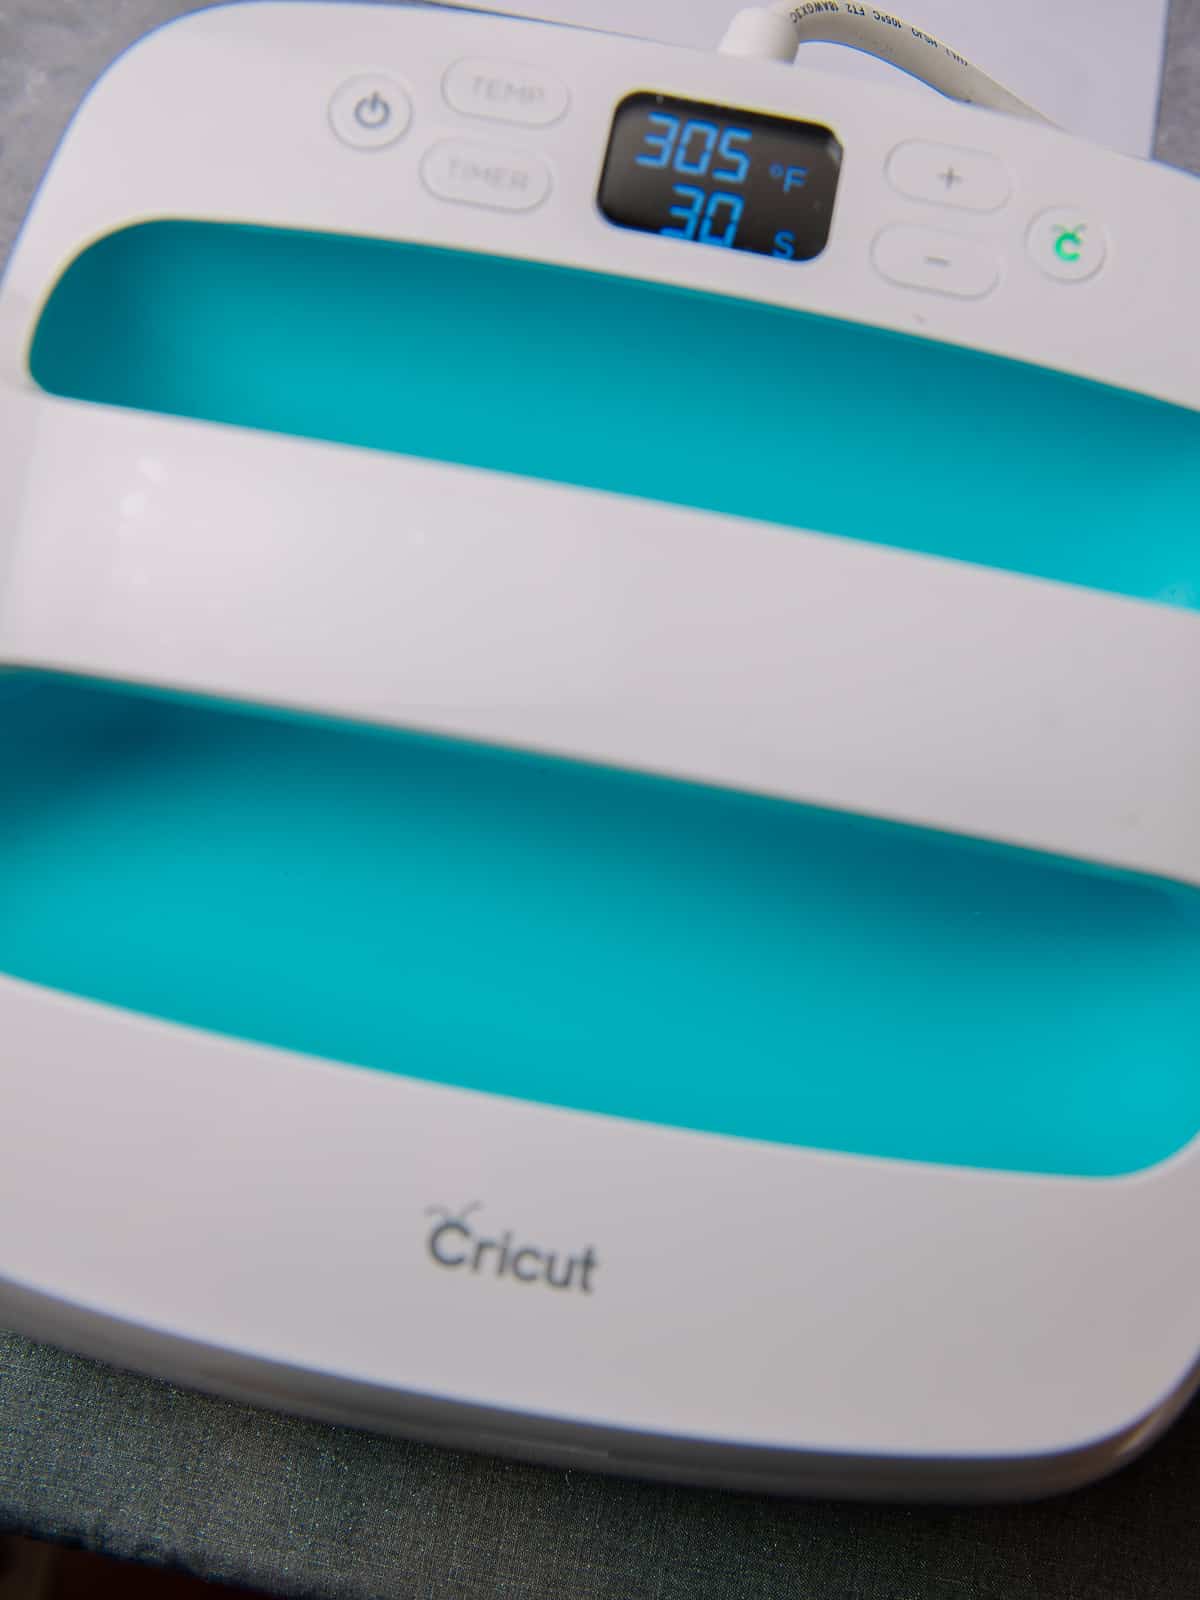
How hot should your heat press be when using it on wood?
This really depends on what type of heat press you’re using so I suggest looking at the manual to double check your settings!
For my htv on wood ornaments I used an original Cricut Easypress and pressed at 300 degrees for 40 seconds.
Even though I have the CraftPro Heat Press this year I’m still using my Cricut Easypress because it’s smaller and more convenient for this project.
An iron would also work! I just don’t know for sure what the press time would be.

What type of heat transfer vinyl can you use on wood?
Any type work well but my three preferences are…
- Easyweed
- Glitter, or
- Patterned vinyl
You’ll definitely need to check the heat settings for your press depending on what type of vinyl you use though!
Do you need to seal your vinyl after putting it on wood?
I would not!
Your vinyl should not be outdoors or in direct contact with moisture so it’ll be fine without it.
If you really want to though, you can use polycrylic or mod podge. Do a test spot first though to make sure you’re getting the desired result before putting it on the entire surface!

FAQ’S ABOUT THIS EXPLORE THE WORLD TRAVEL SVG
What type of cutting machine does this cut file work with?
You can use this cut file with both the Cricut and Silhouette machines as well as the Brother cutting machine.
What type of cut files will download with this free file?
We always offer 5 different cut files so that they’ll work with all different types of machines.
These cut files are:
- SVG,
- PNG,
- JPEG,
- DXF, and
How do you download this cut file?
You will need to sign up for our weekly newsletter to get this cut file!
It costs nothing to sign up and you’ll get access to our cut files before they ever appear on the blog.
Once you’re signed up for our newsletter you’ll receive the passcode for The Craft Room, which is our free svg library that you can access at any time!
Our cut files will always be available for download there so you can go back and grab them whenever you need to.
GRAB 15 FREE TRAVEL AND VACATION CUT FILES!
Every month I team up with a group of amazingly talented crafters to bring you a bundle of free svg cut files! This month’s theme was travel, which was so fun to do and there are really great files in this roundup! You can download all of these awesome files by visiting the blog posts (links are underneath the image). All svg cut files are free to use for personal use only and don’t forget to tag us on Instagram (#svgdesignsquad) if you make one of our projects and share it!

- Hit the Road Retro Sunset by Persia Lou
- The View is Always Worth the Climb by Crafting Overload
- Get Outside by Studio Xtine
- Out of Office by Polka Dotted Blue Jay
- I’d Rather Be Traveling by Gina C. Creates
- Explore Travel Ornament by Pen + Posh
- Road Trip by Crafty Life Mom
- Let’s Get Lost by Liz on Call
- Suitcase Box Card by The Bearded Housewife
- Follow the Sunset by The Walnut Street House
- Over Packer by Sunshine and Munchkins
- Take the Trip, Buy the Shoes… by Lettered by Stephanie
- TRAVEL by Craftara Creates
- Explore the World by Simply Made Fun
- Let’s Go by Tried & True Creative
More heat transfer vinyl crafts!
- Beginners Guide to Craft Vinyl: HTV vs. Adhesive Vinyl
- How to Use HTV on Polyester
- How to Use HTV on Wood
- How to Put HTV on Shirts
- How to Remove HTV from Fabric

Explore the World Ornament
Use this free explore the world travel svg and put it on a Christmas ornament to make a fun keepsake for your recent travel!
Materials
- Wood Discs from Hobby Lobby
- Acrylic paint and paint brush
- Cutting mats
- Heat Transfer Vinyl
Instructions
- Paint your wood disc and set it to the side to dry.

- Download the svg and open it in your Silhouette Software. Resize it so it'll fit on your wood slice.
- Load your vinyl and cutting mat into your machine. Hit cut. (remember, if you're using HTV you need to mirror your image before you cut it!)
- While your design is cutting, heat up your heat press.
- Weed your vinyl design.
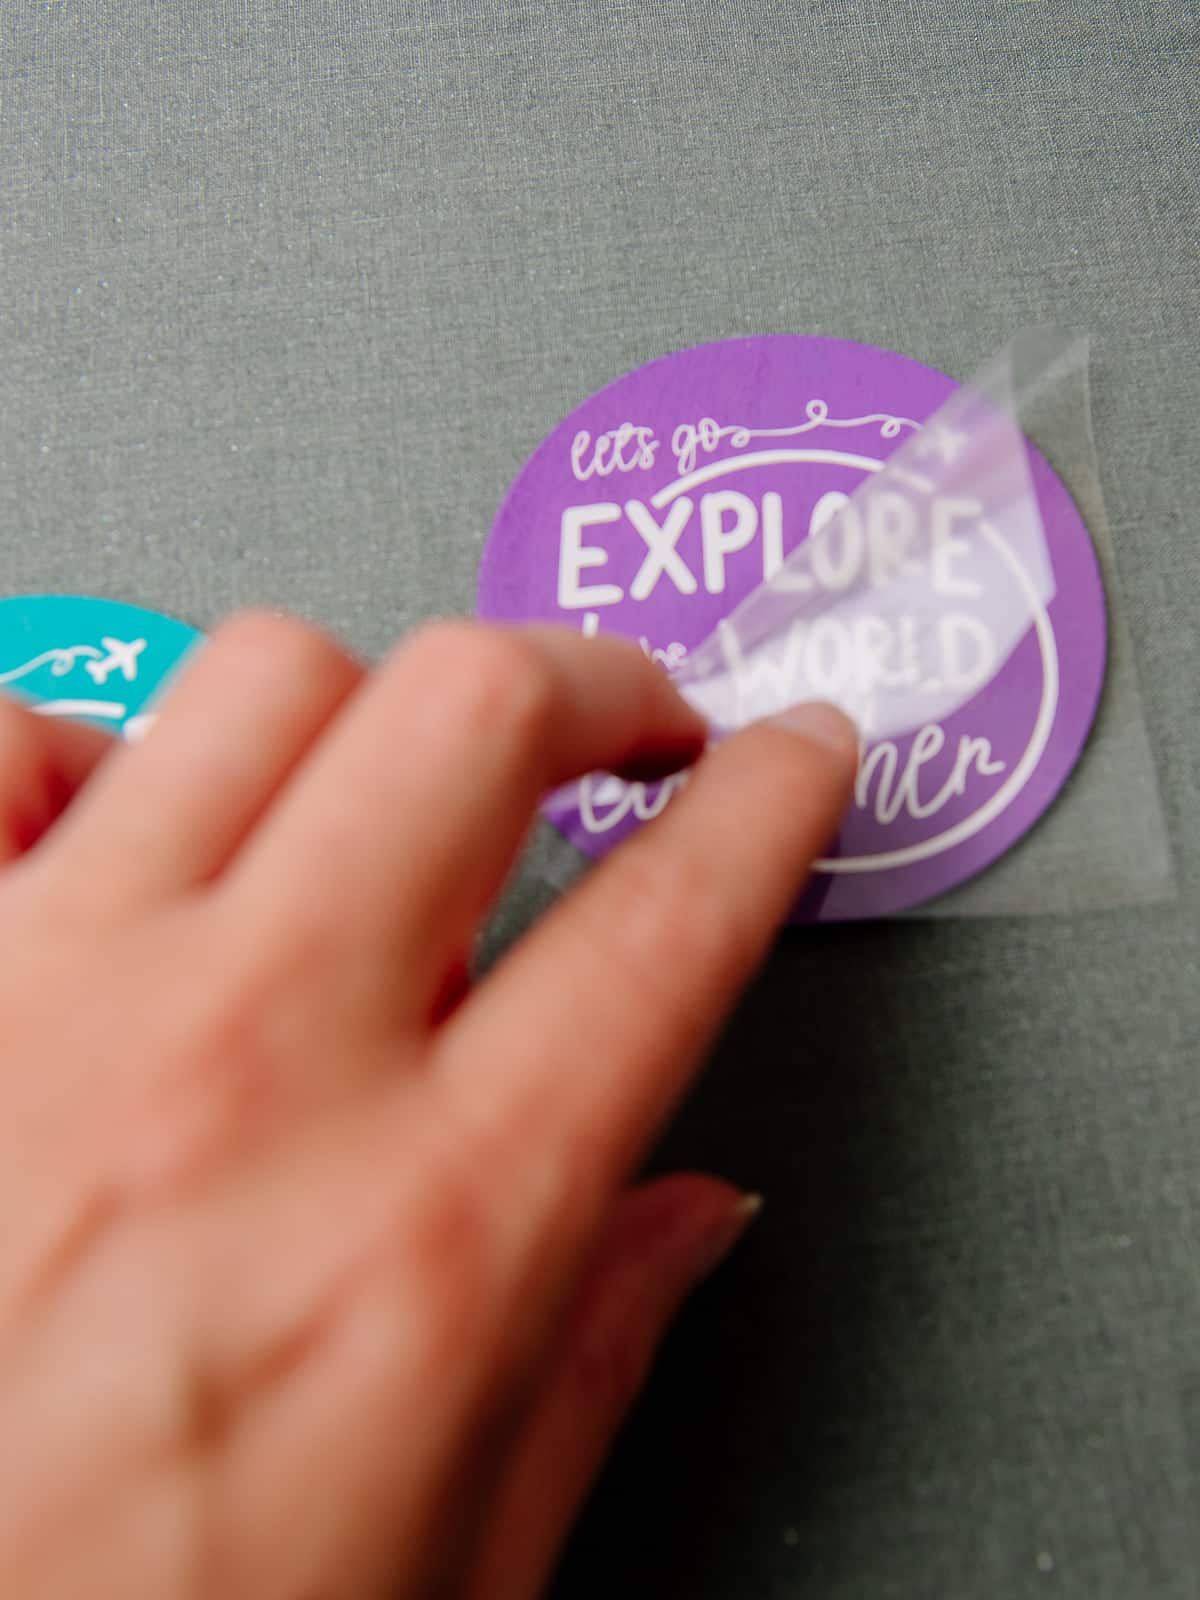
- Put your design on the wood slice and press it with your heat press.
- Remove the carrier sheet.
- Add a ribbon or string to the ornament so you can hang it on your tree.
If you are using adhesive vinyl, do steps 1-3 then skip down here.
- Weed your vinyl design.
- Grab a piece of transfer tape and put it on top of your vinyl decal. Use an applicator tool to rub the transfer paper on your vinyl.
- Lift up the transfer tape slowly, brining your entire vinyl decal with the transfer tape.
- Lay it on your wood slice and use the applicator tool to rub it onto the wood.
- Life up the transfer tape slowly, making sure the entire design is sticking to your wood slice.
- Add a ribbon or string to the ornament so you can hang it on your tree!
Recommended Products
As an Amazon Associate and member of other affiliate programs, I earn from qualifying purchases.