Spice Jar Labels with the Silhouette Cameo
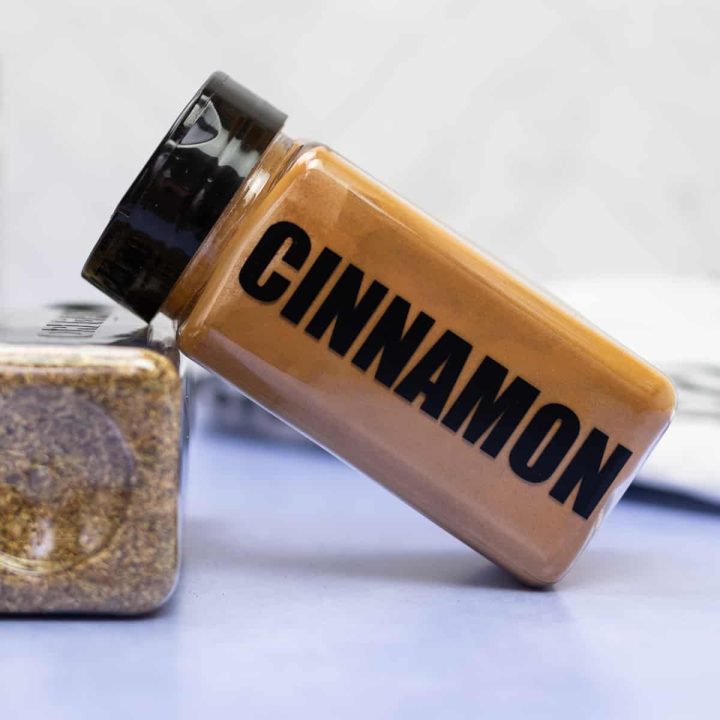
How to make spice jar labels with the Silhouette Cameo and Adhesive Vinyl! Organize your pantry with spice jar labels and large clear containers with these free spice jar labels you can download.
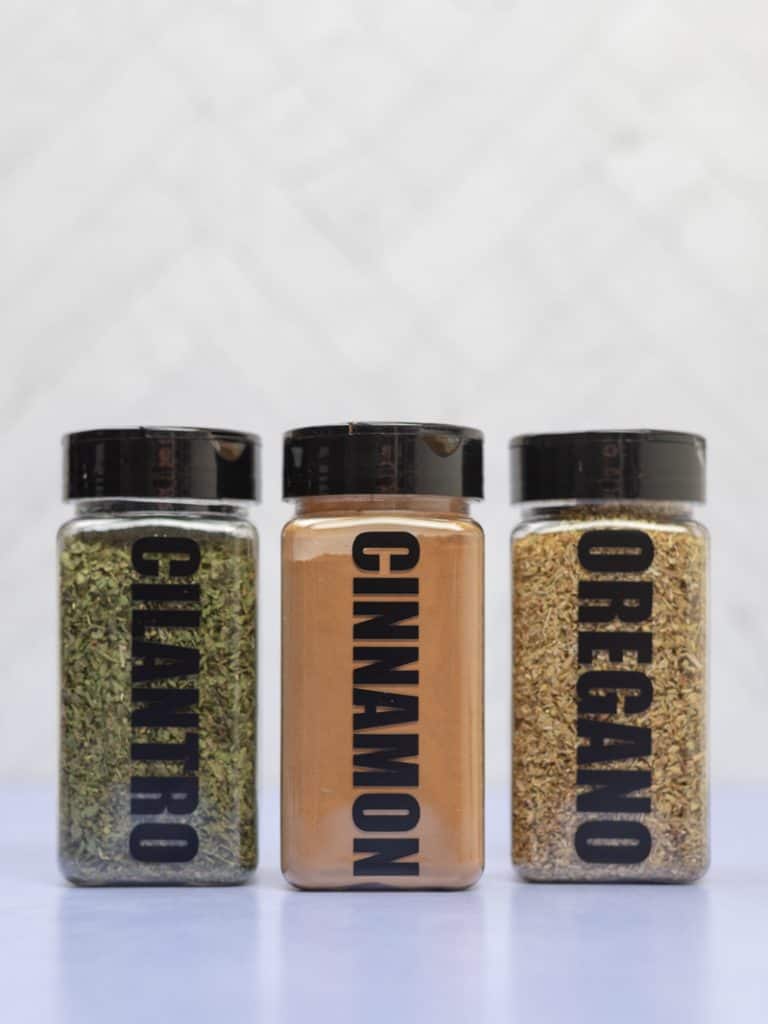
Have you been itching to organize with your Silhouette machine but don’t know where to start?
I have the easiest project for you to do, and it’s honestly such a great project for a beginner who is new to adhesive vinyl!
What is adhesive vinyl? Head to this post to learn the difference between adhesive vinyl and heat transfer vinyl, and why adhesive vinyl is perfect to use on organization containers!
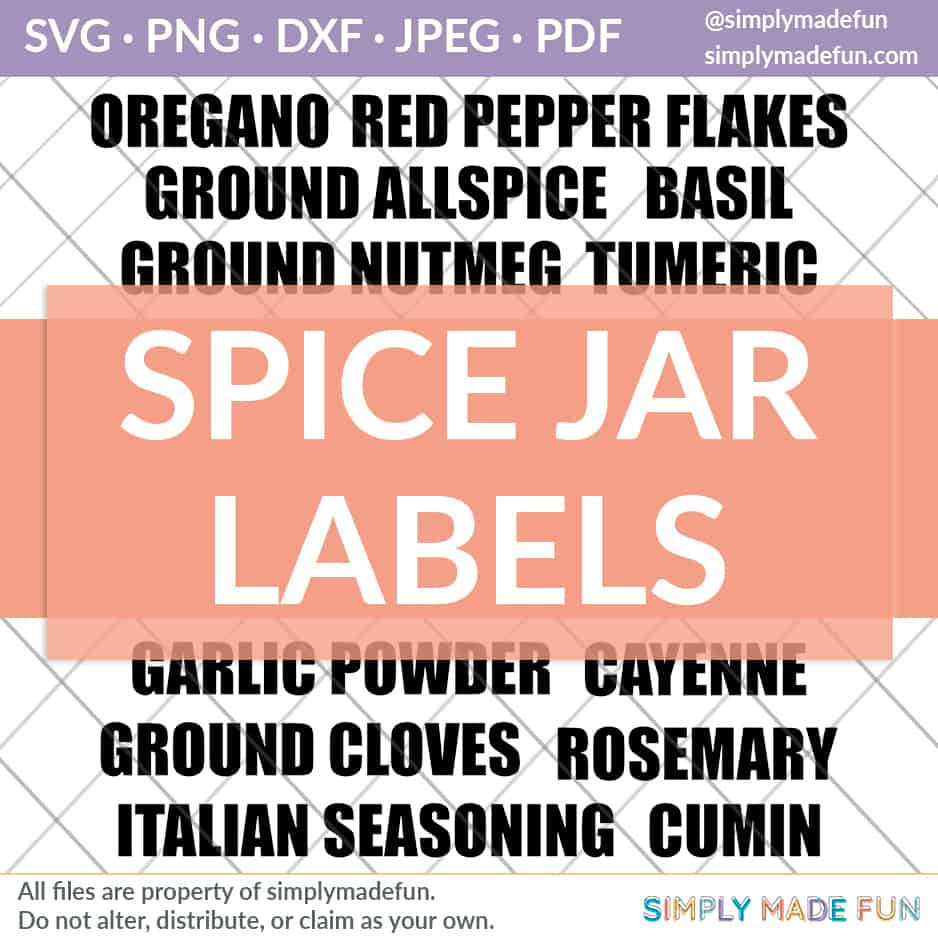
These organization labels are super easy to make and we’re showing you how to make you own spice jar labels and offering them as a free svg bundle!
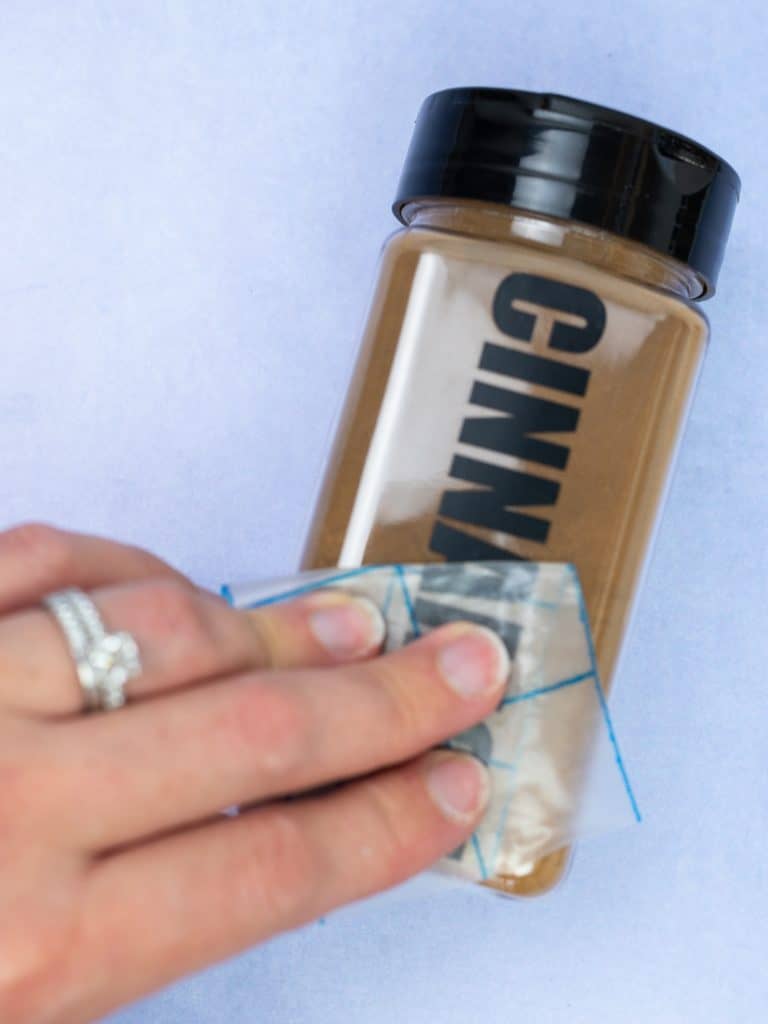
When it comes to organizing and making labels, I like thick fonts (and I cannot lie!).
Whenever you’re putting adhesive vinyl on containers, coffee mugs or tumblers you should try to use thick fonts! Thinner fonts tend to lift and move more easily, especially if you’re washing them in warm water.
Thicker fonts hold up better and longer, like this monogram tumbler I have that has lasted for over four years now.
Materials
Everything you’ll need to make these spice jar labels with the Silhouette Cameo
This post contains affiliate links. I may earn commission from qualifying purchases at no additional cost to you. I will never recommend a product I don’t use or trust.
Common Questions about Making Spice Jar Labels with the Silhouette Cameo
What type of containers should you use as spice jars?
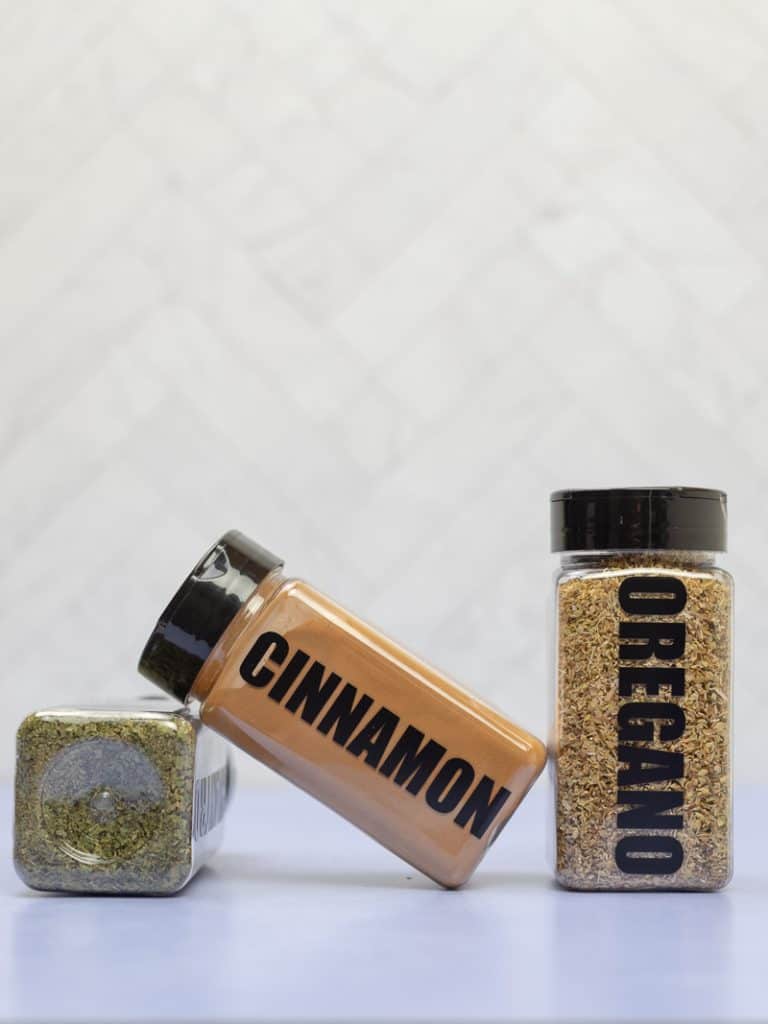
If you’re going to make labels for your spice jars you’ll want to use containers that are flat and a good size.
I like to use a lot of spices and herbs in cooking so I wanted containers that could hold a lot at one time.
These are my favorite spice jar containers that you can find on Amazon:
- Plastic Spice Jar Containers – these are the ones I have and love. I opted for plastic because I didn’t want to use glass and accidentally drop and break it.
- Round Glass Spice Jar Containers – these are round and a bit smaller at 4oz but they’re glass and are better for you than plastic. If you’re not worried about breaking them, they’re a great option!
- Square Glass Spice Jar Containers – these are also 4oz and are a great option if you don’t want the round ones!
Can you use printable vinyl or sticker paper instead of adhesive vinyl for spice jar labels?
I wouldn’t personally. Even though you can make paper labels water resistant you cannot make them waterproof.
I suggest adhesive vinyl because it stands up to water the best. And I don’t know about you, but I like to wash out my spice jars once they’re empty before refilling them. And printable vinyl doesn’t stand up to water very well.
See how we made these Lucky Stickers water resistant for a water bottle (spoiler alert, this project did not stand the test of time and the stickers have faded and curled with hand washing)
Can you print spice jar labels with the Silhouette Cameo or Cricut Maker?
You cannot print labels with a Silhouette or Cricut machine.
The Silhouette and Cricut are not printers, they are cutting machines. If you are going to make printable labels you will need a laser or inkjet printer to print out your labels and you will use your Silhouette or Cricut to cut them out.
I do not suggest printing labels for any type of pantry labels. If you are going to wash your jars at any point you’ll need something that can stand up to water. Adhesive vinyl is best for this!
However, you can read more about print and cut with a Silhouette Cameo here. We’ll tell you what it is and when you use it for your projects. Plus there’s a video tutorial that’ll show you how to set it up in the Silhouette Software!
What fonts work best for vinyl labels?
Any time I’m making vinyl labels that will go on jars or containers, I use thick fonts.
Skinny fonts tend to lift after you wash them in warm soapy water and won’t last very long. Thicker fonts tend to better and last longer!
I also don’t like to use script fonts for labels. They tend to look really nice but are harder to read from far away. Using bold, thick fonts are easier to see and (bonus!) they’re great when you have young kids who are learning how to read and want to help you cook in the kitchen.
My favorite thick/bold fonts are:
You can also sign up for a font subscription from Creative Fabrica and get access to all their fonts for $19 a month. I use it for a month to download a bunch of fonts and then cancel my subscription. I do not use it all year but it’s really great when I’m looking for new fonts to use for projects!
But if you want to use a skinny script font, the best thing to do would be to offset the font to make it thicker.
FAQ’S about Spice Jar Labels
What type of adhesive vinyl should you use for labels?
Any time you’re making permanent labels with your cutting machine you should use either Series 51 or Oracle 651 vinyl.
This vinyl is permanent and has a lifespan of 6 years indoors and 4 years outdoors.
Make sure that whatever vinyl you buy does not say removable on it. This is not a permanent vinyl and will easily come off (which you don’t want!).
NEED MORE ORGANIZATION CRAFT IDEAS?
This month we joined in the Team Creative Crafts organization challenge! There are so many great organization ideas, and some free files too! Scroll down to check out all the links and head to all the fun projects.
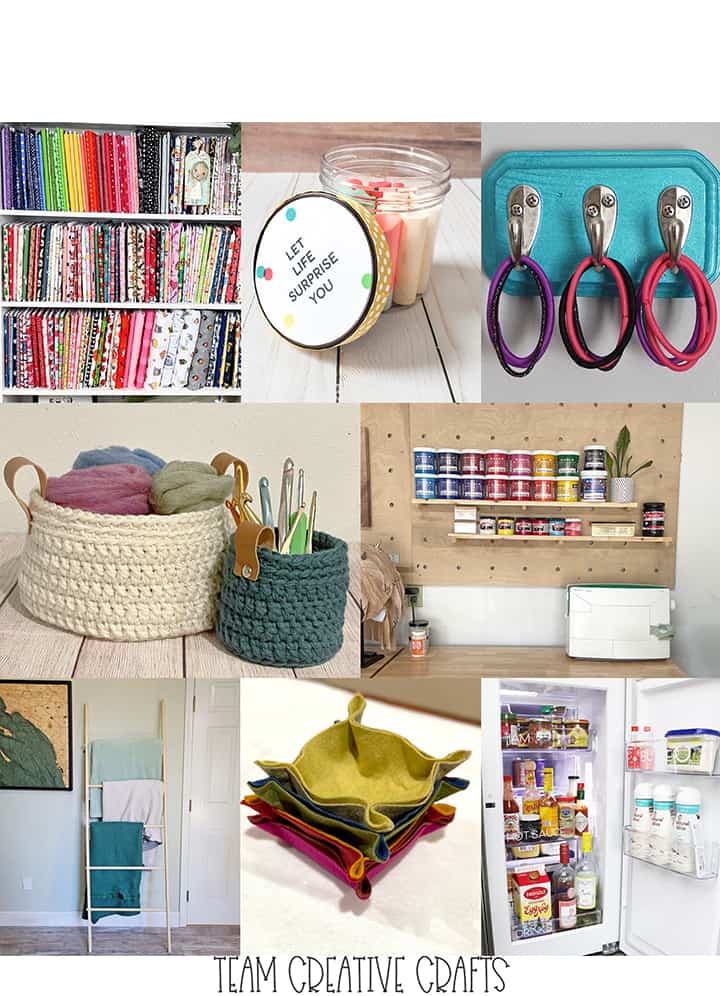
- Easy Fabric Storage Ideas with Dollar Tree Supplies by Laura of Me and My INKlings
- Shimmering Hair Tie Storage Hanger created by Lindsay of Artsy-Fartsy Mama
- Organize your Refrigerator with easy to read labels from Laura of Laura’s Crafty Life
- Create colorful DIY Felt Trays with a tutorial from Smitha at Smiling Colors
- Upcycled Chapstick Organization is easy and super cute by Shani of Sunshine and Munchkins
- A brilliant storage solution with a DIY Blanket Ladder from Justine of Little Dove
- Stylish Crocheted Storage Baskets with Free Patterns by Erica of 5 Little Monsters
- DIY Pegboard Garage Storage for a Shared Workspace from Kelsey at Poofy Cheeks
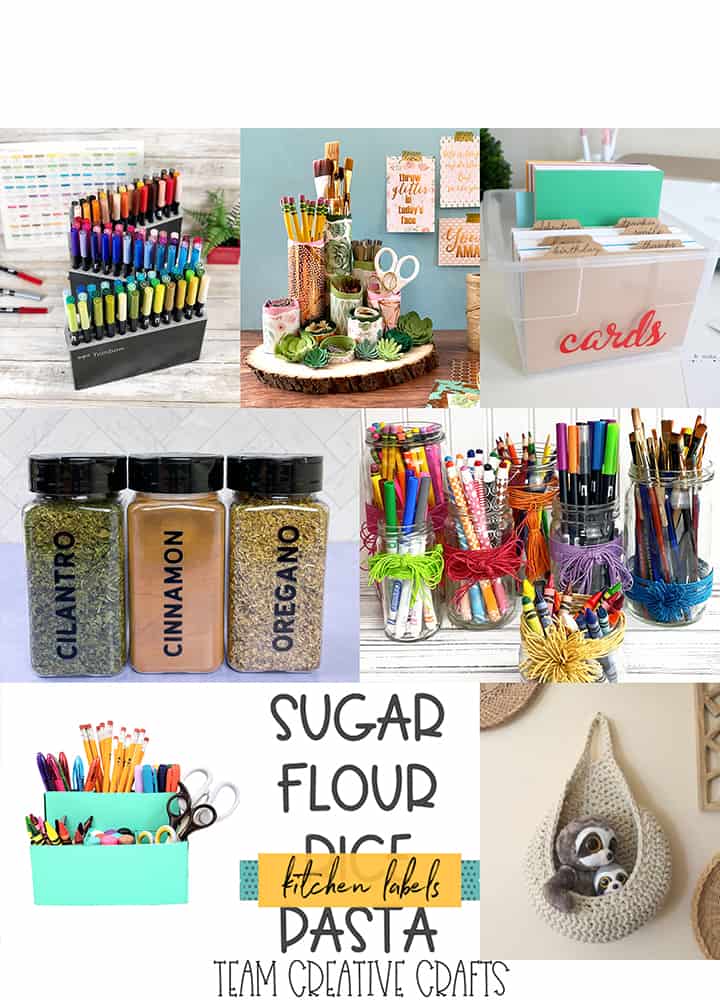
- Creative Storage Solutions for your Craft Studio by Beth of Creatively Beth
- Organize your Greeting Cards with a complete tutorial from Liz of Liz on Call
- Create a DIY Desktop Organizer with Upcycled Items from Kimberly of Crafting Cheerfully
- Get your Kitchen Organized in 2022 with a set of Labels from Ginger at Ginger Snap Crafts
- Crochet a Wall Basket for trendy storage with a free pattern from Heather of Homemade
- Organizing your Spices just got easier with a collection of Labels from Teresa at Simply Made Fun
- Make a Fun Desk Organizer with step-by-step directions from Elise of Polka Dot Blue Jay
- Give Jars an Easy Upcycle into Colorful Craft Storage by Laura of Me and My INKlings
DON’T FORGET TO ENTER THE GIVEAWAY!
More Adhesive Vinyl Crafts to Make!
- How to layer vinyl decals with the Silhouette Cameo,
- How to use transfer tape,
- Beginners guide to craft vinyl – HTV vs Adhesive Vinyl,
- Craft Vinyl Hoarder coffee mug with adhesive vinyl (free svg cut file!), and
- How to apply vinyl decals to wrapping paper
Spice Jar Labels with the Silhouette Cameo
How to make spice jar labels with the Silhouette Cameo and Adhesive Vinyl! Organize your pantry with spice jar labels and large clear containers with these free spice jar labels you can download.
Instructions
- Download the free spice jar labels svg cut file.
- Open the file in your Silhouette Design Software.
- IMPORTANT! Don't forget to resize your labels before you cut them.
- Once you've resized your labels head to the send tab and select your material (Vinyl, Glossy), check to make sure all of your labels are in the cut area and make sure your blade settings are correct.
- Load your adhesive vinyl onto your mat.
- HIT CUT.
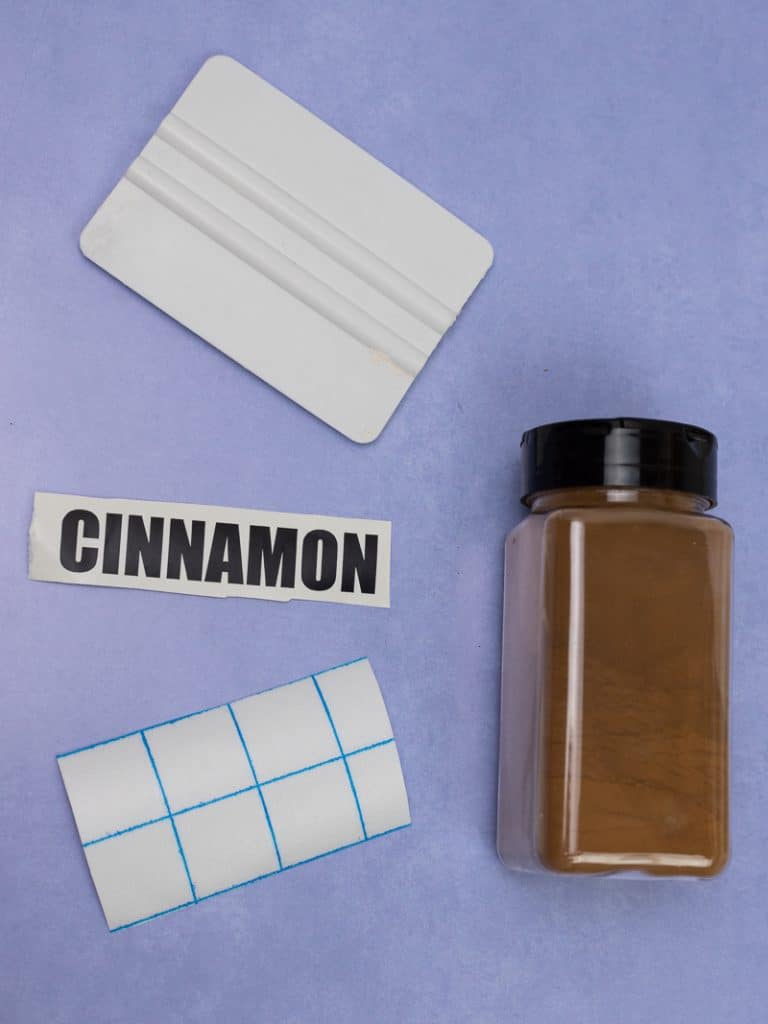
- Weed the negative vinyl. Then put transfer tape on your vinyl labels.
- Pull up the vinyl labels with the transfer tape on top.
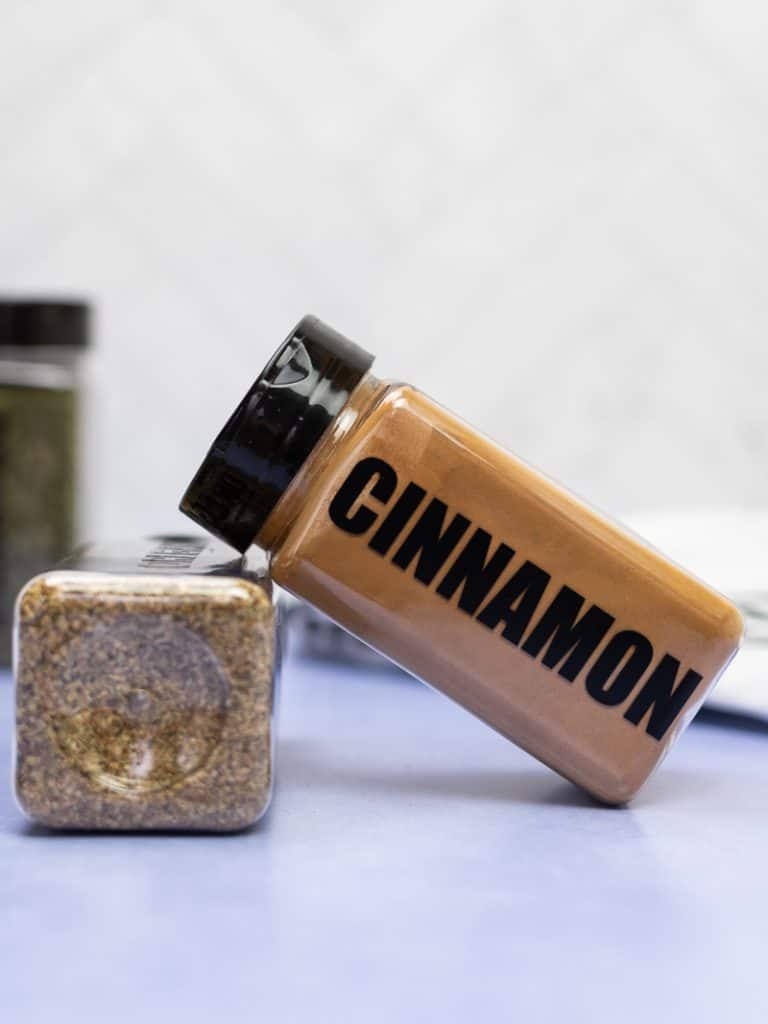
- Lay the vinyl with transfer tape on the spice jars.
- Use the vinyl application tool to rub the vinyl onto the spice jars. Then remove the transfer tape.
- Continue doing this until you have finished all of your bottles!
Notes
- Let your vinyl cure on the bottles for at least 30 days before you wash them with warm soapy water.
- When you wash them, do not soak them in warm soapy water! Soaking your vinyl will cause it to lift and come off your bottles.
Recommended Products
As an Amazon Associate and member of other affiliate programs, I earn from qualifying purchases.


I have a Cameo and love the ideas and projects I’ve seen on your blog. Thank you.